
Protect Your Natural Nails: Acrylic Care Every 2–3 Weeks in Bradenton
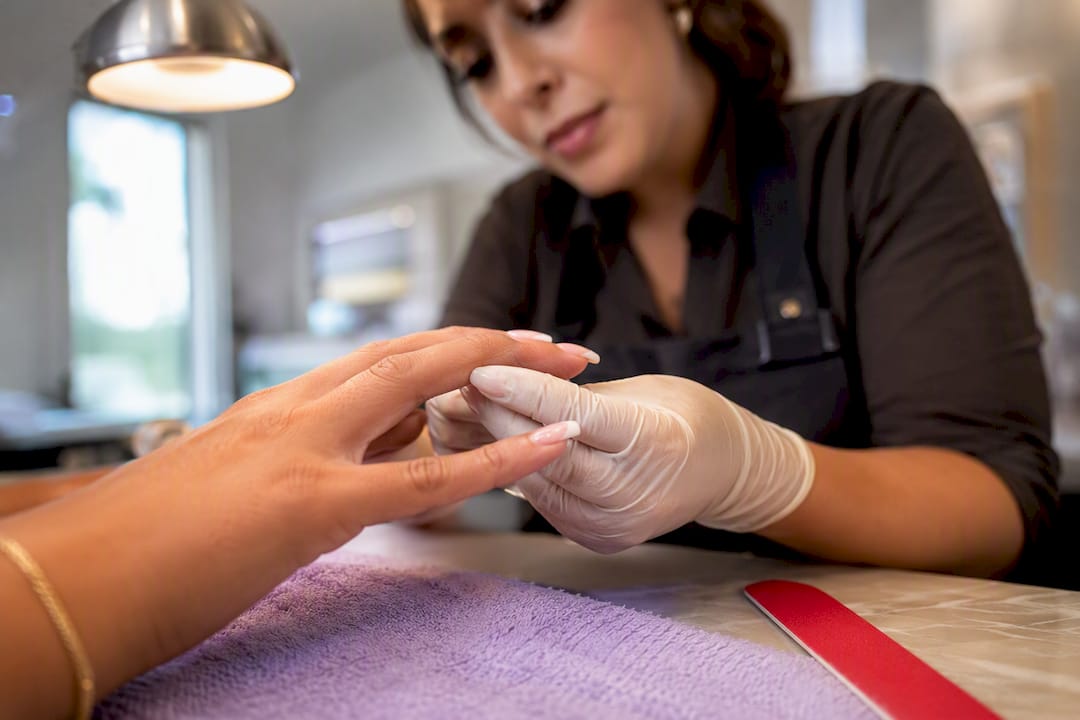
Acrylic nail maintenance comes down to three habits: apply cuticle oil daily, keep your nails out of prolonged water and harsh chemicals, and book fills every two to three weeks. Skip any one of those and you invite lifting, breakage, or worse. The single biggest mistake is letting a lifted edge go unrepaired since that gap traps moisture and sets up an infection. Everything else in acrylic care is just detail on top of that foundation.
TL;DR:
Using nails as tools, picking at lifted edges, or over-filing weakens natural nails and accelerates damage more than most realize.
Frequent water exposure, especially without gloves, shortens acrylics’ lifespan by weakening the bond and increasing lift risk.
A professional fill every two to three weeks prevents unsupported gaps, with shorter intervals needed for manual workers or swimmers.
Immediate attention to lifting, redness, or swelling can prevent bacterial infections and allergic reactions, avoiding long-term nail damage.
Proper removal uses controlled acetone soaking and gentle scraping, with post-removal strengthening treatments essential for healthy nail recovery.
Table of Contents
Daily Acrylic Nail Care Routine That Actually Works
Most people treat acrylics like they’re indestructible. They’re not. The acrylic itself is tough, but the bond holding it to your natural nail is only as good as how you treat it every day.
Start with cuticle oil, applied twice a day, once in the morning and once before bed. Rub it into the cuticle and the seam where the acrylic meets your skin, not just the top of the nail. This keeps the surrounding skin flexible and helps prevent the kind of dryness that leads to picking. Follow it with a regular hand moisturizer, since oil alone won’t replace the hydration your skin loses from soap and air conditioning.
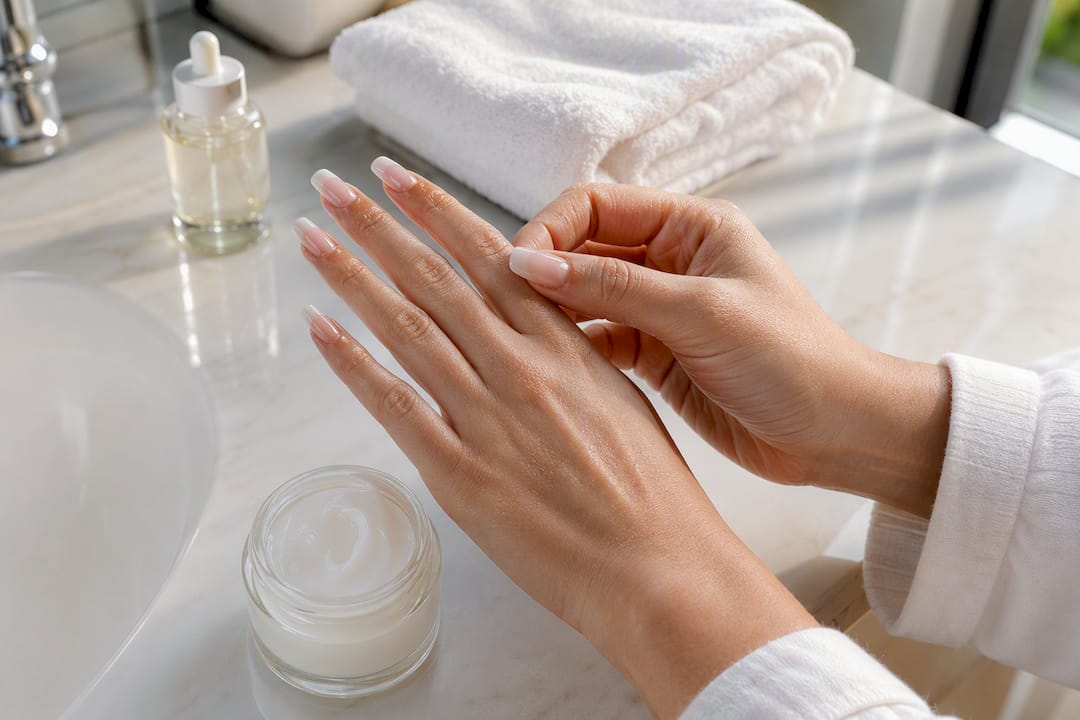
After washing your hands, dry them fully, including underneath the nail edge at the tip. Dampness left sitting under an acrylic tip is exactly how prolonged exposure to water breaks down the adhesive bond over time. Never soak your hands in dishwater or a hot bath without protection.
A simple weekly routine keeps a set looking salon fresh:
Wipe nails with rubbing alcohol to remove oil residue before polish work.
Apply a thin layer of top coat to reseal shine and catch small chips before they spread.
Check nail edges for lifting or rough spots you can smooth with a soft buffer.
Reapply cuticle oil after any water exposure, including swimming or long showers.
Nail shape matters more than people expect. A shorter, squoval or rounded square shape resists breakage far better than long, sharp stiletto tips, especially if you use your hands for anything more demanding than typing.
Pro Tip: Keep a pair of nitrile gloves by the sink. Dish soap, bleach, and even some dish scrubbers degrade acrylic faster than almost anything else you will do to your hands all week.
What Shortens Acrylic Nail Lifespan the Fastest
Most damage isn’t bad luck. It’s a handful of repeatable habits that stress the nail until something gives.
Using nails as tools. Prying open a soda can, scraping off a sticker, or peeling packing tape puts direct lateral force on the tip. Acrylics transfer that mechanical stress straight to your natural nail underneath, which is how you end up with a nail that snaps below the free edge instead of just chipping at the tip.
Picking at lifted edges. It feels harmless. It isn’t. Picking peels up layers of your natural nail plate along with the product, thinning it and creating rough, uneven patches that take months to grow out.
DIY over-filing. Aggressive filing at home, especially with a coarse file meant for shaping rather than smoothing, thins the natural nail plate underneath the acrylic. That thinning is one of the most common causes of acrylic-related nail damage, more so than the acrylic material itself.
Improper acetone use. Soaking bare nails in acetone for long stretches without protecting the surrounding skin dries out the nail bed and can worsen brittleness after your next removal.
If a nail chips or a small section lifts, resist the urge to fix it with superglue and a prayer. A dab of nail glue can hold a clean break for a day or two, but anything more than a hairline crack needs a technician, not a junk drawer repair kit.
How Often You Actually Need a Fill
The standard cadence is a fill every two to three weeks, with most technicians recommending a full new set around the six to eight week mark, even if the current one still looks fine. That range isn’t arbitrary. As your natural nail grows out, the acrylic base shifts away from the cuticle, creating an unsupported gap that’s more prone to snapping or lifting.
Lifestyle changes that math, though.
People who wash dishes constantly, work in food service, or do a lot of manual cleaning often need fills closer to the two week mark rather than three.
Swimmers and anyone with frequent hot-tub or pool exposure should lean toward shorter intervals too, since chlorinated water accelerates bond breakdown.
Office workers with minimal water exposure can often stretch closer to three weeks without issue.
Watch for the tells that a fill is overdue: your hair or clothing catches on the nail edge, you can see a visible gap of natural nail growth near the cuticle, or the nail feels off balance when you tap it on a hard surface. Booking a fill at the first sign of these beats an emergency repair every time, both in cost and in how much healthy nail you preserve underneath.
Warning Signs You Shouldn’t Ignore
Lifting is the early warning sign that causes the most trouble down the line. It creates a microscopic pocket between the acrylic and your natural nail where moisture collects, and that trapped moisture is exactly what leads to the green-tinted bacterial buildup nail techs call “greenies.”
A closer look at the numbers: dermatology and nail-health sources consistently flag two distinct issues that get confused with each other, an infection versus an allergic reaction, and they need different responses. Artificial nails can trigger allergic contact dermatitis in some people, showing up as redness, itching, or a rash around the nail bed or even on nearby skin from incidental product transfer.
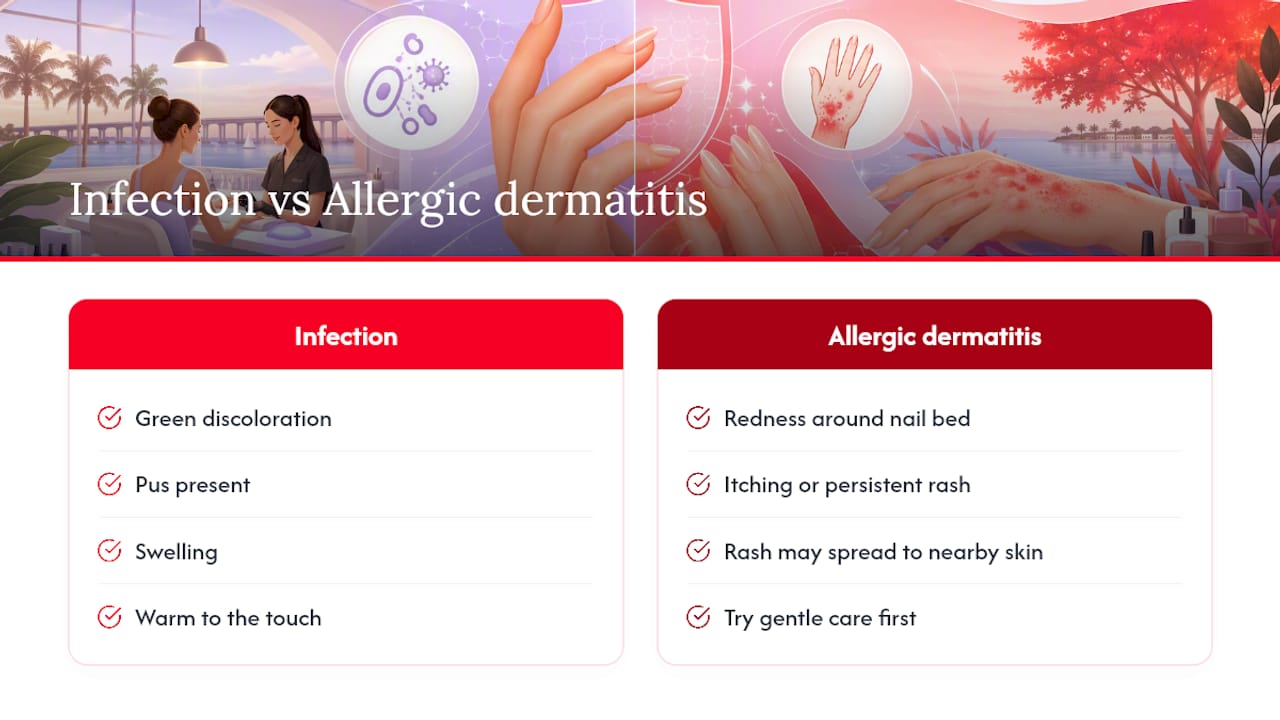
If you notice lifting, stop picking at it immediately, keep the area dry, and book a salon visit within a few days rather than waiting for your next scheduled fill. Green discoloration, pus, swelling, or a nail that feels warm to the touch calls for a medical provider, not a nail technician. Persistent itching or a rash that doesn’t fade after a few days of gentle care is worth a dermatologist visit, since it may point to a sensitivity that needs patch testing rather than a different acrylic brand.
Safe Acrylic Removal and Nail Recovery Afterward
Professional soak-off removal exists for a reason: it uses controlled acetone exposure, proper timing, and gentle scraping that a rushed at-home job almost never matches. If you can get to a salon, that’s the safer route, and our guide to safe removal techniques walks through what a low-trauma soak-off actually looks like.
When a salon visit isn’t possible right away, an emergency at-home removal can work if you’re careful:
Trim the nail down as short as comfortably possible to reduce the acetone soak time needed.
Gently file the top layer of acrylic to break the seal, without digging into the natural nail.
Soak in pure acetone for 10 to 15 minutes, checking periodically rather than leaving it unattended.
Gently push off softened acrylic with a cuticle stick, never scrape or force it.
Our step-by-step removal guide covers the full process in more detail if you need to do this yourself.
Once the acrylic is off, your natural nails will likely look thin, ridged, or brittle. That’s normal. Clinicians recommend strengthening treatments and consistent moisturizing for several months to let the nail plate rebuild properly.
Pro Tip: Give your nails at least a few weeks bare, or in a light gel polish, before your next full set. Rushing back into acrylics on a weakened nail bed is how minor damage turns into a chronic problem.
How to Pick a Salon That Won’t Wreck Your Nails
A clean, well-run salon shows it the moment you walk in. Tools should come out of a sealed sterilization pouch, not a drawer, and single-use files or buffers should be tossed after each client, not recycled.
Ask directly whether the salon uses MMA-free acrylic products. A reputable technician answers without hesitation and can name the product line.
Watch the prep work. A skilled technician barely touches the natural nail plate with the file, focusing buffing on the acrylic surface instead.
Favor salons using LED curing lights over older UV lamps, since LED curing significantly reduces cumulative UV exposure for anyone getting frequent gel top coats.
Walk away if you see visible redness, swelling, or discoloration on another client’s hands and staff don’t seem concerned.
A technician who rushes through prep or refuses to explain what’s in their products is a red flag worth taking seriously.
Our salon visit checklist breaks down the exact questions worth asking before you sit down.
Products Worth Keeping in Your Nail Kit
You don’t need a shelf full of products, just a handful of reliable ones.
Cuticle oil, ideally a jojoba or vitamin E blend, applied morning and night.
Non-acetone polish remover for fixing chipped polish without touching the acrylic itself.
A clear top coat for weekly resealing and shine.
A small emergency kit: nail glue and a fine grit file for minor repairs between fills.
Hand cream you’ll actually use daily, since consistency matters more than the formula.
Skip anything containing MMA, and avoid soaking bare nails in acetone for longer than necessary. A well-formulated essential oil blend can also support cuticle health if you want something beyond a standard drugstore oil.
Why Professional Technique Protects Your Natural Nail
A technician’s filing pattern matters more than most clients realize. Controlled, even filing during prep keeps the natural nail plate at a consistent thickness, while rushed or overly aggressive buffing thins it unevenly, which is where a lot of post-acrylic brittleness actually starts.
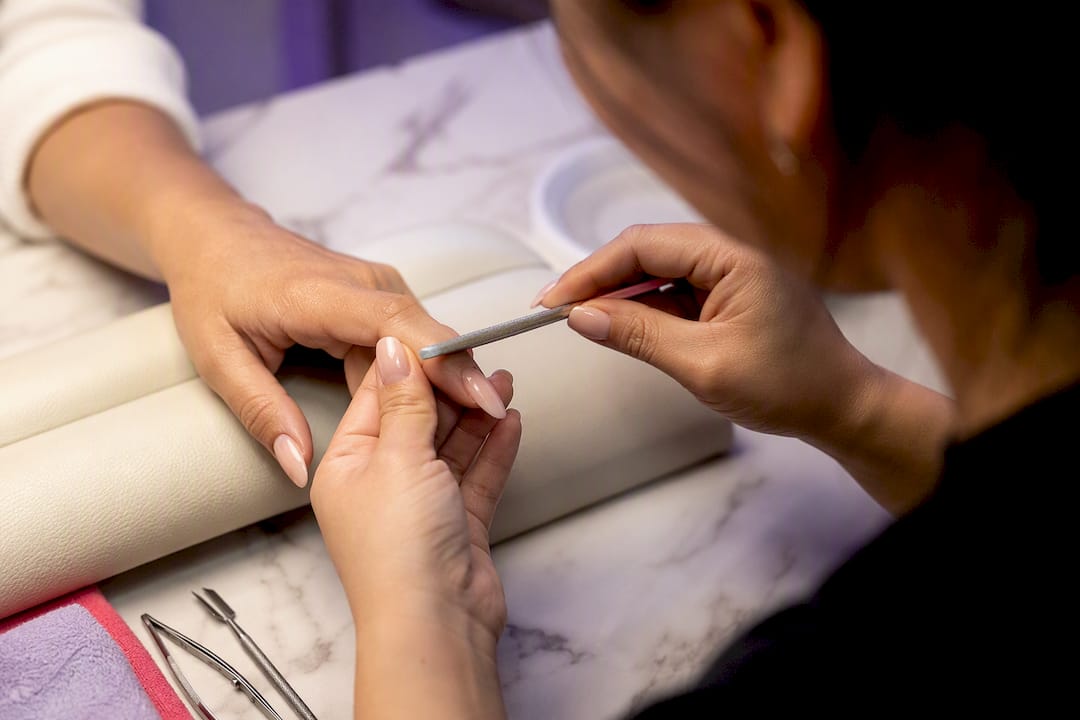
Professional prep work includes checking for existing lifting or damage before applying new product, so a fill doesn’t just cover up a problem that needed attention. Balanced application, meaning even weight distribution across the nail bed rather than a heavy tip, reduces the leverage that causes snapping weeks later. A salon repair beats an at-home fix any time a nail has cracked below the free edge or lifted across more than a small section, since forcing acrylic back into place without proper prep just traps more moisture underneath.
When Acrylics Might Not Be the Right Fit for You
Acrylics reward people willing to commit to the routine. If daily oil application and a strict 2 to 3 week fill schedule sound like more than you want to manage, it’s worth being honest with yourself about that before you book a full set.
Gels or SNS dip powder tend to suit lower-maintenance lifestyles better, since they’re gentler on the natural nail and more forgiving between appointments. If you do stick with acrylics, small habit shifts, gloves for chores and a standing fill reminder, make the difference between a set that lasts and one that becomes a repair cycle.
— MinhHieu
Book Professional Fills and Repairs at Bradentonnails
A professional technician checks your nails for lifting, thinning, or early damage before it becomes an emergency repair. That’s the real advantage over guessing at your own fill schedule. Our Acrylic Full Set, Acrylic Fill, and Acrylic with Gel Polish Full Set options cover everything from a brand-new set to a routine 2 to 3 week fill, priced clearly on our site with no surprises at checkout.

At your appointment, expect a quick inspection of your current nails, a balanced fill or full rebuild depending on what your nails need, and a straightforward conversation about whether a soak-off removal makes more sense than pushing a set further. If your natural nails need a break, our natural nail care services cover restorative manicures while you rebuild strength. Book online through our Bradenton nail salon page and get on a fill schedule that actually fits how you use your hands.
Sources
FAQ
What Are the Do’s and Don’ts of Acrylic Nails?
Do apply cuticle oil daily, wear gloves for chores, and book fills every 2 to 3 weeks. Don’t pick at lifted edges, use your nails as tools, or soak them in water for extended periods.
How Do I Take Care of My Nails After Acrylics Come Off?
Your natural nails will likely be thin and brittle right after removal, so strengthening treatments and regular moisturizing for several months help them recover fully. A restorative manicure at a salon can also jump-start that healing process.
How Long Should You Keep Acrylic Nails On For?
A full set typically lasts around 6 to 8 weeks with regular fills every 2 to 3 weeks in between, though water-heavy jobs or frequent swimming may call for shorter intervals.
Why Do My Acrylic Nails Only Last Two Weeks?
Frequent hand-washing, dishwashing without gloves, or a job involving constant water exposure accelerates lifting far faster than average, often cutting a set’s practical lifespan down to about two weeks. Switching to a shorter fill interval or wearing protective gloves during chores usually solves it.
Is It Cheaper to Get a Fill or a New Full Set?
A fill costs less than a full set and takes less time, which is why sticking to a regular 2 to 3 week fill schedule almost always beats waiting for a problem and needing a full rebuild.
Recommended
Comments