
Best Eyebrow Shape for Face: A Guide to Flatter Every Feature
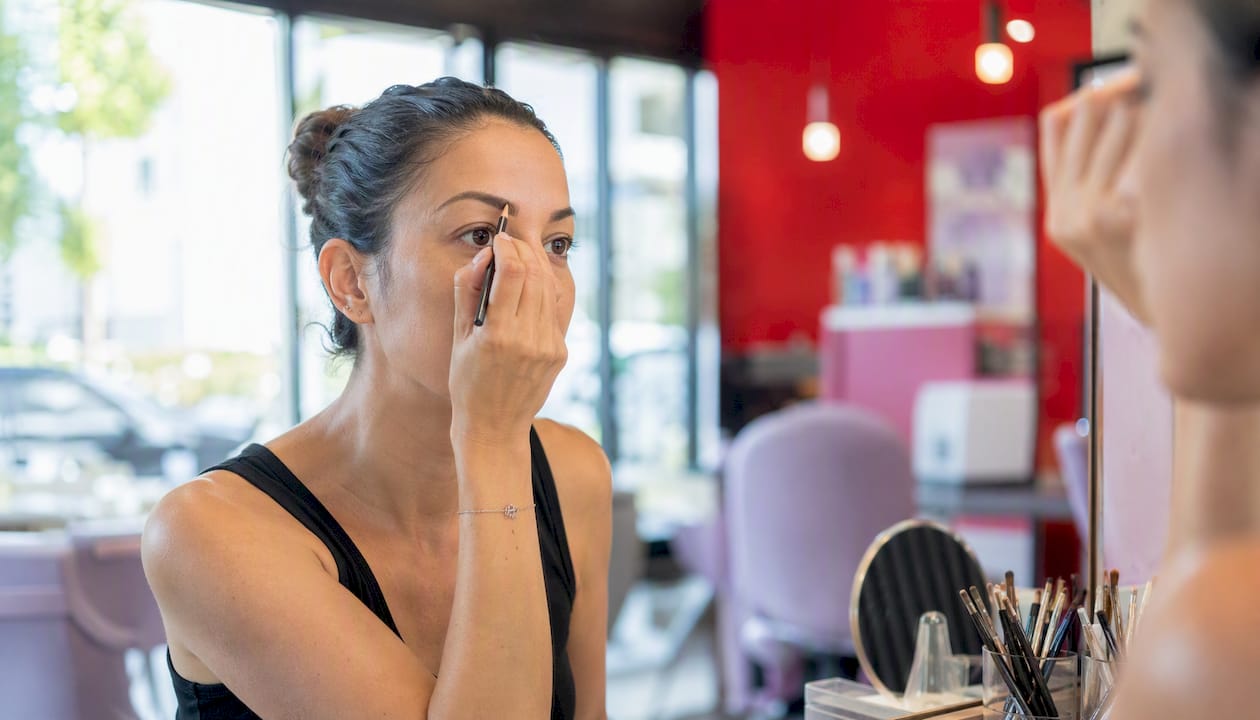
Oval faces work best with a soft, natural arch that keeps the balance you already have, as explained in this guide on how to select the perfect hat for your face shape, which highlights the importance of facial proportions in styling choices. Round faces need a higher, angular arch to add length. Square faces want a curved or soft-angled brow to ease the jawline. Heart-shaped faces benefit from a softly rounded arch that pulls focus away from a pointed chin. Diamond faces do well with a curved brow that widens the narrow forehead. Oblong or long faces call for a flatter, straighter brow that shortens visual length.
Each of these recommendations exists to correct or enhance one thing: proportion. A high arch tricks the eye into seeing height where a round face has width. A flat brow does the opposite for a long face, pulling the eye sideways instead of down. None of this is guesswork. Brow specialists have been mapping face shape to brow architecture for years, and the logic holds up because it’s based on basic visual geometry, not trend cycles.
Here’s the fast version before you get into the how-to:
Oval: Soft, natural arch. Enhances what’s already balanced.
Round: Higher, more angular arch. Adds length and lift.
Square: Curved or gently angled brow. Softens strong jaw corners.
Heart: Rounded, softer arch. Shifts focus away from a narrow chin.
Diamond: Curved brow with some width. Balances a narrow forehead.
Oblong/long: Flatter, straighter brow. Shortens the appearance of face length.
Pro Tip: If you notice significant asymmetry between your brows, unusually sparse growth, or you’re considering something semi-permanent like microblading, skip the DIY approach and book a mapping consultation with a professional first. A trained technician can catch structural issues a mirror check will miss.
Key Takeaways
The most reliable path to a flattering eyebrow shape combines accurate face-shape measurement, professional mapping points, and a bias toward preserving natural fullness over dramatic change.
Point | Details |
Measure before guessing | Use forehead, cheekbone, jaw, and face-length measurements to classify your shape accurately. |
Map three key points | Locate the brow head, arch, and tail using nostril, iris, and eye-corner reference lines. |
Test before committing | Preview shapes with washable makeup, photos, or virtual try-on tools before any hair removal. |
Preserve natural fullness | Favor subtle, age-appropriate shaping over extreme thinning for a more forgiving, youthful result. |
Get professional input for big changes | Book a mapping consultation for asymmetry, sparse growth, or semi-permanent options like waxing services. |
Table of Contents
How Do You Identify Your Face Shape?
Grab a soft measuring tape or a piece of string and a mirror, because the fastest way to nail your face shape is to measure it, not guess at it. Guessing is where most people go wrong. A face that looks “round” in bad lighting might actually be oval, and that one misjudgment can send you toward the wrong brow shape entirely.
Here’s the method Byrdie’s experts recommend, and it takes about five minutes:
Measure your forehead at its widest point, roughly from temple to temple.
Measure your cheekbones across the widest part, usually just below the outer corner of your eyes.
Measure your jawline at its widest point, near the back corners of your jaw.
Measure face length from your hairline straight down to the bottom of your chin.
Compare the four numbers. The shape with the largest measurement usually determines your category.
A few quick rules of thumb once you have your numbers: if face length is noticeably greater than cheekbone width, you’re likely oblong. If forehead, cheekbones, and jaw are all close in width with soft corners, you’re probably round. If those same three measurements are close but with sharp, angular corners, that’s square. If your forehead is the widest point and your chin narrows to a point, that’s heart. If cheekbones dominate and both your forehead and jaw are narrower, that’s diamond. Oval sits in between all of these, with gently curved edges and a proportionally longer length relative to width.
For a clearer read, trace your reflection’s outline on a bathroom mirror with a washable marker, or better, take a straight-on photo with your hair pulled back and pull it into a basic photo editor to trace the outline digitally.
Pro Tip: Square and oblong get confused constantly because both have strong, straight lines. The tiebreaker is length: square faces have roughly equal width and length, while oblong faces are clearly longer than they are wide. Oval and diamond get mixed up too, but diamond has a narrower forehead and chin than oval, which stays proportionally rounder throughout.
Where Should Your Brows Start, Arch, and End?
Brow mapping comes down to three points: where the brow starts, where it peaks, and where it ends, and each point lines up with a specific feature on your face. This is the same method professionals use before any tweezing, waxing, or pigment work, and you can borrow it for a rough at-home guide.
Professional mapping guidance uses three reference lines, all measured while sitting upright with your head level, not tilted back:
The start (head): Hold a pencil or thin brush vertically against the side of your nostril, running straight up. Wherever it crosses your brow bone is where your brow should begin.
The arch (apex): Angle the pencil from the outer edge of your nostril through the outer edge of your iris (while looking straight ahead). That point marks where your highest arch should sit, typically about two-thirds of the way across the brow.
The tail (end): Angle the pencil from the outer nostril through the outer corner of your eye. Where it crosses your brow bone is where the tail should end.
In the mirror, check your work against a few visual anchors: the head of each brow should line up roughly with the inner corner of your eye, the arch shouldn’t sit so far forward that it looks surprised or so far back that it looks flat, and the tail should land at or slightly above the level of the brow’s starting point, never drooping below it.
Professionals emphasize mapping upright rather than reclined, because gravity shifts your skin and changes where these points actually fall once you sit up. A brow mapped while lying back in a salon chair can look off the second you stand.
Pro Tip: Use a washable eyebrow pencil or eyeliner to mark your three reference points directly on your skin before you pluck or wax anything. Live with the marks for a day, check them in different lighting, and only then commit to removing hair outside the lines.
Which Eyebrow Shape Works for Your Face?
Once you know your face shape, the real decisions are arch height, brow thickness, and tail length, and each one nudges your proportions in a slightly different direction. Small adjustments here do most of the visual work.
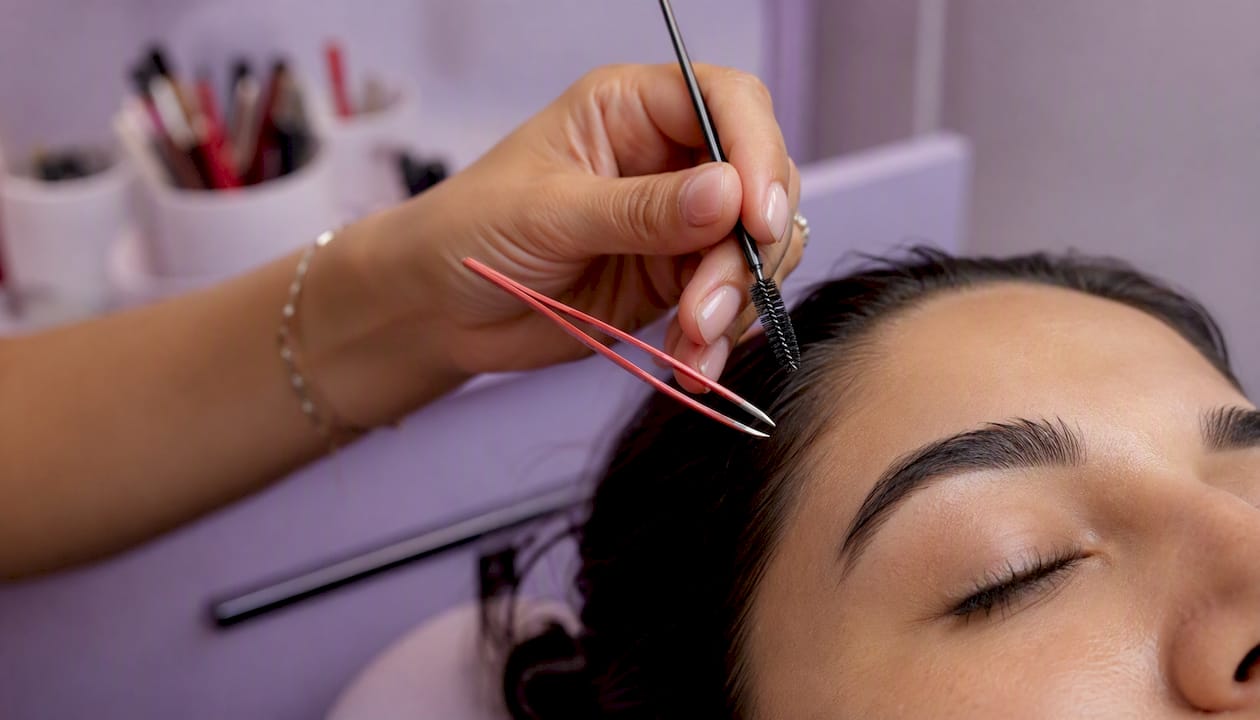
Oval faces do best with a soft, moderate arch that keeps your natural balance intact. Go for medium thickness and a tail that ends level with the brow’s start. Because oval is already the most proportionate shape, the goal is enhancement, not correction. Avoid anything dramatic. A high, sharp arch will fight your natural symmetry rather than complement it.
Round faces benefit from a higher, more defined arch that adds vertical lift. Medium to slightly thicker brows read as more structured against soft, curved features. Keep the tail a touch longer than you’d think, since a longer, slightly lifted tail creates a lengthening illusion that counters the roundness. Avoid a flat, low arch, since it tends to widen an already round face.
Square faces look best with a soft, curved or gently angled brow that eases the sharpness of the jaw and forehead corners. Medium thickness works well; a curved shape reads as softer than an angular one. Keep the tail moderate in length. Avoid a hard, geometric arch, which mirrors and exaggerates the jaw’s angles instead of balancing them.
Heart-shaped faces call for a rounded, low-to-medium arch that draws attention upward and away from a narrower chin. Medium fullness looks natural here. A shorter, softly tapered tail works better than one that drags the eye downward toward the point of the chin. Skip a thin, severely arched brow, which emphasizes the width at the top of the face.
Diamond faces suit a curved brow with a bit of extra width at the front, since a fuller head balances a narrow forehead. Medium to full thickness and a moderate arch height work well together. Avoid overplucking the head of the brow, a common mistake that narrows an already narrow forehead further.
Oblong or long faces need a flatter, straighter brow to shorten the face visually. Keep the arch low or minimal, and lean toward medium thickness. A flatter brow shortens the appearance of face length, while a high arch does the opposite by adding even more vertical emphasis. Avoid a steep, pointed arch entirely.
Face Shape | Arch Height | Thickness | Tail Guidance |
Oval | Soft, moderate | Medium | Level with brow start |
Round | Higher, defined | Medium to full | Slightly longer, lifted |
Square | Soft curve | Medium | Moderate length |
Heart | Low to medium | Medium | Shorter, softly tapered |
Diamond | Moderate | Medium to full | Wider at head, moderate tail |
Oblong/long | Low, flat | Medium | Straight, minimal lift |
Pro Tip: If your face blends two shapes, like square-oval or round-heart, test both recommendations with photos before committing to either. Map both versions with washable pencil, photograph your face straight on, and compare which one visually softens or balances your strongest feature.
What Are the Different Eyebrow Styles Called?
Style choice matters because it changes how your brow interacts with your eyes, not just how it sits on your face. A brow style can lift a tired-looking eye, soften an intense stare, or lengthen a short forehead, all without any change to your actual face shape. Getting the style right is a separate decision from getting the shape right, and both need to work together.
Cosmopolitan’s rundown of the six major styles breaks them down like this:
Arched: A defined peak partway across the brow. Adds lift to round or heart faces; higher maintenance since the shape grows out fastest at the arch.
Fluffy arched: Same arch structure, but with longer, brushed-up hairs left untrimmed. Looks natural and youthful, but needs a brow gel or wax daily to hold the shape.
Straight: Minimal arch, running nearly flat across. Great for shortening long or oblong faces; low maintenance since there’s no peak to keep sharp.
Curved: A gentle, rounded arc with no sharp peak. Softens square and diamond faces well; moderate upkeep, mostly trimming stray hairs.
Thin: Narrow width throughout. Can look sleek on some, but grows out unevenly and is the hardest style to maintain without gaps.
Short-tailed: The tail ends early instead of extending to the outer eye corner. Creates a subtle lifting effect, but risks looking unfinished if the tail is cut too short.
For before-and-after references, screenshot straight-on photos of your face with a temporary drawn-on version of each style, in the same lighting and expression, so the comparison is fair.
Pro Tip: Trends like the thin 90s brow or the ultra-full “soap brow” come and go, but the timeless move is adapting a trend’s spirit, like slightly bolder color or a cleaner tail, without abandoning your natural fullness underneath. A trend applied on top of your real brow shape ages better than one that replaces it entirely.
How Should Natural Brow Growth Change Your Choice?
Your natural growth pattern and hair density should shape your final decision more than any face-shape chart, because a plan that fights your real brows never holds up between appointments. The best shape is the one you can actually maintain without constant correction.
A few decision rules worth following:
Sparse tail: If the outer third of your brow grows in thin or patchy, consider tinting or microblading rather than trying to shape hair that isn’t there.
Dense front growth: If your brow heads grow in thick and close together, avoid over-thinning them; a slightly fuller head reads as intentional, not messy.
Uneven natural arch: If your natural arch already sits close to the ideal spot for your face shape, work with it instead of forcing a different peak.
Fine, light hair: Fine brow hair benefits from tinting to add visual density without adding actual thickness through makeup every day.
Realistic upkeep varies a lot by method. Tweezing or threading for shape maintenance runs every two to three weeks for most people. Tinting typically needs a refresh every four to six weeks as hair grows out and pigment fades. Microblading or other permanent makeup touch-ups are usually spaced twelve to eighteen months apart, though healing and fading vary by skin type.
Pro Tip: Match your brow color to your hair color, not the other way around, and lean one shade lighter than your hair if you have fair skin, or one shade darker if you have deep skin. A brow that matches your undertone reads as natural; one that’s too dark against light skin or too light against dark skin looks drawn on no matter how well the shape is done.
What’s the Safest Way to Get the Shape You Want?
The lowest-risk path to your ideal shape is a professional shaping appointment followed by a slow grow-out period and targeted tinting, because it gives you room to adjust before anything is permanent. Extreme changes made in one sitting are the ones people regret most.
Here’s how the common methods stack up:
Tweezing: Cheap, precise, and doable at home, but slow for larger corrections and easy to overdo hair by hair.
Waxing: Fast and clean for larger areas; waxing removes hair efficiently from the root and lasts three to four weeks, though it carries more risk of irritation on sensitive skin.
Threading: Very precise, gentle on skin, and good for fine-tuning edges; needs a skilled technician and regrowth shows sooner than waxing.
Tinting: Low commitment, adds definition without removing hair, fades naturally over four to six weeks.
Lamination: Sets brow hairs in a fluffier, more uniform direction for four to six weeks; great for sparse or unruly brows but not a shape-correcting method on its own.
Microblading: Semi-permanent pigment that mimics hair strokes; lasts twelve to eighteen months but requires the most upfront commitment and skill from the technician.
Before booking, bring a short list of questions to your appointment:
What mapping approach will you use, and can you show me the reference points before starting?
Can I see examples of your previous work on a similar face shape or brow density?
What’s the expected healing timeline if this involves tinting, lamination, or microblading?
What aftercare do I need in the first 48 hours?
Pro Tip: Always ask for a patch test at least 24 hours before any tinting or pigment service, and follow the aftercare instructions exactly for the first two days. Skipping this step is the most common reason people end up with patchy color or unexpected irritation.
How Do You Preview a Shape Before Committing?
The safest way to test a new brow shape is with photos, washable makeup, and a virtual try-on tool, all before a single hair gets removed. This gives you a realistic preview without any of the risk.
For consistent before-and-after shots:
Use natural, even lighting, ideally daylight near a window rather than overhead lights that cast shadows.
Keep a neutral expression and look straight at the camera, not tilted up or down.
Shoot from the same distance every time, roughly arm’s length, so the scale of your face stays consistent between photos.
Pull your hair back fully so nothing obscures your hairline or brow shape.
When using a virtual try-on tool or app, a few things to keep in mind:
Results are approximations. Lighting, angle, and camera quality all shift how a simulated shape actually looks.
Test at least two variations of your recommended shape (a slightly higher arch versus a slightly softer one, for instance) rather than trusting one single render.
Screenshot your favorite results and note what specifically appealed to you: the arch height, the tail length, the overall thickness.
Pro Tip: Bring your marked-up photos and any virtual try-on screenshots to your appointment. A technician working from a shared visual reference, rather than a verbal description alone, gets you a far more accurate result on the first try.
Why Do Professionals Favor Fullness Over Trend-Chasing?
Industry consensus leans firmly toward preserving natural brow fullness rather than forcing an ultra-thin shape, because fuller brows tend to read as more youthful and forgiving of small asymmetries. This isn’t a stylistic opinion so much as a practical one: thin brows show every imperfection, while fuller ones have room to disguise them.
Brow specialists consistently point to preserving natural fullness as the better long-term strategy over chasing ultra-thin trends, since fullness contributes to a lifted, youthful appearance that holds up as features change over time.
There’s a physiological angle to this too. Research on age-related changes to hair and soft tissue shows that as people get older, brow density naturally shifts and thins, which is part of why gentler angles and preserved fullness tend to look more age-appropriate than severe, over-plucked shapes. A brow that’s already thin has nowhere left to go as natural sparseness sets in.
Vogue’s coverage of brow trends makes a similar point: styles swing from ultra-thin to full “soap brow” looks and back again, but the advice that holds up across every cycle is matching brow shape to facial anatomy, not to whatever’s trending that season.
Pro Tip: Over-plucking is one of the hardest mistakes to undo, since brow hair can take months to fully regrow, and some follicles never recover after years of repeated removal. When in doubt, remove less than you think you need to, and let a professional handle any correction beyond basic tail and stray-hair cleanup.
Does Skin Type or Hair Color Change the Recommendation?
Skin type and hair color don’t change your ideal shape, but they do change how that shape should be filled in, colored, and maintained. Getting this part wrong is why some people follow the face-shape rules perfectly and still feel like the result looks off.
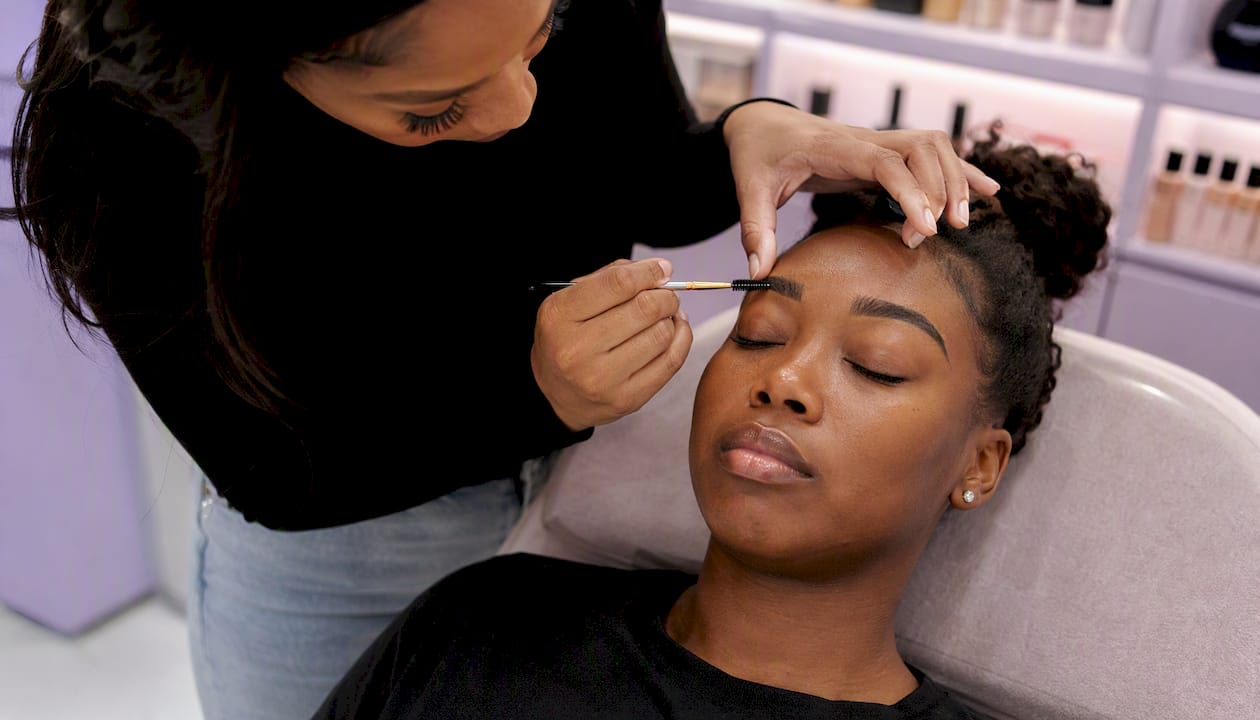
If you have oily skin, brow makeup and tint tend to fade or smudge faster, so a slightly more defined shape with a setting gel holds up better through the day than a soft, powdery fill. Dry skin, on the other hand, can make brow pencils look patchy or catch on flaky skin, so a lighter hand with a tinted brow gel usually reads more natural than a heavily drawn shape.
Hair color plays into pigment choice more than shape choice. Blonde and light brown hair generally looks most natural with a brow shade one tone darker than the hair itself, since brows sit slightly darker than scalp hair on most people naturally. Dark brown and black hair usually calls for a brow color that’s a shade or two lighter than the hair to avoid a harsh, painted-on line. Red hair is trickier: a true auburn or warm brown tint tends to look far more natural than black or ash brown, which can clash visibly against warm undertones.
Skin undertone matters here too. Cool undertones generally pair better with ash or taupe brow tones, while warm undertones look more natural with brown or auburn shades. If you’re unsure which undertone you have, checking the color of the veins on your wrist in natural light is a quick, if imperfect, way to narrow it down.
Why Starting Subtle Beats Going All In
The recommendation here is to start subtle: pick the smallest change that moves you toward your ideal shape, not the most dramatic one, and adjust from there. It’s tempting to chase the full transformation in one sitting, especially after seeing a compelling before-and-after photo, but that instinct usually backfires.
Subtle changes are easier to maintain, easier to reverse if you don’t love the result, and they leave you room to shift with future trends without having committed to something extreme and hard to undo. A slightly higher arch you can always raise further next month. An arch shaved down too aggressively takes months to grow back.
If you’re on the fence about how far to go, test it with photos first, using a washable brow pencil to sketch the change before touching a single hair. And if you want an expert opinion on your specific brow density and growth pattern before making any real changes, book a mapping consultation and let a technician walk you through what will actually work for your face.
Sources
Recommended
Comments