
Gel Manicure Longevity Tips for a 4-Week Wear
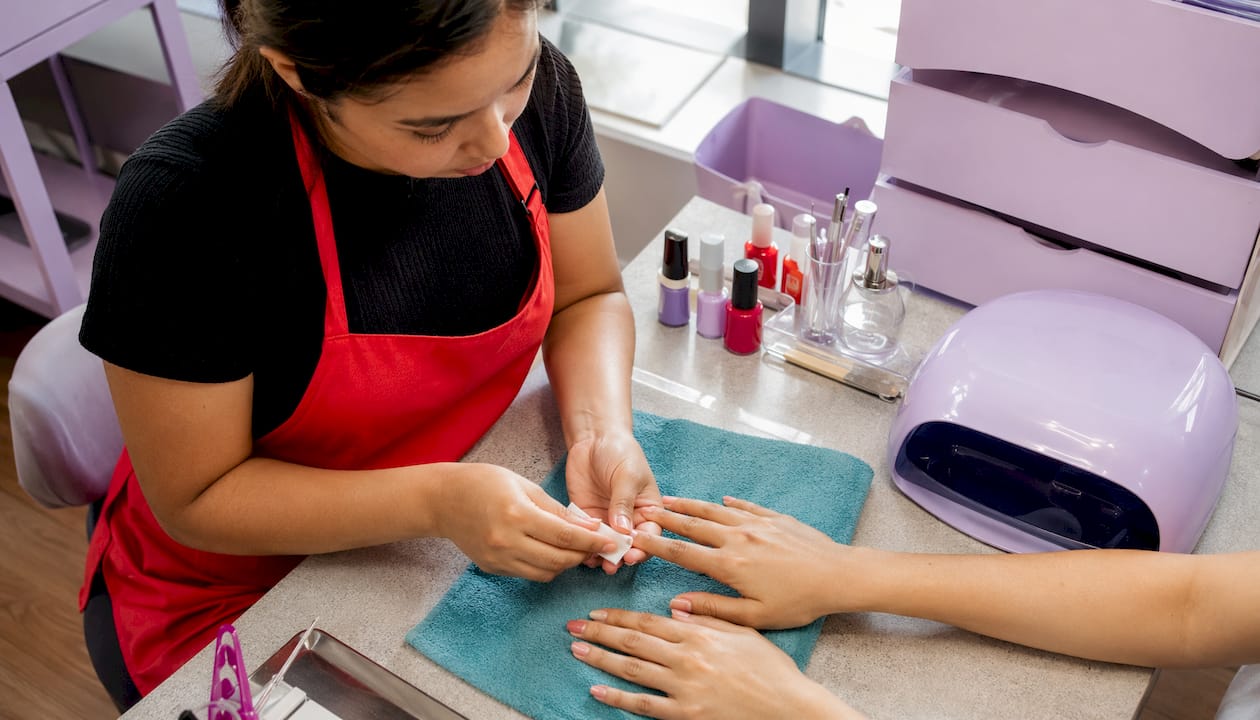
A well-executed gel manicure typically lasts three to four weeks, with professional maintenance extending the upper durability limit. Most people get closer to two to three weeks, and the gap almost always comes down to the same three things: how well the nail was prepped before application, whether the free edge was capped during every coat, and how consistently cuticle oil was applied afterward. Get all three right, and four weeks is realistic. Skip any one of them, and you’re looking at chips by day ten.
Here’s what actually moves the needle on gel polish longevity:
Prep thoroughly. Dry, oil-free nails with cuticle tissue fully removed give gel something to grip.
Cap the free edge. Swipe every layer across the nail tip to seal the edge and stop tip wear before it starts.
Apply cuticle oil daily. Starting 24 hours after your appointment, twice a day keeps the nail flexible and prevents lifting at the base.
Wear gloves for wet work. Dishes, cleaning, and prolonged water exposure are the top three gel killers.
Never peel. Picking lifted gel strips keratin layers and shortens the life of your next manicure too.
1. How to prep your nails for longer-lasting gel
Preparation is the single biggest factor in gel manicure longevity. Incomplete dehydration causes lifting within the first week, often before you’ve even had a chance to enjoy the color. Everything else, including product quality and curing technique, builds on this foundation.
Skip lotion and oils the day before. Hand cream and cuticle oil applied within 12–24 hours of your appointment leave residue that blocks gel from bonding to the nail plate. Wash hands with mild soap and dry thoroughly right before sitting down.
Push back and remove cuticle tissue. Dead cuticle tissue sitting on the nail plate creates a barrier. Gel applied over it will lift from that spot first. Use a metal pusher or orangewood stick, then gently remove any remaining tissue with a cuticle nipper.
Buff lightly. A fine-grit buffer (180–240 grit) creates micro-texture that gives the base coat something to grip. Over-buffing thins the nail plate and causes long-term damage, so one or two passes is enough.
Dehydrate with a nail prep solution. A professional nail dehydrator removes surface moisture that buffing alone cannot. This step is what most at-home manicures skip, and it’s why salon gel consistently outlasts DIY application.
Apply a pH-balancing primer if needed. On oily nail types, a thin layer of acid-free primer after dehydration improves base coat adhesion noticeably.
Pro Tip: Ask your nail tech to confirm they’re dehydrating the nail plate with isopropyl alcohol before base coat. It takes thirty seconds and makes a measurable difference in how long the gel holds.
2. Application techniques that prevent early lifting and chipping
Thin layers cure better. That’s the core principle behind every application technique worth following. Thick gel coats shrink unevenly during polymerization, which creates internal stress that leads to bubbling, peeling, and premature chipping.
Apply in thin, even coats. Two thin color coats beat one thick one every time. The brush should glide, not drag.
Cap the free edge on every layer. Base coat, color coat, top coat. Each time, swipe the brush across the very tip of the nail to seal the edge. This is the single most important durability step in the entire process.
Match your lamp to your gel system. Under-curing creates a porous structure that is chemically and mechanically weak. LED lamps typically cure in 30–60 seconds; UV fluorescent lamps need 2–3 minutes. Using the wrong lamp or cutting cure time short leaves the gel soft and vulnerable.
Keep polish off the skin and cuticle. Gel touching the skin or cuticle wall creates a micro-lift point. Even a tiny gap at the edge lets moisture in, and once water gets under gel, the clock starts ticking.
Cure each layer fully before adding the next. Stacking uncured layers traps unreacted monomers and weakens the finished coat.
Pro Tip: Heat spikes during curing, that burning sensation some people feel, happen because the polymerization reaction is exothermic. Pulling your hand out briefly and re-inserting it slows the reaction slightly without compromising cure quality.
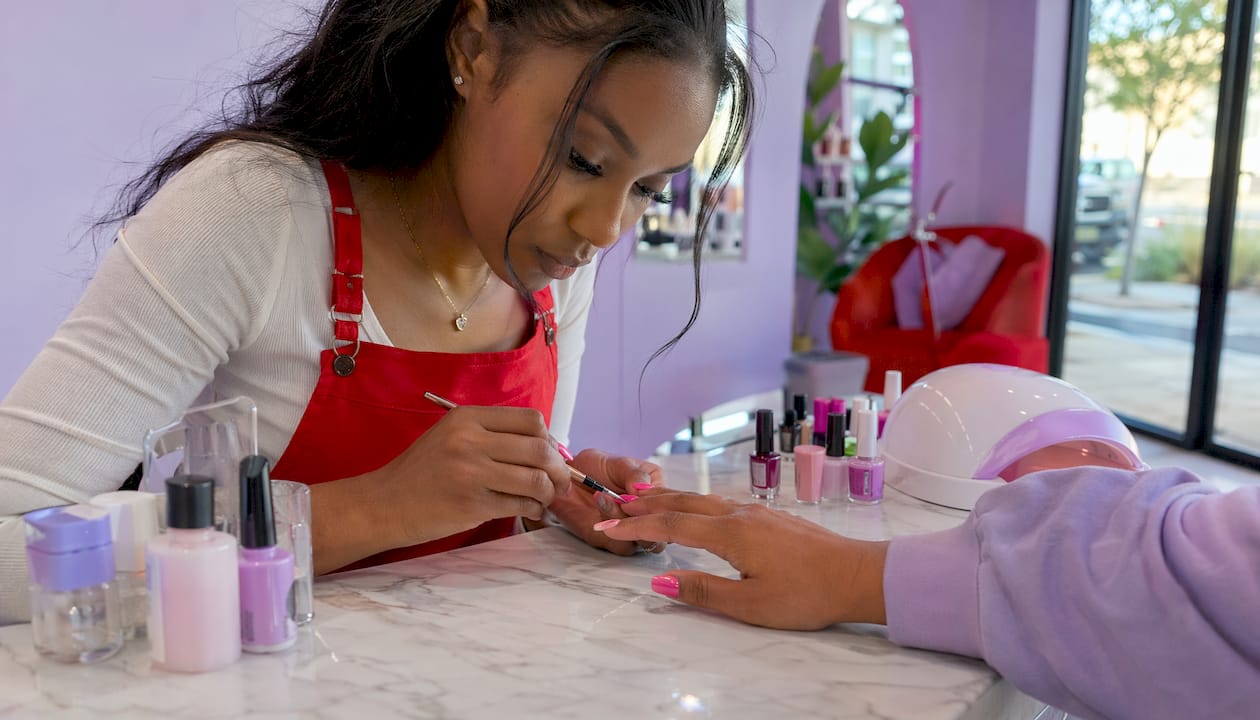
3. Daily aftercare habits that extend your gel wear
The 24 hours after your appointment are the most critical window. The gel is fully cured, but the top coat is still vulnerable to hot water, harsh chemicals, and physical stress. Treat the first day gently, and the rest of the wear period becomes much easier to manage.
Avoid hot water for the first 24 hours. Hot showers, hot tubs, and hot tap water all cause the nail plate to expand and contract, which stresses the gel bond right when it’s most vulnerable.
Start cuticle oil at the 24-hour mark. Daily cuticle oil use extends gel manicure life by around 20–30% by keeping the nail and surrounding skin flexible. Apply morning and night, massage in for ten seconds per finger, and focus on the cuticle and side walls.
Wear rubber gloves for dishes and cleaning. Water causes the nail plate to expand, loosening the gel bond at the edges. Cotton-lined rubber gloves are the most comfortable for longer sessions. This one habit alone can add several days to your wear time.
Refresh top coat weekly. A thin layer of clear top coat over your gel, applied once a week, adds a sacrificial layer that absorbs daily wear. Focus on the tips, which take the most friction. You don’t need a lamp for this; regular clear polish air-dries fine over cured gel.
Stop using nails as tools. Opening cans, peeling stickers, and prying tape all stress the gel at the tip. Each action shortens wear by hours to days. It sounds minor until you notice that your chips always start at the same finger you use to scratch labels.
For more on keeping nails healthy between appointments, the nail care routine guide at Bradentonnails covers the full between-visit picture.
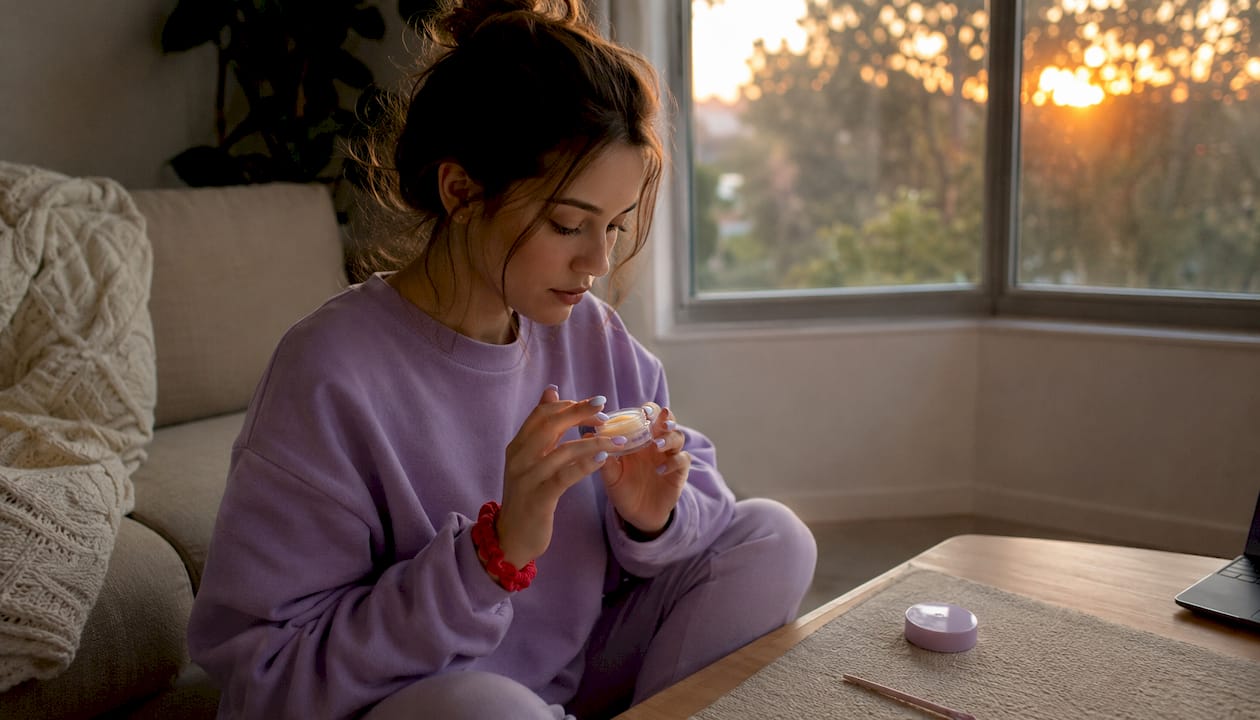
4. Expert insights on what actually causes gel manicures to fail
Gel longevity is a system-wide result. No single product or shortcut replaces the synergy between prep, application, curing, and lifestyle. Understanding where failures actually originate helps you fix the right thing instead of blaming the polish.
Inadequate prep causes most early failures. Failure to fully remove moisture and dead cuticle tissue is the primary cause of early gel lifting. No amount of premium product compensates for a nail plate that wasn’t properly dehydrated.
Not capping the free edge causes tip lifting in 9 out of 10 cases. This figure comes from nail technician consensus and is the most preventable single cause of premature wear. The fix takes three seconds per nail.
Harder gel does not mean longer-lasting gel. Research published in 2025 found that a gel with balanced adhesion and elasticity, specifically adhesion of about 5.2 MPa and a storage modulus of approximately 850 MPa, showed 25–30% greater resistance to cracking and delamination than stiffer formulas. A gel that can’t flex with the natural nail will crack under normal bending stress.
Under-curing is worse than over-curing. Under-curing leaves a porous gel structure that breaks down quickly under chemical and mechanical stress. Over-curing is rarely the problem; under-curing is far more common and far more damaging.
Picking lifted gel causes lasting nail damage. Peeling gel removes keratin layers from the nail plate, leaving it thinner and more prone to lifting on the next application. If gel lifts, soak it off properly rather than peeling. The Bradentonnails guide to safe gel removal walks through the correct process step by step.
Cuticle oil myths persist. Some wearers avoid cuticle oil thinking it will loosen their gel. Applied after the first 24 hours, cuticle oil does the opposite: it maintains the flexibility of the nail and surrounding skin, which reduces the mechanical stress that causes lifting. The key is timing, not avoidance.
If your nails need recovery time after gel, the nail repair recovery guide at LaTerraTales covers a practical four-week approach to rebuilding nail health before your next appointment.
Key Takeaways
Gel manicures last three to four weeks when prep, application, and aftercare work together — skipping any one element shortens wear noticeably.
Point | Details |
Prep is the top factor | Incomplete dehydration causes lifting within the first week, before any other variable matters. |
Cap the free edge every time | Sealing the tip on every layer prevents tip lifting in 9 out of 10 cases. |
Cuticle oil extends wear noticeably | Apply twice daily starting 24 hours after your appointment, focusing on cuticle and side walls. |
Balanced gel outperforms hard gel | A gel with adhesion and elasticity balanced at moderate levels resists cracking better than stiffer formulas. |
Gloves and no peeling protect the bond | Hot water and picking are the two fastest ways to shorten gel wear and damage the natural nail. |
Book your next gel manicure at Bradentonnails

The tips above work best when the foundation is right, and that starts with a professional application. At Bradentonnails, the technicians at TJ Nails in Bradenton, FL dehydrate the nail plate, cap the free edge on every coat, and use properly matched curing lamps as standard practice. The result is gel that actually goes the distance.
Book a professional gel manicure at TJ Nails and start your next wear period with the prep and application done right.
Recommended
Comments