
Nail Salon Aftercare Instructions to Follow Now
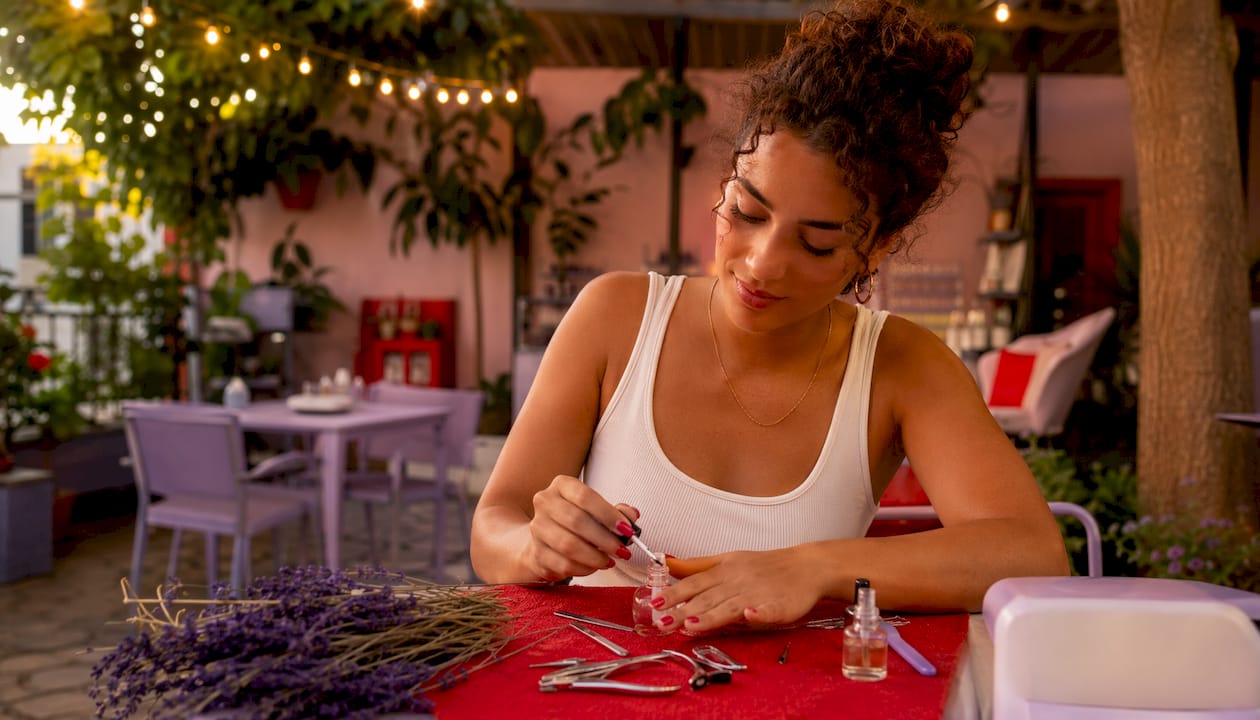
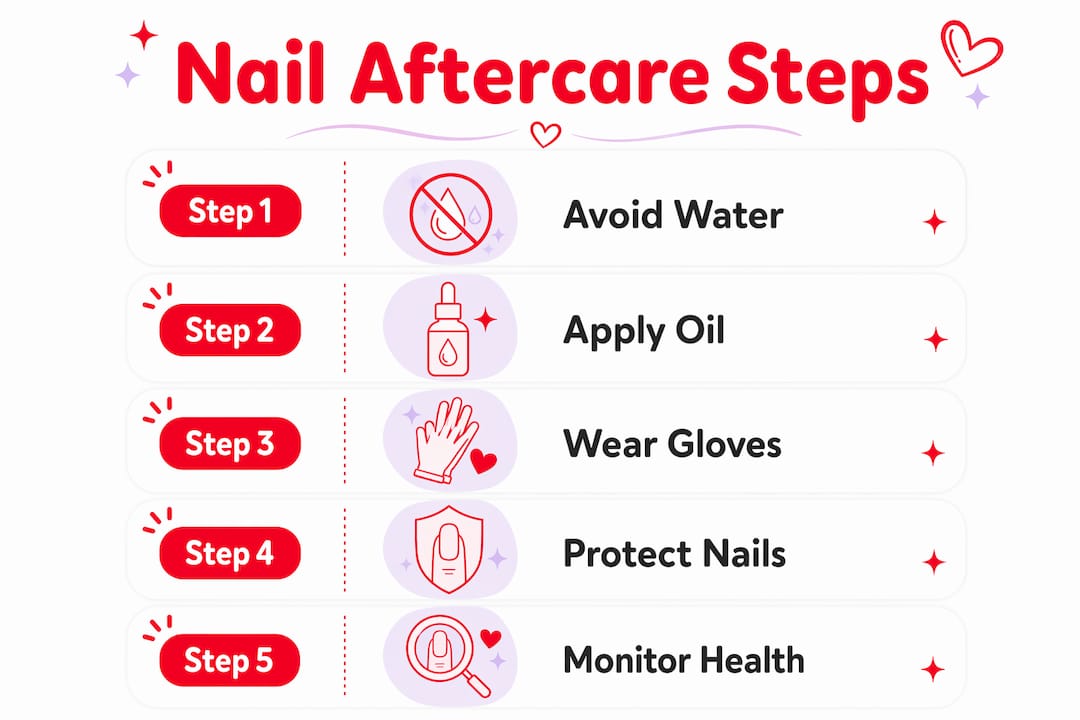
Right after your manicure or enhancement, do three things: avoid water and heat for 24 hours, start applying cuticle oil daily, and never use your nails as tools. Follow these nail salon aftercare instructions and your color, bond, and nail health will last significantly longer.
TL;DR: Keep nails dry for 24 hours, moisturize daily, and return to the salon for any lifting or repairs.
Do this right now:
Avoid washing dishes, long showers, or soaking hands for the first 24 hours
Don’t tap, pick, or press your nails against hard surfaces
Apply cuticle oil tonight before bed
Wear gloves for any cleaning or gardening tasks
Avoid using nails as tools — such as opening cans, peeling stickers, or scraping surfaces
Table of Contents
What should you avoid in the first 24 hours after your service?
Water is the biggest threat to a fresh manicure. Whether you got regular polish, gel, acrylics, or dip powder, moisture weakens the bond between the product and your nail plate before it has fully set. Heat compounds the problem by expanding the nail plate slightly, which can cause lifting at the edges.
What to avoid:
Long showers or baths (keep showers short and cool)
Washing dishes without gloves
Swimming, hot tubs, or saunas
Cooking over steam or handling hot pots barehanded
Tapping nails on keyboards or hard surfaces repeatedly
What to do instead:
Use the backs of your hands or knuckles to push doors and buttons
Let someone else do the dishes, or use thick rubber gloves
Pat hands dry gently after any handwashing — don’t rub
Dermatologists recommend avoiding water and intense heat for the full first day to protect curing and adhesion. That window matters most for gel and acrylic services, but it applies to regular polish too.
Pro Tip: If you must wash your hands within the first few hours, use lukewarm water and dry immediately with a soft towel. Cold water is far less damaging than hot.
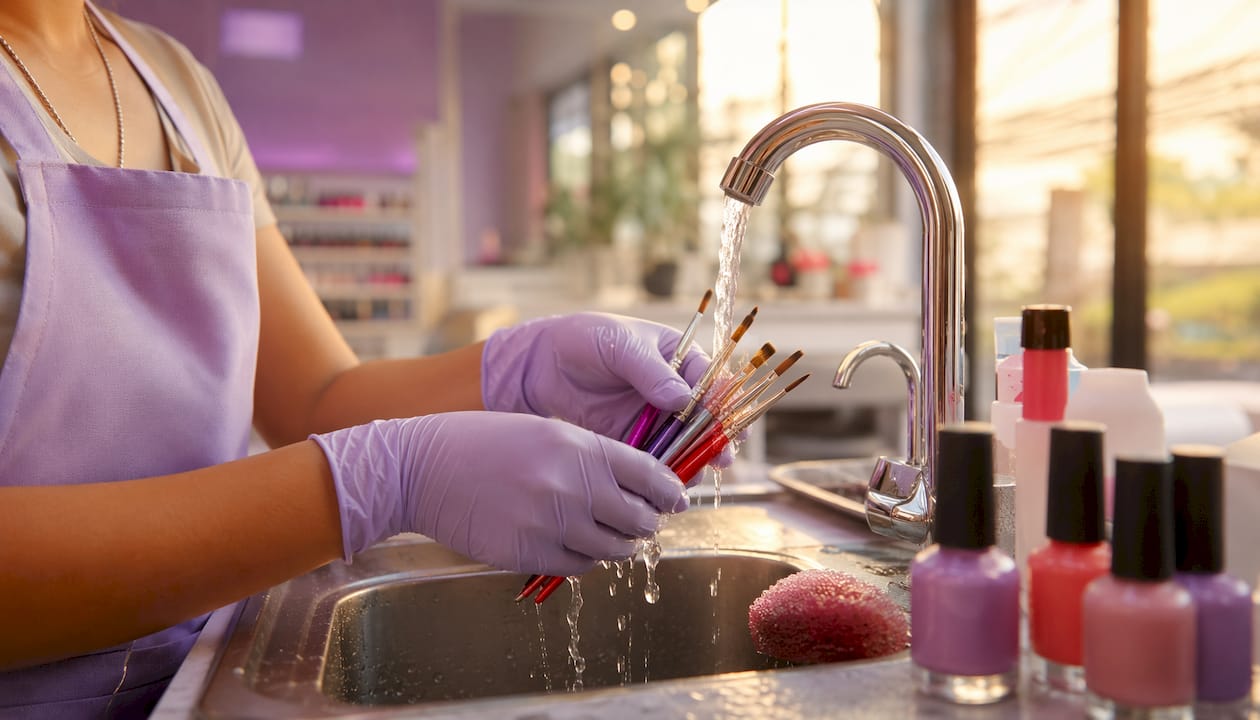
How to build a daily nail care routine that actually works
Consistency is what separates a manicure that lasts two weeks from one that chips in four days. The routine below takes under five minutes morning and evening.
Morning:
Apply a pea-sized amount of hand cream after washing your hands.
Rub a drop of cuticle oil around each nail bed.
Check for any small chips or lifting edges — address them before they grow.
Evening:
Remove any surface dirt gently with a soft nail brush.
Apply cuticle oil again — this is the most important step you can add.
Finish with a rich hand cream or, for extra hydration, a thin layer of petroleum jelly over your nails and cuticles.
Dermatologists advise applying petroleum jelly or a similar moisturizing product to nails and cuticles several times daily to minimize brittleness and prevent chipping. That frequency sounds like a lot, but a tiny amount takes seconds.
Gloves matter more than most people realize. Dish soap, cleaning sprays, and even hand sanitizer strip moisture from the nail plate and break down polish adhesion. Keep a pair of rubber gloves near the sink and use them every time.
Situation | Recommended protection |
Washing dishes | Thick rubber gloves |
Gardening or yard work | Nitrile or cotton-lined gloves |
Cleaning with chemicals | Rubber gloves, always |
Gym or sports | Avoid picking or gripping rough surfaces |
Pro Tip: Keep a small bottle of cuticle oil at your desk or in your bag. Three seconds of application after every hand wash adds up to a real difference by week two.
Aftercare by service type: gel, acrylics, dip/SNS, and nail art
Not all nail services need the same care. Here’s what changes depending on what you got done.
Gel polish
Gel cures under UV or LED light, so it sets faster than regular polish. Still, the bond between gel and your natural nail is vulnerable in the first 24 hours.
Avoid picking or peeling at any edge — it pulls layers of your natural nail with it
Don’t pick gel nail polish when color begins lifting; book a removal appointment instead
Plan a polish holiday of one to two weeks between gel sets to let nails recover
Rebook every three to four weeks before significant lifting begins
Acrylics and hard gel extensions
Acrylics take longer to fully cure and are more sensitive to impact in the first day.
Avoid heavy lifting or gripping for 24 hours
File only with a fine-grit file if a small snag appears — never use a coarse file on the surface
Fills are typically needed every two to three weeks; skipping them causes stress on the natural nail
Professional removal is non-negotiable — soaking and filing at home without proper technique causes serious nail-plate damage
Dip powder / SNS
Dip powder is durable but not immune to moisture damage at the edges.
Keep hands dry for the first 24 hours, same as gel
Avoid filing the surface — dip layers are thin and easy to break through
SNS dip services typically last three to five weeks with proper care
Removal requires acetone soaking; do not peel or force it off
Nail art and embellishments
Nail art with gems, foils, or 3D elements needs extra protection.
Avoid snagging on fabric or hair for the first 48 hours
Apply a thin layer of top coat over embellishments every few days to seal edges
Gel-based nail art uses UV curing, so the same UV precautions apply
When can you shower, swim, or use a hot tub after getting your nails done?
The short answer: wait longer than you think.
First 24 hours:
Short, cool showers are fine — keep hands out of the stream as much as possible
No baths, no soaking, no swimming
No hot tubs or saunas — heat causes lifting and can warp soft gel
Days 2–7:
Normal showers are fine; wear gloves for dishes and cleaning
Chlorinated pools are risky — chlorine degrades polish and weakens adhesive bonds
Hot tubs remain a problem all the way through week one
After full cure (week 2 onward):
Swimming is generally fine, but rinse hands after pool or ocean exposure
Saunas and steam rooms can still cause premature lifting with gel or acrylics — keep sessions short and moisturize afterward
UV-cured services carry an additional consideration beyond water. The UV lamps used to cure gel polish expose the skin on your hands to ultraviolet radiation. Applying broad-spectrum, water-resistant sunscreen with SPF 30 or higher to your hands before the service, or wearing opaque gloves with the fingertips snipped off, reduces that UV exposure meaningfully.
How to handle chips, lifting, and removal safely
A small chip at the tip is not an emergency. A lifting edge that you keep picking at is.
Minor chip at the tip (first fix at home):
File the rough edge smooth with a fine-grit file — never tear or bite.
Apply a thin layer of clear top coat over the chip and let it dry fully.
Avoid water for at least an hour after patching.
Lifting at the base or sides:
Do not peel or force the lifted section down.
Apply a small drop of nail glue under the lifted edge if it’s an acrylic or hard gel extension.
Book a salon appointment within a few days — lifting that isn’t addressed creates a gap where moisture and bacteria collect.
Safe at-home gel removal:
Lightly buff the surface of the gel to break the shine — don’t file through to the natural nail.
Soak a cotton ball in acetone and place it directly on the nail.
Wrap each fingertip with a small piece of aluminum foil to hold the cotton in place.
Wait 10–15 minutes, then gently push the softened gel off with a cuticle pusher.
Moisturize immediately with cuticle oil and hand cream.
Only soak your fingertips in acetone rather than immersing your whole hand — it protects the surrounding skin from drying out. More safe gel removal guidance is available if you want a full walkthrough.
What to never do: scrape gel off with a metal tool, peel acrylics by force, or use a coarse nail file on the natural nail surface. These actions remove layers of the nail plate and cause the thin, peeling nails that take months to recover from.
Pro Tip: Wrap the foil snugly but not tight enough to cut off circulation. Loose foil lets acetone evaporate and extends the time you need to soak — which means more skin exposure.
Warning signs you should not ignore after a nail service
Most post-manicure discomfort fades within a day. These symptoms mean something else is happening.
See a doctor or urgent care if you notice:
Redness or swelling spreading beyond the nail bed
Pus, discharge, or an open sore near the nail
Persistent throbbing pain that doesn’t improve after 48 hours
Fever alongside any nail-area symptoms
Contact the salon if you notice:
Significant lifting within the first 48 hours (possible application issue)
Burning or stinging that started during the service
Discoloration under the nail that wasn’t there before
Possible allergic reaction — see a dermatologist:
Itching, redness, or peeling around the nail area that appears days after the service
Methacrylate, found in many gel products, is a known cause of contact dermatitis — symptoms include redness, itching, and peeling and may require a dermatology evaluation if they persist
Document everything. Take photos of the affected nail(s) with good lighting, note the date of your service and the products used, and bring that information to the salon or your doctor. It speeds up diagnosis and, if needed, helps the salon identify a product issue.
Cutting or aggressively removing the cuticle increases infection risk because the cuticle seals the nail plate from pathogens. If your technician cut your cuticles and you’re now seeing redness or swelling, mention that specifically when you call the salon or your doctor.
What dermatologists actually recommend for long-term nail health
The dermatology guidance on nails is more specific than most aftercare articles let on.
Three points from that guidance are worth highlighting because they get skipped most often.
Polish holidays are real medicine for your nails. The AAD recommends one to two weeks without any polish between gel sets. That window lets the nail plate rehydrate and repair micro-damage from repeated acetone exposure and UV curing.
Petroleum jelly beats most expensive nail serums. Applied several times a day, it creates an occlusive barrier that locks moisture into the nail plate and cuticle. It’s unglamorous and it works.
UV exposure during gel curing is a real risk. The lamps used in gel services emit UV radiation. Applying SPF 30+ sunscreen to your hands before the service, or wearing gloves with the fingertips cut off, meaningfully reduces cumulative skin exposure. This is especially worth doing if you get gel manicures frequently.
For readers who experience recurring nail problems, regular nail polish is often the smarter long-term choice. Reserving gel for special occasions protects nail health without giving up great-looking nails entirely.
Key Takeaways
Proper nail salon aftercare comes down to one non-negotiable rule: keep nails dry and protected for the first 24 hours, then build a daily hydration habit that carries through the life of your service.
Point | Details |
First 24 hours | Avoid water, heat, and heavy hand use to protect adhesion and curing. |
Daily hydration | Apply cuticle oil and hand cream morning and evening; petroleum jelly several times daily minimizes brittleness. |
Service-specific rules | Gel and acrylics need professional removal; dip powder lasts 3–5 weeks with dry, glove-protected hands. |
Red flags | Spreading redness, discharge, or persistent pain after a service needs medical attention, not a wait-and-see approach. |
Bradentonnails | For professional removal, repairs, or follow-up care in Bradenton, FL, book with Bradentonnails to protect your nail health. |
The part most aftercare guides leave out
The single most common mistake I see after a fresh service isn’t skipping cuticle oil or forgetting gloves. It’s silence. Clients leave the salon without asking one simple question: “What should I avoid for the next 24 hours with this specific service?”
Every technician knows the answer. Gel cured under LED has different timing than a soak-off gel. A nail art set with 3D gems needs 48 hours of fabric-snag protection, not 24. Acrylics filled over a gap behave differently than a fresh full set. The aftercare isn’t identical across services, and a 30-second conversation at checkout gets you the exact instructions for what’s on your nails right now.
Ask your technician before you leave: “What’s the one thing I should not do in the next day?” You’ll get a specific answer, not a generic pamphlet.
Ready for a professional touch-up or repair in Bradenton?
Bradentonnails at TJ Nails in Bradenton, FL gives you something most DIY fixes can’t: a technician who can see exactly what’s happening with your nails and fix it without causing further damage. Whether you’re dealing with a lifted acrylic, a gel that’s ready for removal, or nails that need a recovery treatment after back-to-back enhancements, professional hands make the difference between a quick fix and a months-long repair job.

Bring photos of any lifting, discoloration, or symptoms when you come in. That information helps the technician choose the right approach from the start. Bradentonnails offers flexible hours including Sundays, so you don’t have to wait a week to address a problem that’s getting worse.
Book your appointment at TJ Nails in Bradenton today, or visit Bradentonnails to see the full menu of manicure, enhancement, and repair services.
Useful sources and further reading
The recommendations in this article draw from dermatology organizations, university health systems, and state licensing authorities. Here’s where to verify and dig deeper.
Dermatology and medical sources:
Gel manicures: Tips for healthy nails — American Academy of Dermatology: polish holidays, petroleum jelly, UV sunscreen guidance
Removing gel polish safely — AAD: foil-and-cotton acetone method, fingertip-only soaking
Reduce artificial nail damage — AAD: cuticle preservation and infection risk
11 dermatologists’ tips for healthy nails — AAD: general nail health best practices
Nail Salon Safety: Expert Tips — University of Miami Health: methacrylate dermatitis, product safety
Fingernails: Do’s and don’ts for healthy nails — Mayo Clinic: cuticle care, sterile tools, salon licensing
Regulatory and safety sources:
Texas Department of Licensing and Regulation — Nail Consumer Guide: client rights, infection reporting, sanitation rules
OSHA Nail Salon Safety Guide: chemical exposure, ventilation, acetone handling
Bradentonnails resources:
Your nail care routine between salon visits — daily hydration and maintenance tips
How salons prevent nail infections — what to look for in a clean, safe salon
9 signs of a clean nail salon — quick checklist before your next appointment
Recommended
Comments