
Under 20 Minutes: Short Nail Art Ideas That Flatter Small Canvases
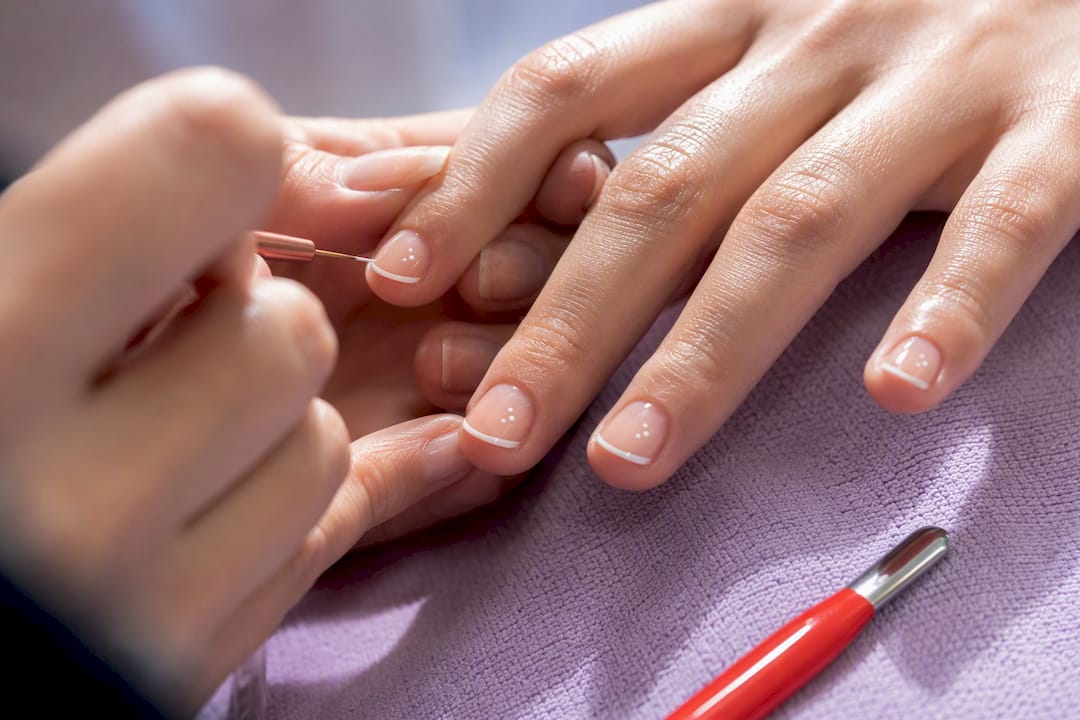
Micro-French, tiny polka dots, glazed pearl chrome, and single accent nails are the easiest, most wearable short nail art ideas to try right now. Each one leans into a small canvas instead of fighting it, and most take under 20 minutes to DIY. The trick isn’t finding a design you like. It’s finding one scaled to fit.
TL;DR:
Small-scale designs like micro-French tips, tiny fruit accents, and polka dots are easiest to DIY and work best on nails under a quarter inch past the fingertip.
Using tools such as dotting pens, fine brushes, and silicone stampers helps achieve salon-quality results with minimal design skills, especially for micro-tips and accents.
Applying a base coat, filing in one direction, and reapplying top coat every few days extends the lifespan of short nail art.
Most intricate designs like blooming gels, aura effects, and hand-painted florals require professional equipment and skill, making salon visits preferable.
Nail art scaled properly for short nails ensures designed elements look intentional rather than squeezed or awkward, highlighting the importance of proper sizing.
Table of Contents
Short Nail Art Ideas Sorted by Style, From Minimal to Statement
Short nails punish anything oversized. A French tip cut for a long almond shape looks clunky on a squoval nail that’s barely a quarter inch past the fingertip. That’s why the short-nail trend for 2026 leans so hard on scale: thinner lines, smaller dots, single points of interest instead of full scenes. Here’s a working gallery, grouped by vibe, with a note on why each one flatters a shorter nail and how to get it.
Minimal and barely-there:
Milky nude jelly. A sheer, milky pink or beige jelly polish over bare nail. It reads clean without looking unfinished, and because it’s translucent, it never competes with your cuticle line. Beginner-friendly. Two coats, no design skill required.
Glass skin nails. Clear base, one thin coat of shimmer, high-gloss top coat. Mimics wet, dewy skin. Ask your tech for a “milky glaze” if you want it salon-strength.
Single-tone matte. One flat matte color, nothing else. Works because matte finishes visually shorten shine, which paradoxically makes a short nail look intentional rather than stubby.
Micro-French and tips:
Classic micro-French. A tip line shaved down to roughly 0.5 to 1 millimeter instead of the standard quarter-inch band. Thinner tips read as elegant on short nails; thick ones just shorten the nail further. A silicone French stamper makes this nearly foolproof at home.
Colored micro-tip. Same idea, swap white for a saturated color like cherry red or emerald. Great for anyone who wants French nails without looking bridal.
Double micro-line. Two thin parallel lines near the tip instead of one solid band. Needs a steady hand or a striping brush; this one’s easier to get clean at a salon.
Seasonal motifs:
Micro-fruit accents. Tiny cherries, oranges, or watermelon slices on one or two nails only, sized smaller than a grain of rice. Nail artists have flagged this as a summer 2026 favorite because it’s playful without overwhelming a small nail bed.
Seashell texture. A pearlized swirl finish that mimics mother-of-pearl. Salon tools like blooming gel get the marbled effect; DIY versions use a dry marbling technique with a thin brush.
Fall leaf accent. One tiny painted leaf near the cuticle, everything else left bare or in a warm nude. Works because it’s a single point of interest rather than a wraparound design.
Accents and texture:
Polka micro-dots. Small, evenly spaced dots along the tip or scattered across one accent nail. A dotting tool (the kind sold in beauty aisles for around $5) makes this the single easiest DIY design on this list.
Single accent rhinestone. One tiny crystal placed near the cuticle on the ring finger only. Pro placement wisdom says lower on the nail bed, near the cuticle, creates a subtle elongating illusion.
Negative space triangle. A small unpainted triangle cut into the base coat near the cuticle, filled with clear top coat. Looks architectural, costs nothing extra, and needs only careful taping.
Statement details (salon-recommended):
Glazed donut chrome. The pearlescent, light-reflecting powder finish that swept through 2026 feeds. Needs a chrome powder and a proper base; most people get cleaner results asking a tech than freehanding it.
Airbrush aura nails. Soft, blurred color gradients that fade from the cuticle outward. This one genuinely requires an airbrush gun and compressor, so it’s salon territory unless you already own the equipment.
Hand-painted micro-floral. One or two impossibly small flowers, usually on a single accent nail. Fine detail brushwork like this is where salon precision earns its price tag.
Pro Tip: Whatever motif you pick, place it in the lower third of the nail, closer to the cuticle than the tip. Nail artists use this trick specifically because it draws the eye down and makes a short nail read longer without adding a millimeter of length.
DIY Tools and Steps for Small-Scale Nail Art
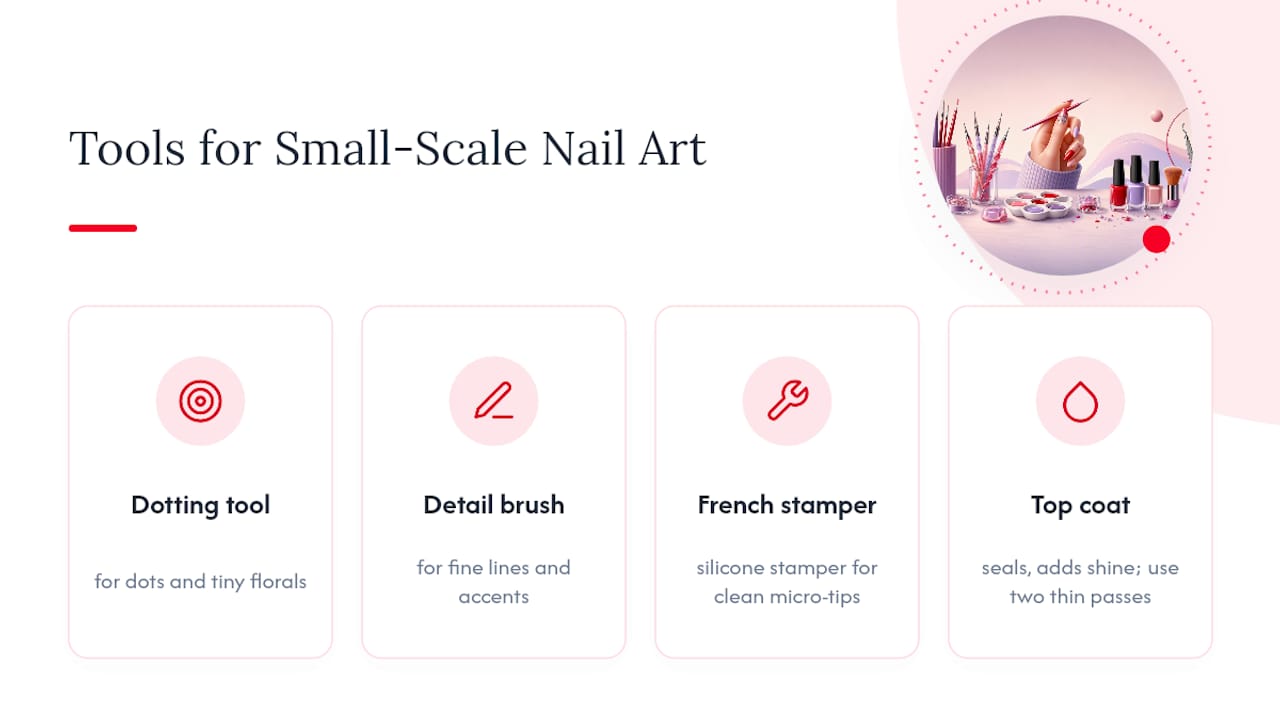
You don’t need a full nail art kit to pull off the designs above. Four tools cover almost everything: a dotting tool for dots and tiny florals, a fine detail brush for lines and accents, a silicone French stamper for clean micro-tips, and a glossy top coat to seal it all and add shine. Stampers and dotting tools exist specifically so beginners can get salon-level precision without salon-level hand control.
Micro-French in three steps: 1) Apply your base color and let it dry fully. 2) Press the curved edge of a French stamper into white polish, then stamp it just at the tip, wiping the stamper clean between nails. 3) Seal with top coat once the tip line is fully dry, not tacky.
Micro-dots in three steps: 1) Dip the dotting tool’s small end into polish. 2) Tap it straight down near the cuticle, don’t drag. 3) Repeat spacing evenly, then top coat.
Single accent rhinestone in three steps: 1) Apply a wet layer of clear polish where the stone will sit. 2) Press the rhinestone in with an orange stick, not your finger. 3) Seal the edges only, not the stone itself, with top coat.
The most common mistake is applying the design over polish that isn’t fully dry. That’s what makes dots smear and stamped lines blur.
Pro Tip: Do the top coat in two thin passes instead of one thick one. A single heavy layer pools around small motifs and blurs them.
Prepping Short Nails So the Art Actually Lasts
A short almond or squoval shape holds detail better than a rounded tip because the flatter surface gives paint and stamps more room to sit cleanly. Before anything goes on, gently push back cuticles rather than cutting them, and always apply a base coat. Skipping it is the fastest way to get staining and chipped edges within two days.
File in one direction, not back and forth, to avoid weakening the nail edge.
Reapply top coat every 2 to 3 days to keep small motifs from lifting.
Massage in cuticle oil nightly, especially after dish duty or a long shower.
Wear gloves for cleaning and dishwashing to limit water and acetone exposure.
The Mayo Clinic notes that keeping nails dry, trimming straight across, and avoiding harsh chemical exposure prevents most common nail problems. If you notice persistent discoloration, thickening, or separation from the nail bed that doesn’t improve after a few weeks, that’s worth a doctor’s visit rather than another manicure.
Deciding Between a DIY Manicure and a Salon Visit
Dots, single accents, and basic micro-French are realistic DIY territory. Airbrush aura fades, blooming gel textures, and fine hand-painted florals are not. Those need equipment and control most people don’t have at home, and a rushed attempt usually ends up looking smudged rather than soft.
Bring a reference photo. “Glazed donut, but on my nail length” gets you a far better result than a verbal description.
Ask specifically for a micro-scale version of any design. Techs default to standard sizing unless you request smaller.
Ask whether SNS dip or gel base suits your nail thickness better before committing to a design.
Confirm tools are sterilized between clients and ask about ingredients if you have known polish or acrylic allergies.
What Actually Gets Requested Most at the Chair
Clients ask for milky nudes and micro-French more than anything else, followed closely by a single rhinestone accent on the ring finger. Full nail art scenes rarely get requested anymore on short lengths. Most people learn fast that a photo-ready manicure often means one good detail, not five competing ones.
Glazed chrome photographs beautifully but wears best when a tech seals it properly, since DIY versions tend to dull faster. If you’re weighing a manicure style for shorter nails, start simple, then build up to texture work once you know what your natural nail shape handles well.
— MinhHieu
Book a Short Nail Manicure That’s Actually Scaled to Fit
Most nail art fails on short nails for one reason: it’s designed for a canvas twice the size. At Bradentonnails, every micro-French, dot, or accent is placed and sized for your actual nail length, not a generic template, which is the difference between a design that looks intentional and one that looks squeezed in.
Bradentonnails offers manicures, gel, and SNS dip powder for anyone who wants a short-nail look that holds up past day three, plus nail art add-ons if you want a single accent or a micro motif done right. Bring a reference photo of any design from this list, arrive with clean, polish-free nails, and tell your tech the length you want to keep, and they’ll scale the art to match. Flexible hours, including Sundays, make it easy to book around a busy week. Schedule your visit and walk out with a short manicure that actually looks finished.
Sources
Recommended
Comments