
The Role of Nail Art Brushes in Precision Design
- Bradenton Salon Today
- 4 days ago
- 8 min read
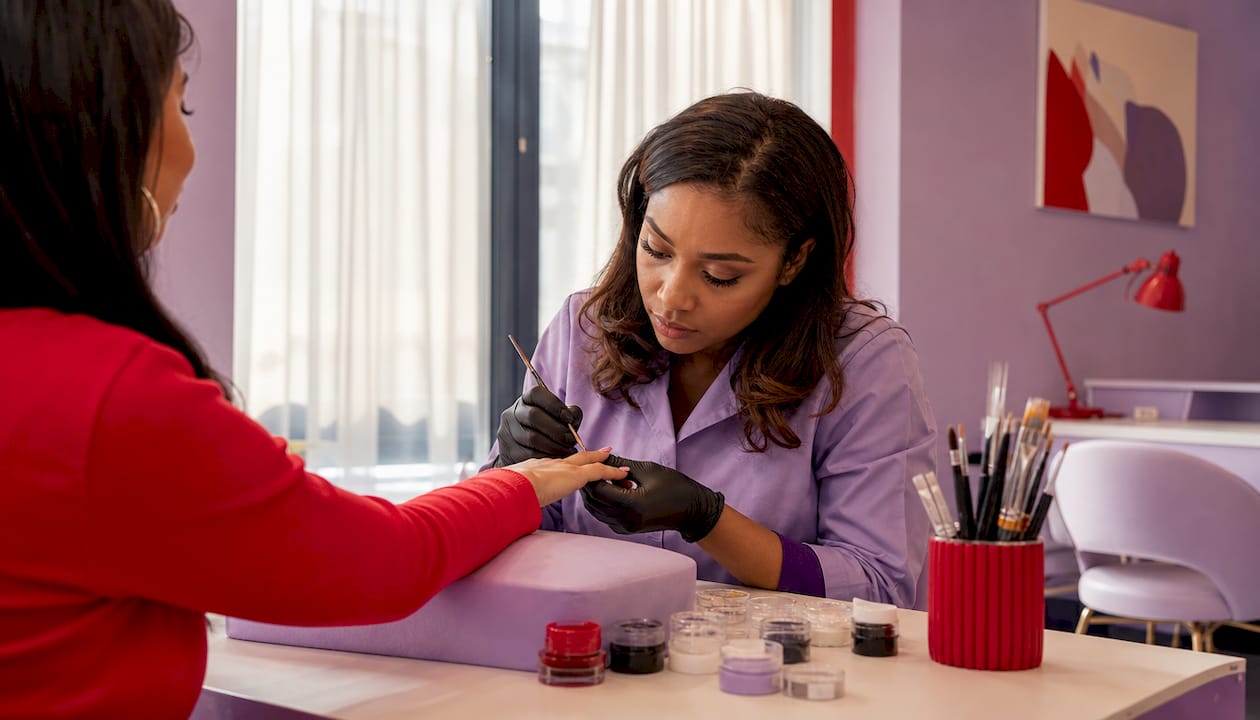
Nail art brushes are specialized tools designed to deliver precise application and intricate detail in nail designs. The role of nail art brushes goes far beyond simply spreading color. Each brush type controls how product flows, where it lands, and how clean the final line looks. Whether you practice at home or work behind a salon chair, the right brush is the difference between a smudged attempt and a design worth showing off. Bradentonnails technicians rely on specific brush types daily to produce the detailed work clients expect.
What is the role of nail art brushes in creating detailed designs?
Nail art brushes give you direct control over product placement. A standard nail polish brush covers the nail plate, but it cannot draw a thin vine, fill a tiny petal, or letter a monogram. Specialized nail painting tools solve that problem by matching bristle shape and length to the task at hand. The result is cleaner edges, sharper lines, and designs that hold their shape through a topcoat.
Bristle design is the core variable. Short, stiff bristles resist bending and hold a straight line. Longer, flexible bristles curve with the nail surface and carry more product per stroke. That physical difference explains why a single brush cannot do every job well. Matching the right tool to the right technique is how professional nail art actually works.
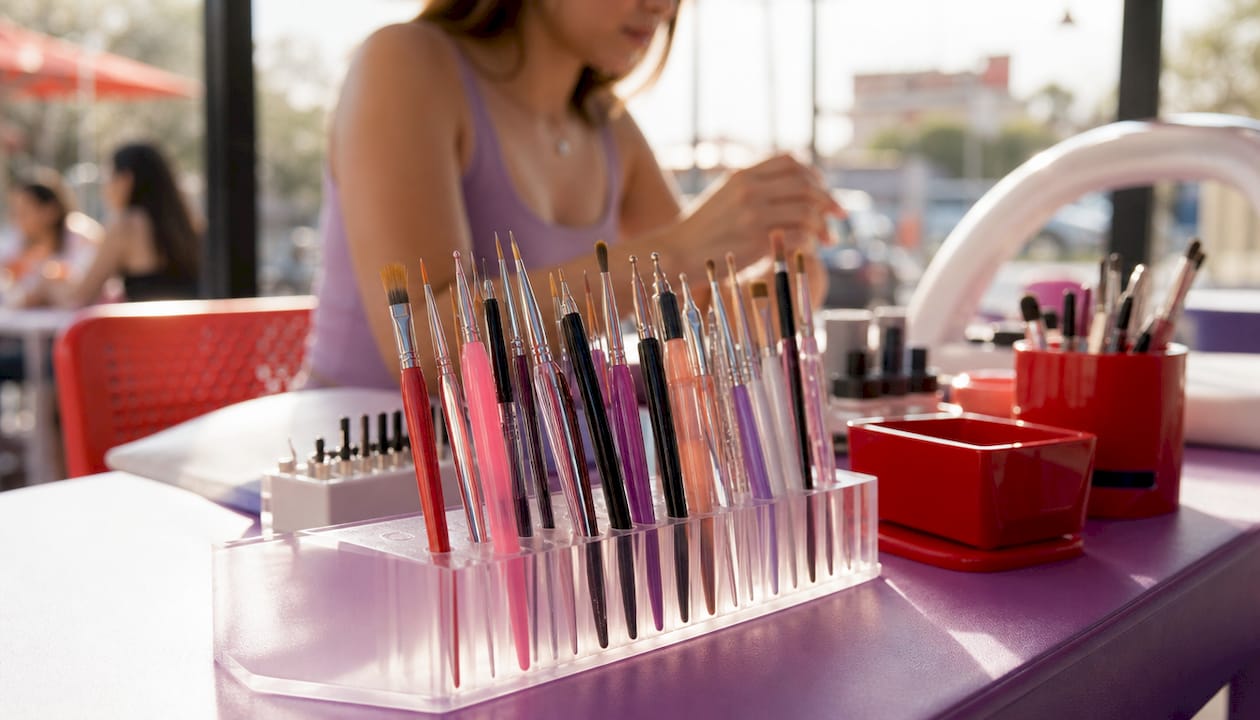
Tool quality is cited by 72% of nail technicians as a key factor in client retention because precision work signals professionalism. That statistic reflects a real truth: clients notice the difference between a crisp floral detail and a blurry one. Investing in the correct brush for each technique is the fastest way to close that gap.
What are the different types of nail art brushes and their specific uses?
Each brush shape serves a distinct purpose. Knowing which to reach for saves time and prevents wasted product.
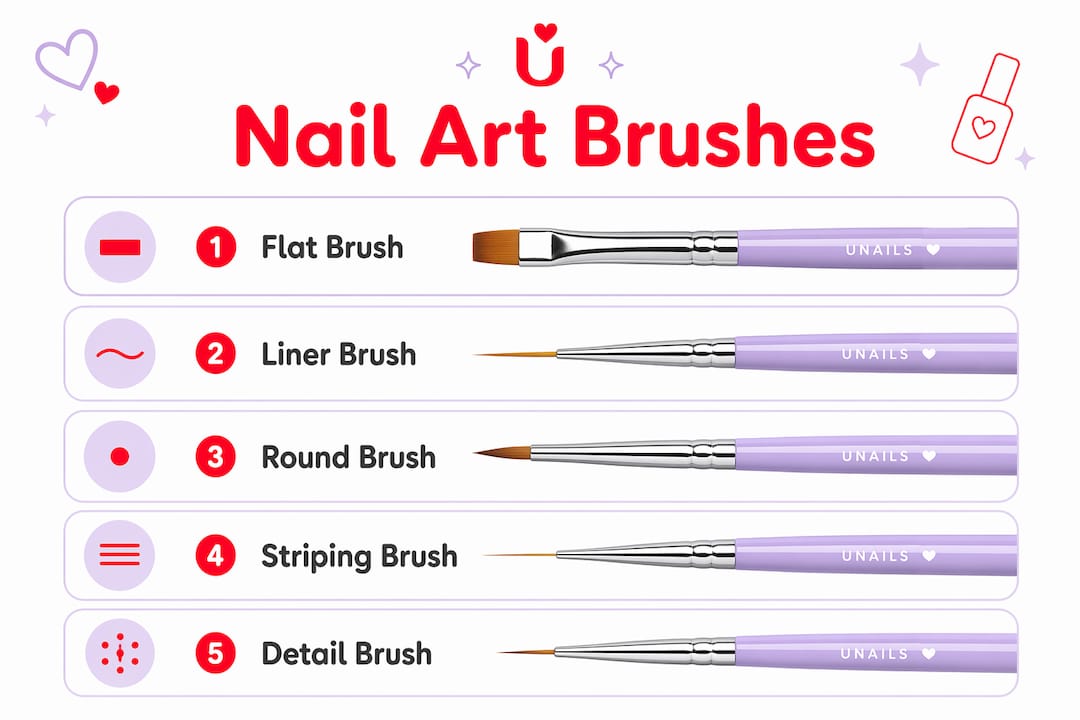
Flat gel brush (#4 or #6). Flat gel brushes are ideal for smooth base coverage and even gel application across the nail plate. The wide, flat edge pushes product corner to corner without streaking.
Liner brush (8–12 mm bristles). Liner brushes with 8–12 mm bristles excel at fine lines, leaf shapes, and lettering. Bristle length directly affects flexibility: 8–12 mm is optimal for curved strokes, while shorter bristles stay stiffer for straight lines.
Round detail brush. Round brushes suit flower petals and small shapes. The tapered tip deposits a controlled dot or curve without flooding the surrounding area.
Fan brush. A fan brush spreads glitter or gradient powder in a sweeping motion. It creates soft ombre effects that a flat brush cannot replicate.
Striping brush. Extra-long bristles hold a reservoir of polish and release it in one continuous stroke. This brush is the go-to for geometric patterns and French tip lines.
The viscosity of your gel polish also matters. Thicker gels pair better with a stiffer flat brush that can push the product without dragging. Thinner gels flow more freely and work well with liner or round brushes where control, not force, is the priority.
Pro Tip: Before switching between brush types mid-design, wipe the brush on a lint-free pad rather than a paper towel. Paper fibers stick to wet product and ruin fine detail work.
Matching brush type to nail shape and design requirements is something experienced technicians revisit constantly. It is not a decision made once at the start of a career. You can read more about how nail artists create patterns to see how brush selection feeds directly into technique.
How to properly care for and maintain nail art brushes
Brush care determines how long your tools perform at their best. A well-maintained brush holds its shape and tip for dozens of uses. A neglected one frays within a session or two.
Clean immediately after use. Clean brushes right after use with liquid monomer or a dedicated brush cleaner. Product left to cure on bristles bonds permanently and ruins the brush.
Avoid pure acetone. Soaking brushes in pure acetone dissolves the glue binding the bristles to the ferrule. The bristles loosen and fall out, and no amount of reshaping fixes that damage.
Reshape while damp. After cleaning, gently press the bristles back to their original shape with your fingers. Do this while the brush is still damp so the bristles dry in the correct position.
Store flat or bristles down. Storing brushes flat or bristles down prevents monomer from seeping into the ferrule and dissolving the adhesive. Bristles-up storage causes premature shedding and contamination.
Break in new brushes correctly. New brushes carry a starch-based sealant applied during manufacturing to protect the bristles in transit. Gently work the bristles apart by hand before first use. Harsh chemicals strip this coating too aggressively and damage the bristles immediately.
Use dedicated brushes per medium. Cross-contamination from using one brush across acrylic, gel, and glitter causes product failure. Dedicated brushes for each medium are a professional standard, not an optional upgrade.
Pro Tip: Never touch bristles with bare fingers after the break-in stage. Skin oils contaminate bristles and cause bubbling in your product, which shows up as texture flaws in the finished design.
Your nail care routine between appointments also benefits from clean tools. Dirty brushes transfer old product onto fresh nails, which compromises adhesion and shortens wear time.
Why professional-grade brushes matter more than you think
The gap between a professional nail brush and a craft-store alternative is not subtle. Professional-grade brushes retain their precision tips for over 50 uses with proper maintenance. Cheap craft alternatives fray within 1–3 uses. That is not a minor inconvenience. A frayed brush spreads product unevenly and makes fine detail work impossible.
Craft brushes are not built for nail products or nail surfaces. Their bristles lack the density and taper needed to control gel or acrylic viscosity. The result is uneven application, frustration, and wasted product. Switching to a salon-grade brush often feels like the technique improved overnight, when in reality the tool changed.
Kolinsky sable and synthetic brushes each have a place in a professional kit. Kolinsky sable brushes hold significantly more liquid than synthetics, giving experienced technicians superior control over product flow. Synthetic nano-filament brushes perform nearly as well, last longer, and cost less. Experts suggest synthetic brushes for beginners and Kolinsky sable for technicians who need maximum control on complex designs.
Kolinsky sable: Higher liquid capacity, excellent tip retention, higher cost, requires careful maintenance.
Synthetic: Durable, affordable, easier to clean, slightly less liquid capacity.
Craft brushes: Not suitable for nail products. Bristles fray quickly and lack the taper for detail work.
Investing in salon-grade tools also builds client trust. A beginner error cited repeatedly by professionals is substituting craft-store paint brushes for proper nail art tools. The bristle design simply does not match the demands of nail surfaces or the viscosity of nail products.
How to choose and use nail art brushes for different nail shapes
Nail shape changes which brush edge and size works best. Short square nails have flat edges that pair naturally with a flat brush for corner-to-corner fills. Almond and stiletto shapes curve toward a point, which calls for a round or liner brush that can follow the contour without overloading the tip.
Short square nails: Use a flat #4 or #6 brush for base coverage. The straight edge matches the nail’s geometry and prevents product buildup at the corners.
Almond nails: A liner brush with flexible 8–12 mm bristles follows the curved edge cleanly. Stiff bristles drag and leave marks on curved surfaces.
Stiletto nails: A fine round brush or extra-long striping brush handles the narrow tip without flooding it with product.
Applying builder or sculpting gel: Use a larger flat brush and apply consistent, even pressure. Too much pressure pushes product off the nail; too little leaves gaps.
Layering technique also matters. Apply thin coats and cure between layers rather than loading the brush with product. Thin layers give you more control over where the design sits and prevent the pooling that blurs fine details. For freehand nail art, practice strokes on a silicone mat before working on the nail. This builds muscle memory for consistent pressure and stroke length.
Pro Tip: When working on curved nail shapes, rotate the client’s finger rather than changing your brush angle. Keeping your wrist steady and moving the finger gives you a cleaner arc every time.
What I have learned from years of watching brushes make or break nail art
What I have learned from years of watching brushes make or break nail art
The most common mistake I see is not buying cheap brushes. It is buying the right brushes and then treating them carelessly. A Kolinsky sable liner brush that gets left in acetone overnight is worthless by morning. The brush did not fail. The habit did.
Beginners often expect a new brush to perform perfectly out of the package. It will not. Every brush needs a break-in period, and the first few uses are about learning how that specific brush releases product. Rushing past that stage leads to overloading the nail and blaming the tool.
The second mistake is using one brush for everything. I understand the appeal of keeping things simple. But a flat gel brush used for glitter application picks up particles that scratch the next gel coat you lay down. Dedicated brushes are not about having more gear. They are about protecting the work you already did.
Treating your brushes as extensions of your artistic expression changes how you maintain them. You would not leave a fine pen uncapped. The same logic applies here. Clean, shaped, and properly stored brushes are ready when inspiration strikes. Neglected ones cost you time and product at the worst moment.
— MinhHieu
Professional nail art at Bradentonnails in Bradenton, FL
Bradentonnails brings the same brush discipline described in this article to every appointment. The technicians at TJ Nails in Bradenton select the right tools for each design and nail shape, apply them with consistent technique, and deliver results that hold up.
Whether you want a clean gel manicure or a detailed freehand design, the team uses salon-grade brushes and professional products on every client. Book your appointment at Bradentonnails in Bradenton and see what the right tools in skilled hands actually look like. The salon is open seven days a week, including Sundays, for your convenience.
Key takeaways
The right nail art brush, properly maintained and matched to the design, is the single most important factor in achieving clean, lasting nail art results.
Point | Details |
Brush type determines outcome | Match flat, liner, round, or striping brushes to the specific design and nail shape. |
Professional brushes outlast craft alternatives | Salon-grade brushes retain their tip for 50+ uses; craft brushes fray within 1–3 uses. |
Cleaning protects performance | Clean brushes immediately after use with monomer and reshape bristles while damp. |
Storage orientation matters | Store brushes flat or bristles down to protect the ferrule adhesive and bristle shape. |
Dedicated brushes prevent failure | Use separate brushes for each medium to avoid cross-contamination and product failure. |
FAQ
What does a nail art brush actually do?
A nail art brush controls where product lands and how cleanly it applies. Different brush shapes handle different tasks, from base coverage to fine line detail.
How do I know which brush size to use?
Match brush size to nail shape and design scale. Flat #4 or #6 brushes cover short square nails evenly, while liner brushes with 8–12 mm bristles handle curved strokes on almond or stiletto shapes.
Can I use craft brushes for nail art?
Craft brushes lack the bristle design needed for nail products and surfaces. They fray within a few uses and cause uneven application, making them unsuitable for detailed nail art work.
How often should I clean my nail art brushes?
Clean brushes immediately after every use with liquid monomer or a dedicated brush cleaner. Leaving product to cure on bristles causes permanent damage that cannot be reversed.
What is the difference between Kolinsky sable and synthetic brushes?
Kolinsky sable brushes hold more liquid and give experienced technicians greater control over product flow. Synthetic brushes are more durable, easier to clean, and cost less, making them the better starting point for beginners.
Recommended
Comments