
What Is a Watercolor Nail Design? Your 2026 Guide
- Bradenton Salon Today
- 3 hours ago
- 5 min read
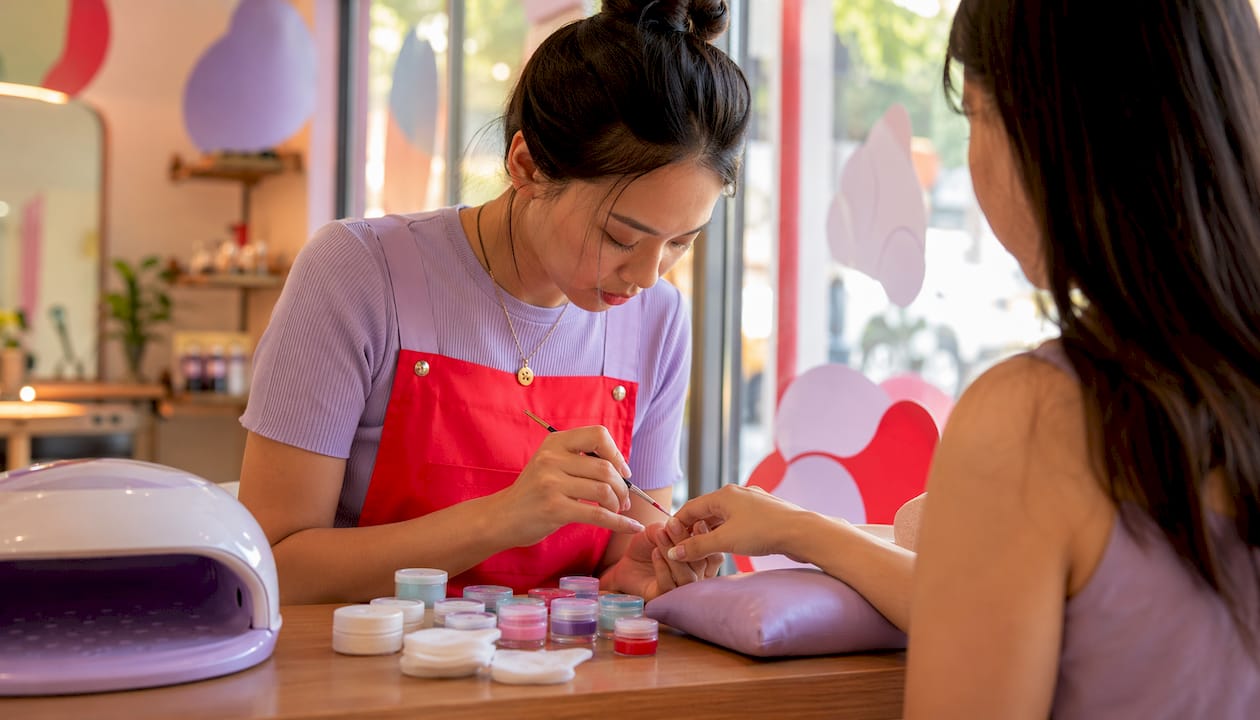
A watercolor nail design is an artistic manicure technique that mimics the look of watercolor paint on paper. Sheer, overlapping layers of color blend into soft-focus gradients with blurred, organic edges — no harsh lines, no structured veins. That’s the key difference from marble nails, which rely on defined, dramatic patterns. Watercolor nails feel airy, dreamy, and painterly. The effect looks effortless, but the technique behind it is deliberate.
What makes this style stand out in 2026:
Sheer, translucent layers that build depth without opacity
Soft gradients that bleed naturally into each other
No rigid outlines — imperfection is the point
Works on natural nails, gel, and nail extensions
Endlessly customizable across colors, shapes, and lengths
Table of Contents
What techniques and materials do you need for watercolor nails?
Three methods dominate the watercolor nail art world, each producing a slightly different result. Understanding them helps you pick the right approach for your skill level and the look you want.
Blooming gel is the most forgiving. You apply a clear blooming gel over a base, then drop pigment on top. The gel pulls the color outward naturally over a 10–30 second window before you cure it under a UV lamp. Cure too early and the bloom stays tight; wait too long and it spreads into a muddy wash.
Alcohol inks on a matte base give you the most control. The matte topcoat creates the right surface tension to prevent pigment pooling and keep edges soft. Always dilute alcohol inks on a palette first — applying them directly to the nail causes oversaturation fast.
Watered-down traditional watercolor pigments are the most painterly option, sealed with a glossy topcoat once dry. This method suits nail artists with a fine-art background.
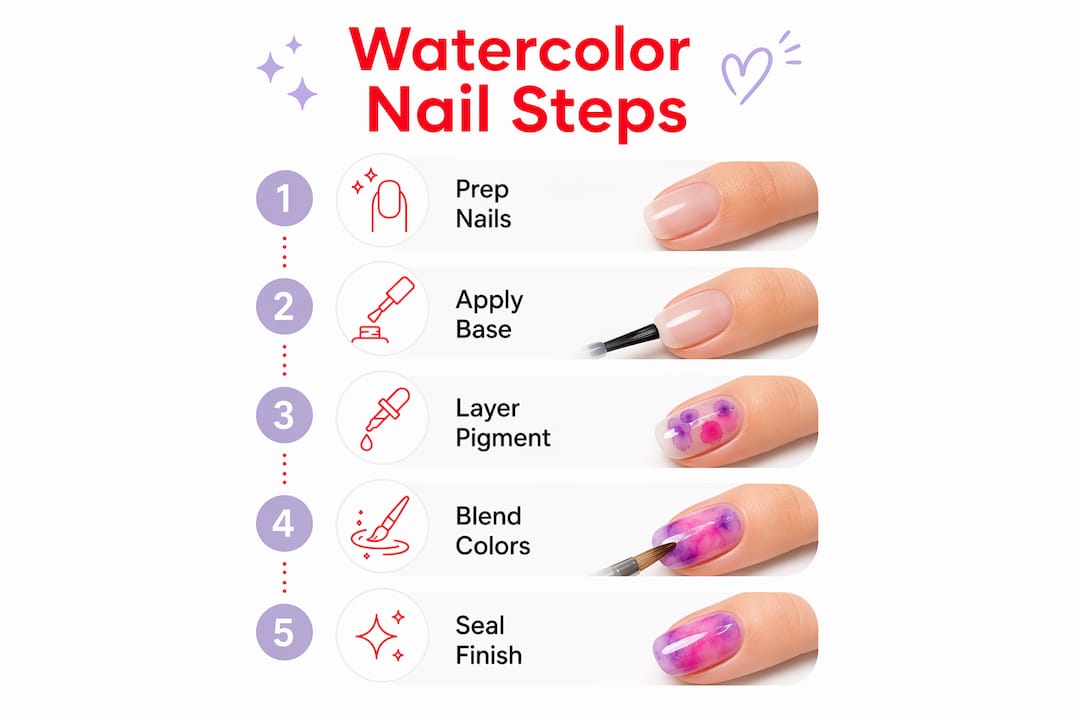
Pro Tip: Apply your matte topcoat before any pigment touches the nail. That single step controls how far color travels and prevents the uncontrolled bleeding that ruins beginner attempts.
Core materials you’ll need:
Base coat and matte topcoat (non-negotiable for prep)
Blooming gel, alcohol inks, or sheer/jelly nail polish
A small palette or mixing surface for diluting pigments
Fine detail brushes and a makeup sponge
UV lamp if working with gel formulas
Proper nail prep matters more than most beginners expect. File, clean with alcohol, and apply a base coat before anything else. Skipping prep leads to uneven diffusion and early chipping.
What watercolor nail styles are worth trying right now?
The range here is genuinely wide. Watercolor nail techniques adapt to almost any aesthetic, which is part of why the style has taken over feeds in 2026.
Soft pastels and dreamy florals are the most popular entry point. Think blush pink bleeding into lavender, or a single watercolor bloom centered on a nude base. Sacramento-based nail artist Alena Muraveva, a multi-award winner at Nailympia competitions, describes her approach to this style:
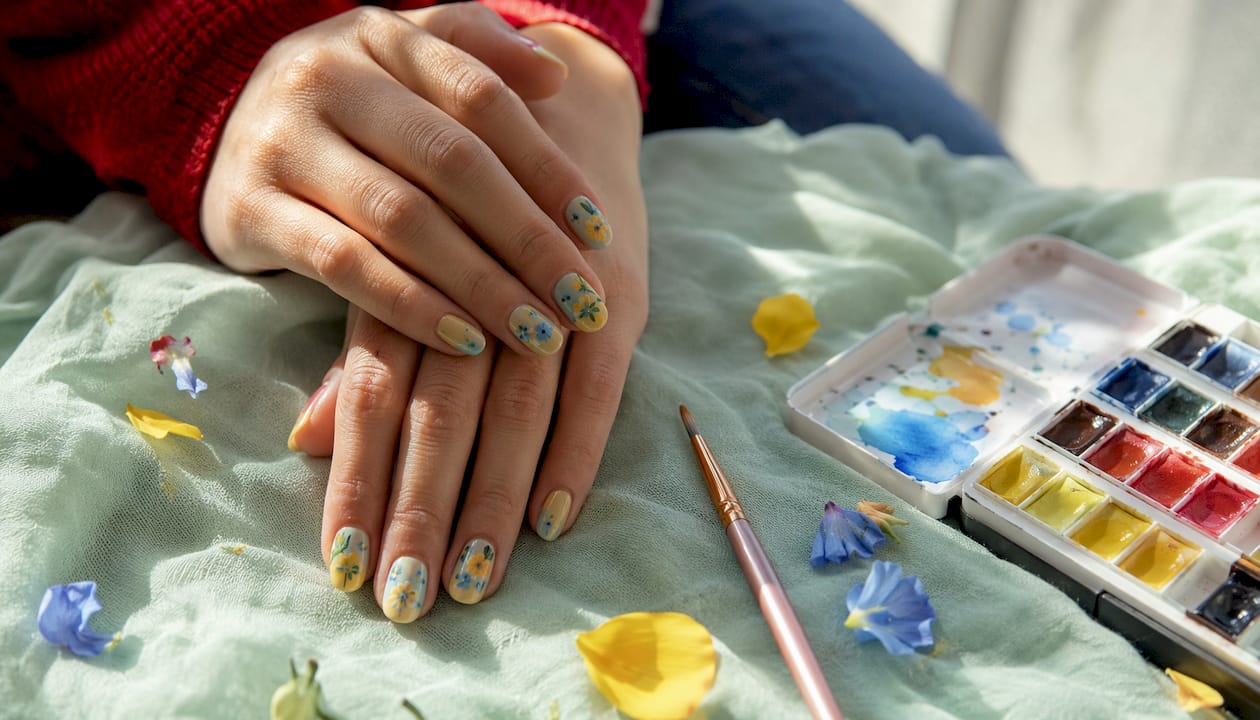
Her five-step floral technique starts with two coats of white gel, a matte topcoat cure, then watercolor paint applied with a fine brush and dragged outward with a water-saturated brush to form translucent petals.
Bold jewel tones and abstract swirls push the technique in a completely different direction. Deep sapphire bleeding into emerald, or rust orange melting into gold — these combinations read as sophisticated rather than delicate. The technique adapts to any nail shape or length, from short naturals to long stilettos.
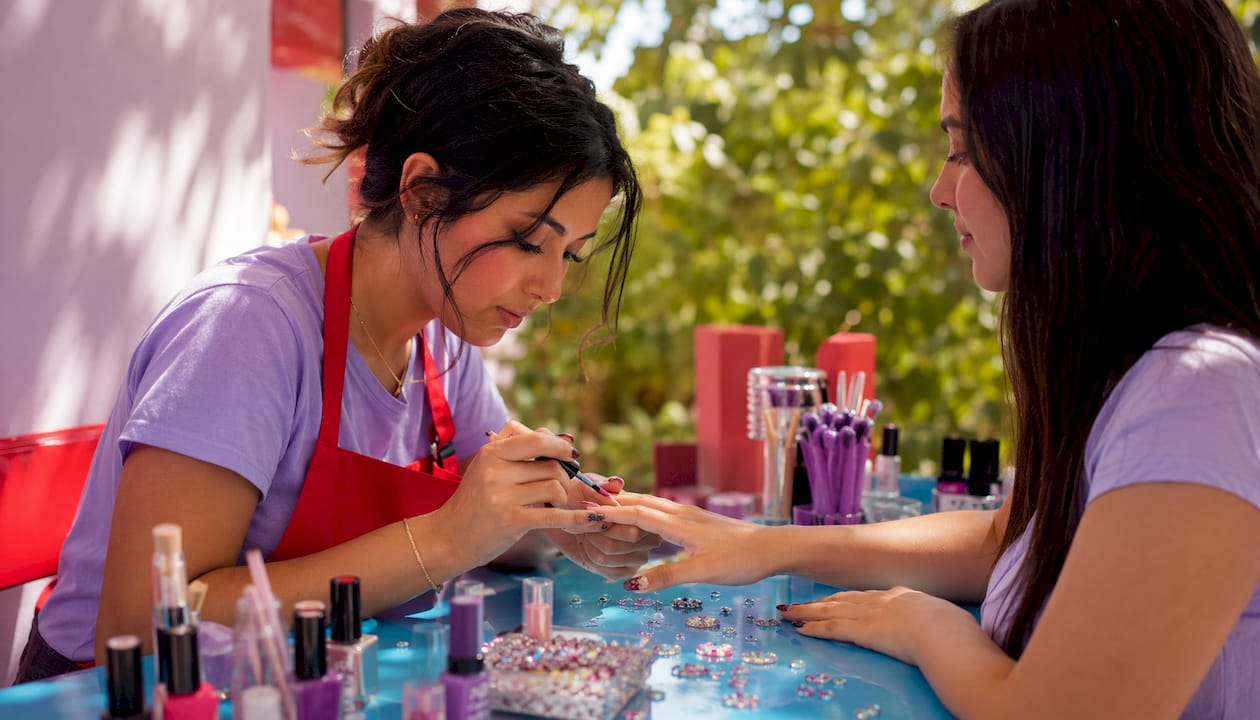
Color theory drives the best results. Layering yellow over blue creates green without mixing them into a muddy middle. Staying within one color family — cool blues and purples, or warm corals and pinks — keeps blends harmonious. Understanding color layering principles before you start saves a lot of frustration.
Pro Tip: Choose four to five shades from the same color family and place small drops on a palette before starting. Working from the palette, not the bottle, keeps your pigment intensity consistent across all ten nails.
Popular style directions to consider:
Watercolor fruit motifs (citrus slices, berries) for a playful summer look
Impressionist-inspired abstract washes in muted earth tones
Single-nail accent designs with a watercolor bloom on a sheer base
Full-hand gradient where each nail carries a different hue in the same family
Negative space designs where the watercolor covers only part of the nail
Why do nail artists take watercolor nails seriously?
Watercolor nail art is treated as miniature canvas work by professionals who approach it with the same discipline as fine art. The organic blending and layering that make the style look effortless are actually the result of careful timing and material knowledge.
Color theory sits at the center of professional execution. Muddy, flat results almost always come from layering too many colors without understanding how they interact. Professionals work with translucent hues and build depth gradually, the same way a watercolor painter would on paper.
Timing is the other critical variable. For blooming gel, the curing window determines everything. Professionals watch the pigment disperse and cure at the exact moment the bloom reaches the desired spread. That judgment comes from practice, not guesswork.
The imperfections are the point. Each design turns out differently because pigment dispersion is organic and never fully predictable. Professional nail artists encourage embracing those uncontrolled bleeding patterns rather than fighting them. A design that looks slightly different on each nail isn’t a mistake — it’s what makes watercolor nails feel handmade.
The matte topcoat and timely curing are what separate professional watercolor nails from amateur attempts. Get those two right, and the rest follows.
Sealing the finished design with a glossy topcoat protects the delicate layers and can extend wear up to two weeks. Apply it in thin, even passes after the design is completely dry to avoid smudging the work underneath.
Key Takeaways
Watercolor nail design is defined by sheer, layered pigments and organic blending — the technique, timing, and matte topcoat prep determine whether the result looks professional or rushed.
Point | Details |
Core definition | Sheer, overlapping color layers create soft gradients that mimic watercolor paint on paper. |
Three main techniques | Blooming gel, alcohol inks on matte base, and watered-down watercolor pigments each suit different skill levels. |
Matte topcoat is critical | It controls pigment flow and prevents pooling, separating clean results from muddy ones. |
Imperfection is intentional | Organic pigment dispersion makes each design unique — professionals embrace it, not correct it. |
Bradentonnails | TJ Nails in Bradenton, FL offers personalized watercolor nail art from skilled technicians, available for booking online. |
Watercolor nails done right, without the trial and error
Getting watercolor nails to look the way you picture them takes practice, the right materials, and a technician who understands how pigment behaves. That’s exactly what Bradentonnails delivers at TJ Nails in Bradenton, FL.

Bradentonnails specializes in artistic nail designs, including watercolor styles, gel manicures, and nail enhancements tailored to your preferences. The technicians here understand color theory, blooming gel timing, and the prep steps that make the difference between a dreamy result and a muddy one. The salon is open Sundays, keeps a clean and relaxed environment, and makes booking straightforward.
If you’ve been inspired by the watercolor nail art trend and want it executed properly, book your manicure at TJ Nails and let a skilled technician handle the technique.
Recommended
Comments