
What Is Press-On Nail Design? Styles, Tips and DIY Looks
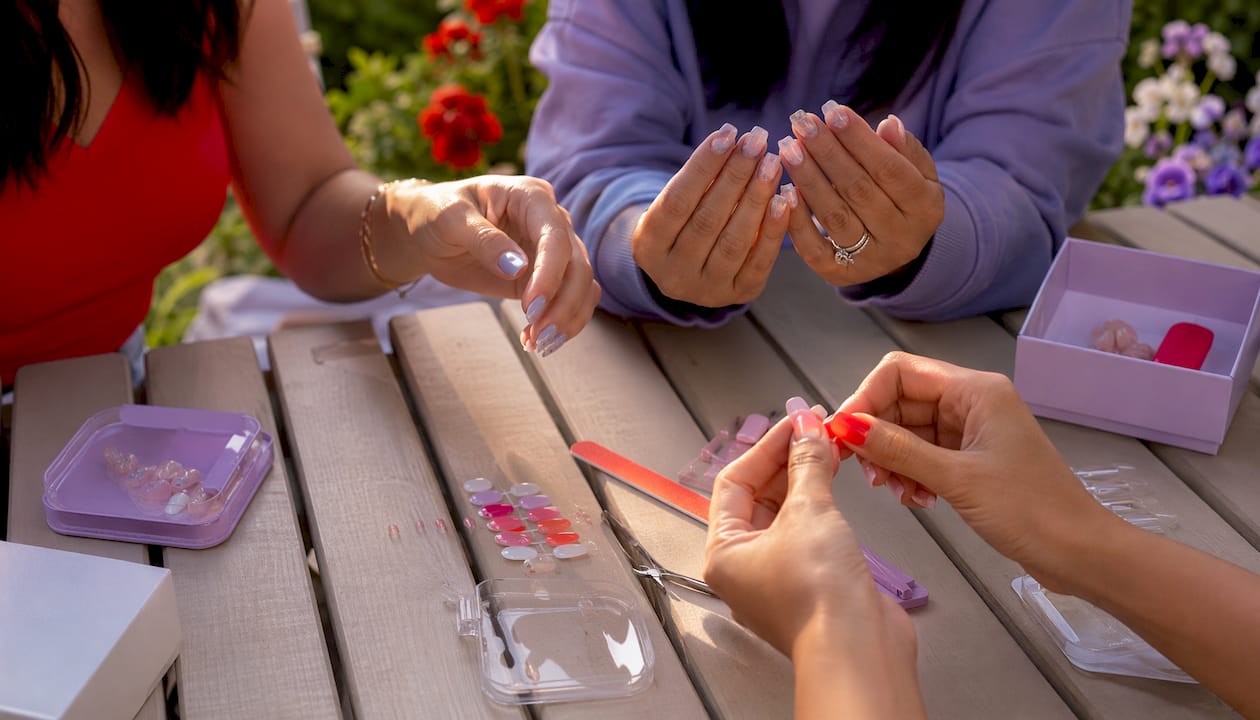
Press-on nail design refers to pre-shaped artificial nails that come painted, sculpted, or decorated and attach to your natural nails using glue, adhesive tabs, or a hybrid of both. They give you a finished, salon-style manicure in under 30 minutes, with no UV lamp, no appointment, and no curing time. Adhesive tabs typically hold for a few days, while nail glue can keep a set on for up to about two weeks. Quick facts worth knowing before you start:
What they are: Pre-made artificial nail tips in dozens of shapes, finishes, and art styles
Common adhesives: Nail glue (longer wear), adhesive tabs (gentler, reusable), or a hybrid method
Who uses them: Anyone from event-goers to daily style-switchers, and readers who want a professional upgrade can book at Bradentonnails in Bradenton, FL
Table of Contents
What press-on nail design styles should you know?
Modern press-on nail styles have come a long way from the flimsy plastic kits of the 1990s. Newer sets offer thinner cuticle edges, believable finishes, and art quality that rivals a salon tray. The style you pick changes everything: a square nude tip reads office-ready; a coffin chrome set reads runway.
Common styles, with a one-line example for each:
Classic French: White tip on a sheer pink base, works for weddings, interviews, or everyday wear
Chrome/glazed: Mirror-like or pearlescent finish, currently one of the most searched nail trends
Glitter/ombre: Gradient from sheer to chunky glitter, popular for New Year’s and holiday events
Rhinestones/3D embellishments: Raised gems, pearls, or sculpted flowers; see 3D nail art examples for inspiration
Minimalist nude: Barely-there sheer or milky tone, flatters every skin tone and length
Bold graphic art: Geometric lines, abstract color blocks, or hand-painted florals
Seasonal/holiday sets: Pumpkins for October, candy canes for December, pastels for spring
Shape matters as much as finish. Square tips look clean and modern; almond elongates shorter fingers; coffin (tapered square) gives maximum surface area for art; stiletto is dramatic but snags easily. Shorter lengths in any shape tend to look more natural and stay on longer.
Pro Tip: Curate a small “press-on wardrobe” of three sets: one everyday nude or French, one statement chrome or glitter, and one seasonal set. You can rotate looks without any long-term commitment, and quality gel sets are reusable when stored flat and clean.
What materials and types of press-on nails are there?
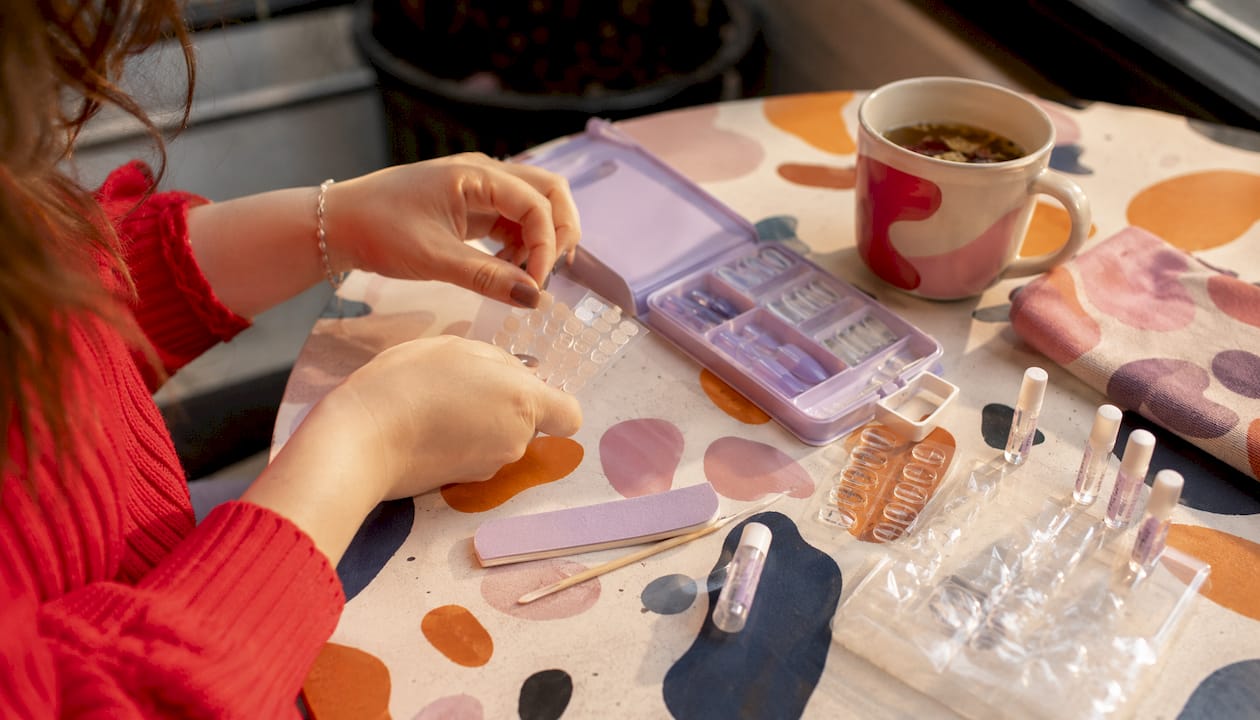
The material determines how a set looks, how long it lasts, and whether you can reuse it. Most sets fall into one of these categories:
ABS plastic: Lightweight, affordable, widely available in drugstores; less flexible and less realistic-looking up close
Soft gel: Flexible, thinner, and more comfortable; conforms better to the nail bed and looks more natural
Hard gel: Rigid, durable, and closer to a salon gel extension in feel; holds detailed 3D art well
Pre-painted sets: Ready to apply straight from the box; quality varies widely by brand
Blank/customizable tips: Plain white or clear tips you paint, stamp, or gel-layer yourself at home
Thin, sheet-like tips are the most common in budget kits. They apply quickly and feel light, but they chip faster and usually cannot be reshaped without cracking. Thicker reusable gel press-ons cost more upfront, but many modern brands design them for multiple wears when you clean and store them properly after each use.
On adhesives: glue bonds firmly and resists water, making it the go-to for events or travel. Adhesive tabs are gentler on the nail plate and peel off cleanly, which makes them ideal if you switch styles weekly. The hybrid method (a tab plus a small glue dot) gives you glue-level hold with easier removal than glue alone.
How are press-on nail designs actually made?
Production method is the clearest predictor of quality. There are three main paths:
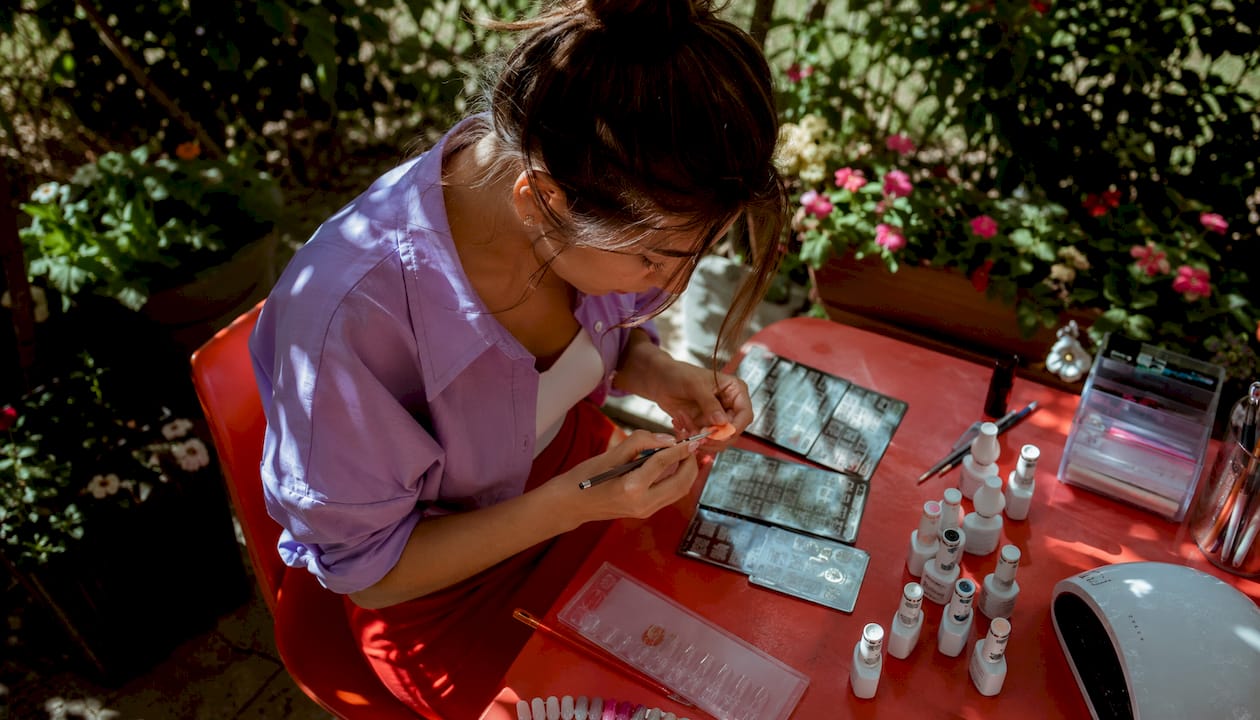
Hand-painted/gel-layered artisan sets: A nail artist builds each nail by hand, painting base color, adding art layers, sealing with gel topcoat, and curing. These sets have crisp cuticle lines, dimensional color, and a sheen that photographs like a salon set.
Factory-printed/molded sets: Designs are applied via printing or dip-and-polish methods at scale. Consistent and affordable, but the finish can look flat and edges are sometimes rough.
Custom 3D-embellished nails: Rhinestones, sculpted gel flowers, or foil are added by hand after the base is made. These are the most labor-intensive and the most dramatic.
Quality indicators to check before buying: smooth, sealed edges (no rough lip at the tip), a painted cuticle line that tapers naturally, and a gel topcoat that has depth rather than a flat plastic sheen.
Pro Tip: Handmade sets are worth the premium when you need a tailored fit (unusual nail shapes, very short beds) or want small-batch art that nobody else is wearing. For a quick weekend look or a first attempt at press-ons, a well-reviewed factory set is perfectly fine and far cheaper.
For DIY creators, you can learn how nail artists create patterns using gel layers, stamping plates, and fine-detail brushes to replicate artisan-quality results at home.
How do you apply press-on nails step by step?
Rushed prep is the single biggest reason press-ons lift early, according to nail technicians. Follow this sequence and most longevity problems disappear.
Prep checklist (do this before touching any adhesive):
Remove all old polish and wash hands thoroughly
Push back cuticles gently with a cuticle pusher
Lightly buff the nail surface to remove shine
Wipe each nail with an alcohol pad to strip oils
Size each press-on: it should cover edge to edge without touching skin; go one size smaller if between sizes
Step-by-step application:
Lay out your sized press-ons in order before you open any adhesive
Apply a thin layer of glue to the press-on (not the natural nail) or press an adhesive tab flat
Position the press-on at the cuticle line, then press down firmly from cuticle to tip
Hold for 30 seconds with firm, even pressure
Check all edges; press down any that feel loose
Keep hands completely dry for at least 20 minutes after finishing
Adhesive comparison:
Adhesive | Typical wear | Reusable? | Damage risk |
Adhesive tabs | 3–5 days | Yes | Very low |
Nail glue | up to around two weeks | Limited | Low with proper removal |
Hybrid (tab + glue) | two weeks or more | Moderate | Low |
After those first 20 minutes, avoid washing dishes, swimming, or any prolonged water exposure for the rest of the day. Seal the free edge with a clear topcoat to cap the tip and reduce lifting.
How long do press-on nails last?
Wear time depends almost entirely on prep quality and adhesive choice. Adhesive tabs last roughly 3–5 days; nail glue extends that to about two weeks. The hybrid method can push past two weeks in some cases. Wearing any set longer than two weeks raises the risk of moisture getting trapped under the nail, which can lead to irritation or infection.
Factors that cut wear time short:
Skipping the buff-and-degrease prep step (oil on the nail plate breaks adhesive bonds fast)
Sizing too large so the press-on bridges over the nail bed
Long soaks in hot water, especially in the first 24 hours
Using nails as tools (prying, scraping, opening cans)
Low-quality adhesive that does not cure fully
To extend wear: prep thoroughly, cap the free edge with topcoat after application, wear gloves for dishes and cleaning, and avoid long baths or pool sessions in the first day.
What are the real pros and cons of press-on nail designs?
Press-ons are not universally better or worse than salon services. The right choice depends on lifestyle, not price alone.
Pros:
Apply in under 30 minutes at home, no appointment needed
Significantly lower cost than most salon enhancements
Easy style changes: swap sets weekly without damage if you use tabs
Reusable gel sets function almost like a nail wardrobe
No UV curing, no drilling, no chemical odor
Cons:
Shorter wear than acrylics or gel extensions
Fit can be imperfect on unusual nail shapes
Potential for nail damage if removed aggressively
Can pop off during high-impact hand use
Pro Tip: Press-ons are the better call for events, vacations, or frequent style-switchers. If your hands are in water daily, you work with tools, or you want a set that genuinely lasts 2–3 weeks without reapplication, a salon enhancement will serve you better.
Common mistakes that lead to disappointment: skipping the alcohol wipe, choosing a size that is slightly too wide, and removing the set before the adhesive has fully cured (within the first hour).
How do you remove press-on nails without damaging your nails?
Aggressive peeling is the primary cause of nail damage from press-ons, not the nails themselves. The nail plate is thin, and forcing a press-on off strips keratin layers with it. Removal takes patience, not force.
Safe removal steps:
Soak fingertips in warm, soapy water for 10–15 minutes, or apply a few drops of cuticle oil around the edges
If using glue, soak a cotton pad in acetone and hold it against each nail for 2–3 minutes
Gently wiggle the press-on from the cuticle end outward; never pry from the tip
If resistance remains, re-soak rather than force it
Use a soft buffer to remove any adhesive residue
Wash hands and apply cuticle oil immediately
After removal, give your nails a short recovery period before applying a new set. A nail growth serum can help strengthen the nail plate between wears. If you notice persistent pain, discoloration, or swelling around the nail fold, see a professional rather than applying another set. For a full post-removal recovery protocol, a nail repair guide covers the steps to rebuild nail health after repeated enhancement wear.
How do press-on nails compare to acrylics, gel extensions, and SNS?
Each nail type solves a different problem:
Press-ons: Fast, affordable, removable at home, reusable; best for events, travel, and style-switchers
Acrylic extensions: Hard, durable, customizable in shape and length; require filing and acetone removal; best for long-term wear and heavy-use hands
Gel extensions: Lighter and more flexible than acrylics, cured under UV; last 2–3 weeks with fills; best for a natural look with durability
SNS/dip powder: No UV, strong bond, good for nail health; lasts 3–4 weeks; best for clients who want low-maintenance color with strength
Feature | Press-ons | Acrylics/Gel extensions | SNS dip |
Application time | Under 30 min at home | — | — |
Wear time | a few days to about two weeks | 2–3 weeks | 3–4 weeks |
Removal | At home, soak off | Salon recommended | Salon recommended |
Cost | Low | Moderate to high | Moderate |
Reusable | Yes (gel sets) | No | No |
For anyone who wants the durability of acrylics or the low-maintenance strength of SNS dip powder, Bradentonnails offers both services at the Bradenton salon. Press-ons are a great starting point; salon enhancements are where you go when you need the set to last.
Key Takeaways
Press-on nail design gives you a salon-quality finish at home, but longevity and nail health depend almost entirely on prep, adhesive choice, and safe removal.
| Definition and wear | Pre-shaped artificial nails applied with glue, tabs, or hybrid; last 3–5 days with tabs, up to about two weeks with nail glue, and up to two weeks or more with hybrid methods. | Prep is non-negotiable | Buff, degrease with alcohol, and size correctly before any adhesive touches the nail. | | Removal protects your nails | Soak to soften adhesive; never pry or force. Aggressive removal causes most press-on nail damage. | | Best use cases | Events, vacations, frequent style changes, or budget-conscious looks. | | Bradentonnails for longer wear | For 2–3 weeks of wear or custom art, book a salon service at Bradentonnails in Bradenton, FL. |
The honest case for knowing your limits
The press-on nail category has genuinely improved. Thin gel tips with hand-painted art can fool most people at a dinner table. But the conversation around press-ons often skips the part that actually matters: the gap between what a set looks like in the box and what it looks like on day six of a beach vacation.
Most press-on disappointments trace back to one of two things: prep that was rushed because it felt unnecessary, or removal that was forced because the set had already started lifting. Neither is a flaw in the product. Both are user decisions. The prep routine described in this article takes about five minutes and solves the majority of longevity complaints. The removal steps take ten. That fifteen minutes of patience is the whole difference between nails that look great for two weeks and nails that peel off in the shower on day three.
The other thing worth saying plainly: press-ons are not a permanent substitute for salon enhancements if your lifestyle demands it. If your hands are in water constantly, if you type hard all day, or if you simply want a set you never have to think about for three weeks, a professional acrylic or SNS service is the right tool. Choosing press-ons for that situation and then blaming the product is like wearing sandals in the rain and blaming the shoes.
Know what you need the nails to do, prep accordingly, and remove carefully. Everything else is just picking a style you like.
Skip the DIY stress and get it done right at Bradentonnails
Press-ons are a solid option for quick looks and style experimentation. When you want a finish that holds through a full month of real life, a professional set is the smarter move.
Bradentonnails, the TJ Nails salon in Bradenton, FL, offers acrylic enhancements, gel manicures, and SNS dip powder nails that last 3–4 weeks without the daily maintenance press-ons require. Skilled technicians handle sizing, shaping, and nail art in one appointment, so you leave with a set that fits your nail bed exactly. No guesswork on adhesive, no sizing mismatches, no lifting on day four. If you want to choose the right manicure style before you book, the guide on the site walks you through every option. Ready for a set that lasts? Book your appointment at Bradentonnails today.
Recommended
Comments