
Why nail art uses gel: A Bradenton woman's guide
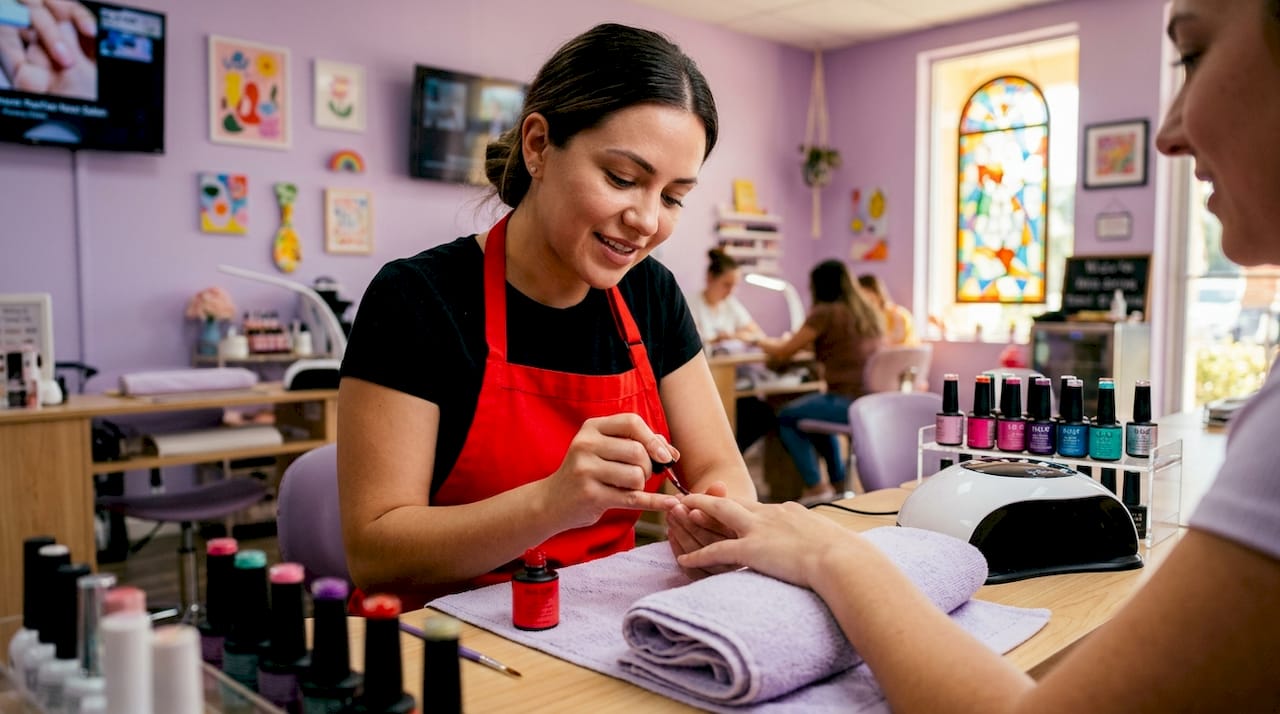
If you have ever watched a salon technician cure a coat of color under a lamp and wondered why nail art uses gel instead of regular polish, you are not alone. The answer goes deeper than just looks. Gel’s ability to harden into a durable, flexible layer through a process called polymerization (where liquid molecules bond into a solid under UV or LED light) is exactly what makes it the go-to medium for detailed nail art. This guide breaks down the science, the safety, the different gel types, and everything you need to know before your next appointment here in Bradenton.
Table of Contents
Key Takeaways
Point | Details |
Long-lasting wear | Gel nails cure under UV/LED light, lasting 2–3 weeks without chipping, unlike traditional polish. |
Design versatility | Specialized gels like line, 3D, and blooming gels enable unique, precise, and trendy nail art styles. |
Proper curing is critical | Matching gel formulas with the right lamp and applying thin layers prevents lifting and allergic reactions. |
Gel vs acrylic | Gel nails offer flexibility and comfort, reducing cracking compared to rigid acrylics. |
Skin safety tips | Use SPF or UV-protective gloves before manicures to minimize UV exposure risks safely. |
Understanding gel nail polish and its curing process
Gel nail polish looks similar to regular polish in the bottle, but the chemistry is completely different. Regular polish dries by evaporation. Gel polish cures by a chemical reaction. Inside every gel formula are molecules called photoinitiators, which are compounds that activate when they absorb UV or LED light. That activation triggers polymerization, where the loose molecules in the gel link together into a hard, cross-linked network. The result is a coating far stronger and more flexible than anything air-drying can produce.
The curing process itself is fast. Most LED lamps cure a single layer in 30 to 60 seconds. UV lamps take slightly longer, usually 2 minutes per layer, but both work on the same principle of light activating the photoinitiators. Because gel lasts 2 to 3 weeks without chipping compared to traditional polish that often chips within days, it became the standard for nail art that actually holds up to real life.
Here is what happens in a standard gel manicure, step by step:
Nail surface is prepped and dehydrated
A bonding base coat is applied and cured
Color layers are applied and cured one at a time
Art elements are added using specialty gels and cured
A top coat seals everything and is cured for final hardness
Some women worry about the UV exposure from curing lamps. The exposure per session is brief, typically only a few minutes total, and the UVA output is significantly lower than sunlight. Still, it is worth understanding the full picture, which we cover later in this article.
Key benefits of gel curing compared to air-dry polish:
No smudging immediately after application
Chip resistance that lasts weeks, not days
Consistent finish regardless of humidity or temperature
Adhesion strong enough to support detailed art layers on top
Now that we understand what gel polish is chemically, let’s explore the types of gels used in trendy nail art designs.
Specialized gels for creative nail art designs
Not all gels are the same, and that distinction is exactly why gel is the preferred medium for nail art. The defining property here is viscosity, which simply means how thick or thin the gel flows. High-viscosity gels stay where you put them. Low-viscosity gels spread and blend on their own. Artists choose between these based on what the design requires.
Line gel and 3D gel are high-viscosity formulas. They do not self-level, which means a technician can pipe them on like frosting and they will hold their shape through curing. This makes raised florals, sculpted bows, and fine linework possible. These designs are literally impossible with standard gel polish, which levels out flat.
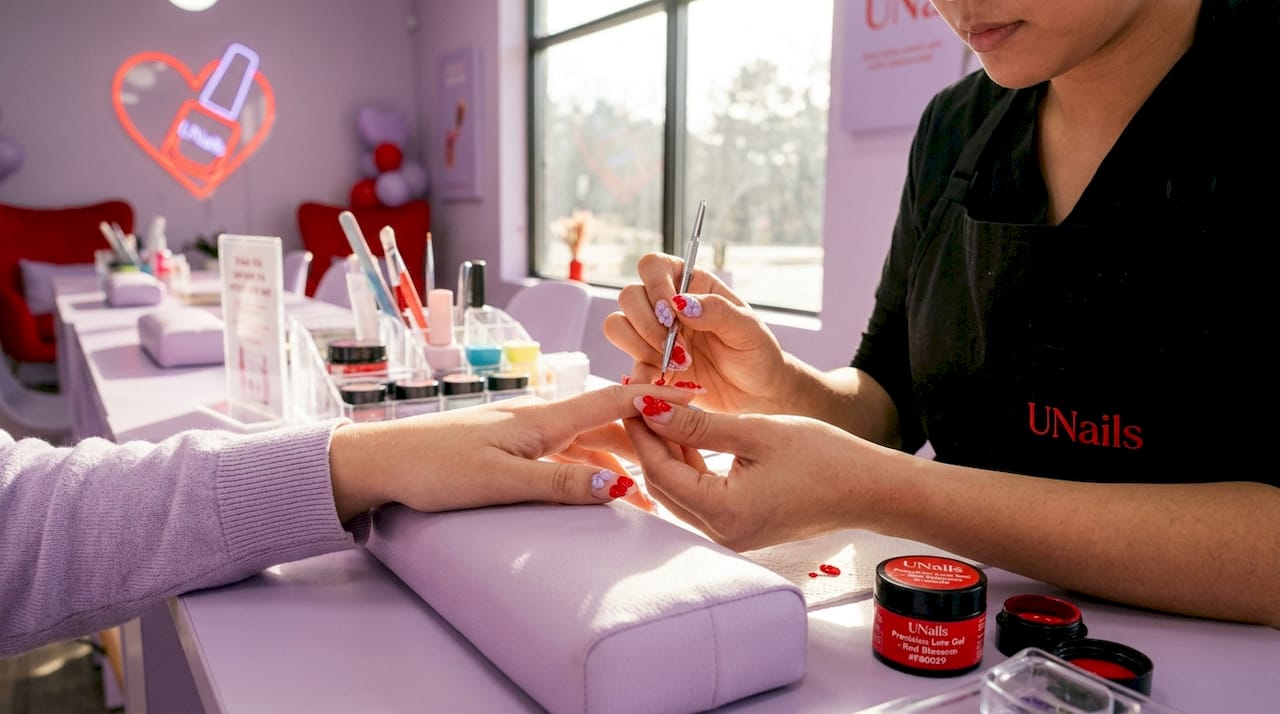
Blooming gel is the opposite. Its low-viscosity formula is almost like a clear liquid, and when pigment or ink touches its surface before curing, the color spreads and diffuses into soft, cloud-like gradients. That marble nail look flooding your social media? That is blooming gel doing its job.
Here is a side-by-side comparison of the most popular specialty gels:
Gel type | Viscosity | Best for | Popular designs |
Line gel | Very high | Fine lines, raised details | Florals, geometric patterns, script |
3D gel | High | Sculpted shapes | Bows, petals, dimensional textures |
Blooming gel | Very low | Diffused color effects | Marble, aura, watercolor |
Builder gel | Medium-high | Nail extensions | Overlays, length enhancements |
Standard gel polish | Low-medium | Base color coverage | Solid colors, glitter, simple art |
You can explore line and blooming gel options at a professional salon where technicians stock multiple gel types to match your vision.
Pro Tip: If you are planning a detailed design like raised 3D florals or a marble effect for an event, mention it when booking. Some specialty gel techniques require extra curing time and scheduling that affects appointment length.
After looking at gel types, let’s examine how the quality of gels and curing lamps impact final results and nail health.
The importance of matching gels and curing lamps for quality and safety
Here is something most clients never hear: every gel formula is engineered with specific photoinitiators that respond to a particular wavelength of light. If the lamp does not emit the right wavelength, the gel does not fully cure, even if it looks and feels hard on the surface. Mismatched lamp and gel combinations are a primary cause of lifting, peeling, and a condition called allergic contact dermatitis, which is a skin sensitivity that can develop from repeated exposure to under-cured gel chemicals.
The risks of under-curing are serious and often underdiagnosed:
Peeling and lifting within days of application
Soft or tacky layers that never fully harden
Skin sensitization that can become permanent with repeated exposure
Nail damage from chemical residue sitting on the nail plate
Thick gel application is one of the most common beginner mistakes, and it is dangerous. UV and LED light can only penetrate a certain depth. A thick layer blocks light from reaching the bottom, leaving uncured gel against your nail and skin.
“Lamp maintenance is as important as gel quality. A dirty or aging lamp emits uneven light, creating under-cured spots even when the right gel-lamp pairing is used. Lamps should be cleaned regularly and bulbs replaced on schedule.” — Professional nail technician best practice guideline
Protecting your nails starts with safe gel nail care practices and choosing a salon that takes lamp maintenance seriously.
Pro Tip: At your next appointment, do not hesitate to ask your technician which brand of gel they are using and whether their lamp is matched to that formula. A knowledgeable technician will have a clear answer.
Now that we understand how quality gels and curing affect nails, let’s compare gel systems’ strength and flexibility to traditional acrylics.
Gel nails versus acrylics: strength, flexibility, and comfort
Acrylics have been a salon staple for decades, but gel has overtaken them as the preferred option for nail art among clients who prioritize nail health and comfort. The core difference is structural. Acrylics are formed by mixing a liquid monomer with a powder polymer, creating a rigid, hard shell. Gels cure into a structure that is firm but designed to flex with the natural nail, preventing the brittle cracking and tip breakage common with acrylics.
For women with naturally thin or flexible nails, this distinction is significant. An acrylic set can feel stiff and heavy. A gel set moves more naturally with your hand. That flexibility also means fewer stress fractures at the sidewalls where nails bend during daily tasks.
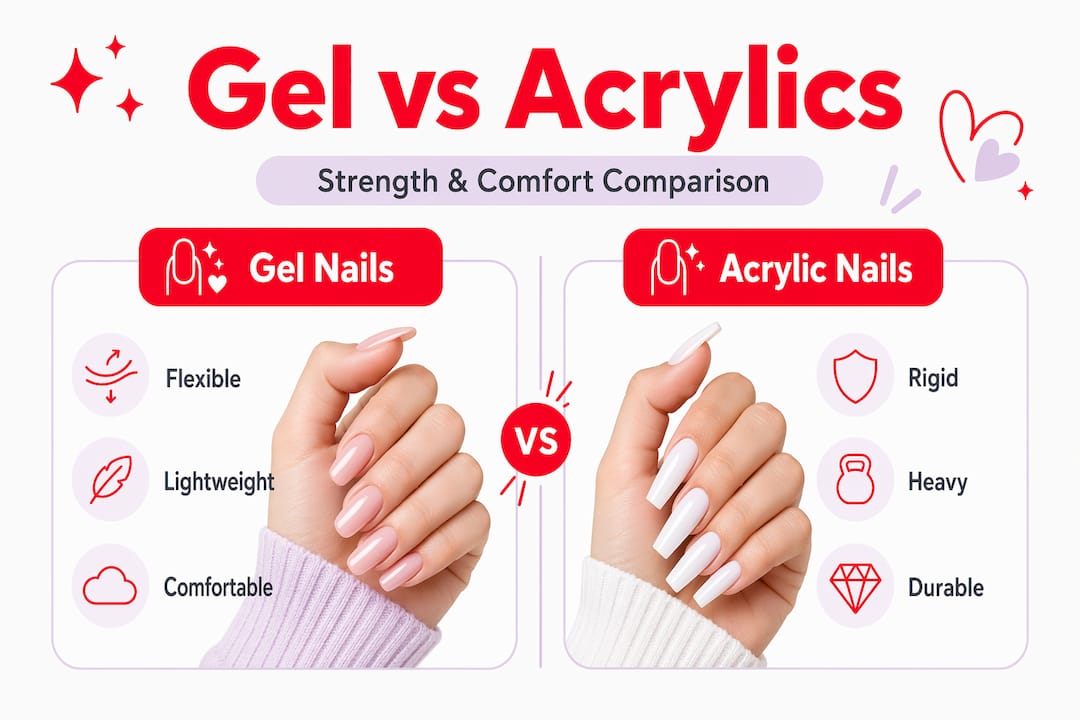
Here is a direct comparison across the features that matter most:
Feature | Gel nails | Acrylic nails |
Flexibility | Flexes with nail | Rigid |
Weight | Lightweight | Heavier |
Finish | Naturally glossy | Requires buffing |
Odor during application | Minimal | Strong chemical smell |
Nail art suitability | Excellent, detailed art possible | Limited, mostly base enhancements |
Removal process | Soak-off with acetone | File and soak |
Nail health impact | Lower when applied correctly | Higher risk of thinning with removal |
It is worth noting that any nail system carries risks when applied or removed incorrectly. Gel’s advantage is that when done right, the balance between flexibility and structure puts less mechanical stress on your natural nail. You can read more about the benefits of gel versus acrylic and what removal techniques protect nail integrity.
Choosing between gel and acrylic often comes down to lifestyle. If you type extensively, do manual work, or want detailed nail art, gel is typically the better fit.
How to protect your nails and skin during gel manicures
UV exposure during a gel manicure is real but manageable. The key is context. A typical gel manicure involves three to five minutes of total lamp exposure, spread across multiple curing cycles. Dermatologists note that broad-spectrum SPF 30+ sunscreen applied 20 minutes before your appointment, or fingerless UV-protective gloves worn during curing, effectively reduces any cumulative risk.
Follow these steps to protect yourself during your next gel appointment:
Apply SPF 30 or higher sunscreen to your hands, including around the cuticles, at least 20 minutes before your appointment
Ask your technician to use thin gel layers during application
Confirm the curing lamp is clean and appropriate for the gel brand being used
Keep your hands still during curing to ensure even light exposure on every nail
If you feel a significant heat spike during curing, mention it immediately. It often means the layer is too thick
The bigger risk is not UV light. Under-cured gel sitting against your skin and nail plate is the actual driver of allergic reactions. Full curing is the real safety priority. A technician who applies thin, even layers and uses a matched lamp is your best protection.
Pro Tip: Pack a travel-size SPF in your bag specifically for nail appointments. It takes 30 seconds to apply before you walk in and meaningfully reduces your cumulative UV exposure over months of regular manicures.
The subtle science and safety realities behind gel nail art
After years of working with and educating clients on gel nail art, a few truths stand out that most articles skim past. The first is the heat spike. When gel cures, it releases heat as part of the polymerization reaction. Most clients feel a mild warmth. But when a technician applies gel too thickly, that heat can spike sharply, causing real discomfort and even minor nail bed damage. A slight warm sensation is normal. A burning feeling is a signal, not something to push through.
The second truth is about where allergies actually come from. The widespread assumption is that UV lamps cause the harm. But the real sensitizer in most allergy cases is uncured gel monomer, the chemical that never finished its polymerization reaction. Clients who develop gel allergies often have a history of thick applications, expired products, or mismatched lamps. The UV light is not the villain.
Third, lamp maintenance is treated as an afterthought in too many salons. Lamps degrade over time, bulbs lose intensity, and the diffuser panels collect product residue that blocks even light distribution. A lamp that looks functional may not be curing effectively. This is one of the most overlooked factors in both poor durability and client sensitivity complaints.
Finally, the most durable, most beautiful gel nail art comes from patience. Thin layers. Full cures. Clean equipment. Rushed applications shortcut all three. When you book at a salon that understands this, you get results that last and a nail health record that stays clean. Our guide on safe removal techniques walks through the end of that process just as carefully as the beginning.
Get expert gel nail art at Bradenton’s top salon
Now that you understand why gel is essential for lasting, artistic nail designs, let our local experts bring your style to life safely and beautifully.
At TJ Nails in Bradenton, our technicians work with a full range of specialty gels including line gel, 3D gel, and blooming gel, matched to properly maintained curing lamps. Whether you are after delicate raised florals, a soft marble effect, or a bold geometric design, we customize every set to your lifestyle and nail health. Our professional gel nail services include strict safety protocols: thin application layers, matched lamp-gel systems, and clean equipment at every station. Explore our SNS and gel nail options for a full picture of what we offer, and book your appointment at TJ Nails Bradenton today. Sunday appointments are available.
Frequently asked questions
Why does gel nail polish last longer than traditional polish?
Gel polish undergoes polymerization under UV or LED light, forming a hard, cross-linked layer that lasts 2 to 3 weeks without chipping, while traditional polish simply dries by evaporation and typically chips within days.
Are UV/LED nail lamps safe for my skin?
The total UV exposure during a gel manicure is brief and far lower than outdoor sunlight, but applying SPF 30+ sunscreen or wearing UV-protective fingerless gloves before your appointment reduces any cumulative skin risk effectively.
What makes line gel and 3D gel ideal for nail art?
Their high-viscosity, non-flowing formulas allow nail technicians to create precise, raised, and sculptural designs that hold their shape through curing, which is simply not possible with standard self-leveling gel polish.
How can I ensure my gel nails cure properly and safely?
Ask your technician to apply thin layers and use a brand-matched lamp, and make sure the lamp is clean and maintained, since these three factors together prevent under-curing and the skin sensitization it can cause.
What are the benefits of gel nails compared to acrylics?
Gel nails flex with the natural nail, which prevents brittle cracking, feels lighter and more comfortable than acrylic overlays, and provides the surface stability needed for detailed, multi-layer nail art designs.
Recommended
Comments