
How Freehand Nail Art Is Done: A Beginner's Guide
- Bradenton Salon Today
- 2 days ago
- 7 min read
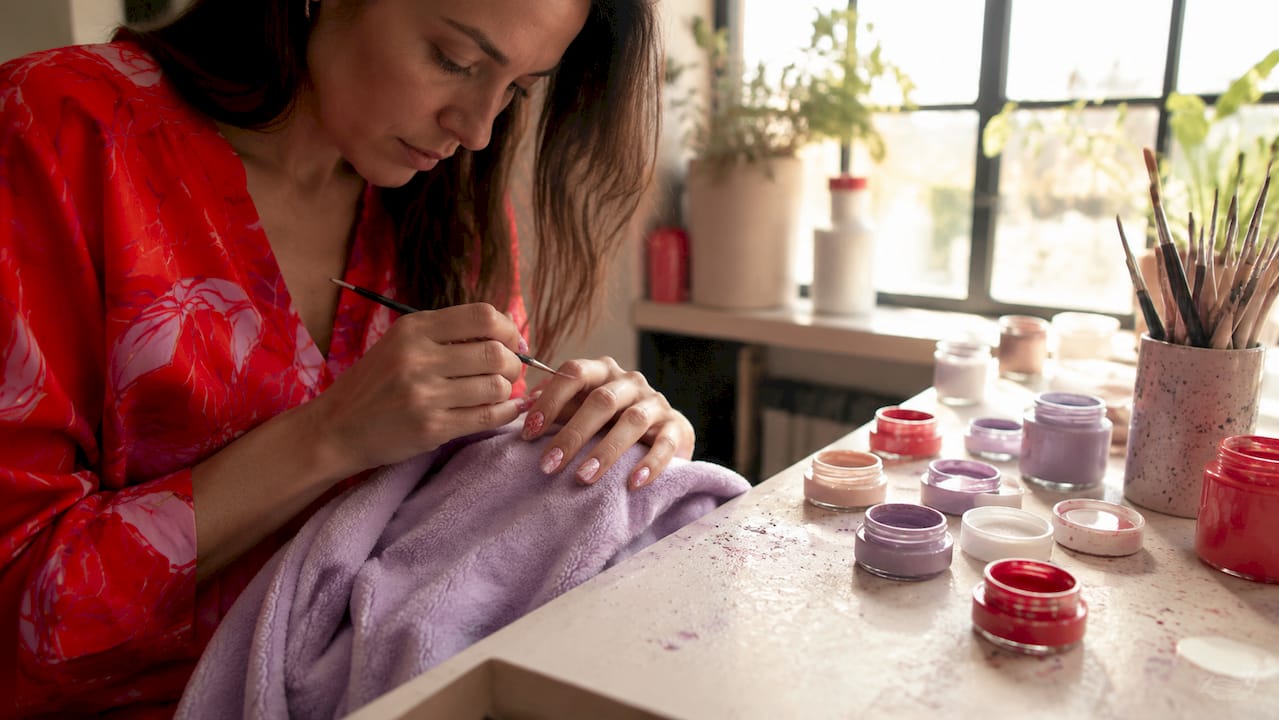
Freehand nail art is the manual creation of intricate nail designs using fine brushes and steady hand movements, with no stencils or decals required. Learning how freehand nail art is done comes down to three things: the right tools, proper nail prep, and deliberate brush control. Kolinsky sable brushes and a quality top coat are the two non-negotiable starting points. Technique matters far more than natural talent, and anyone willing to practice the fundamentals can produce salon-quality results at home.
What tools do you need for freehand nail art?
Brush choice accounts for 80% of success in freehand nail art. That number reflects a simple truth: a cheap synthetic brush drags, splits, and loses its point after a few uses. A size 0 or 00 kolinsky sable brush holds its shape, snaps back after each stroke, and gives you the control that fine detail work demands.
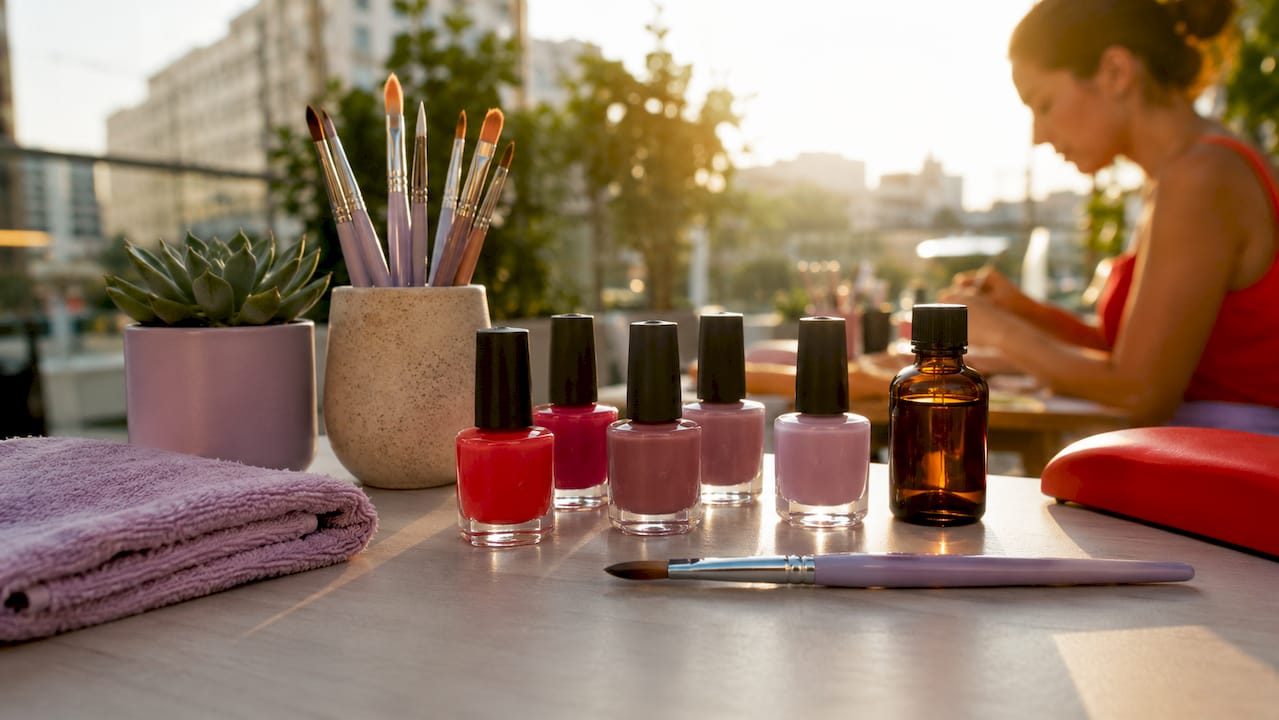
Beyond the brush, you need these core materials:
Base coat and top coat. Base coat protects the nail and gives polish something to grip. Top coat seals the design and extends wear to 5–7 days with regular polish.
Acrylic paints vs. nail polish. Acrylic paints have a longer open time than polish, meaning they stay workable longer on the nail. That extra window is a real advantage when you are painting fine lines or layered details. Polish dries faster, which suits simpler designs.
Dotting tools. A dual-ended dotting tool creates clean circles and dots that are nearly impossible to replicate with a brush tip alone.
Acetone and a thin brush. Acetone on a small cleanup brush removes stray marks around the cuticle line without disturbing the design.
Good lighting. Working under 5000K LED lights reveals color inconsistencies and brush errors that warm household lighting hides completely.
Pro Tip: Buy one quality kolinsky sable brush before anything else. Clean it with brush cleaner immediately after every session and reshape the tip while it is still damp. A well-maintained brush lasts months and performs better than a pack of cheap alternatives.
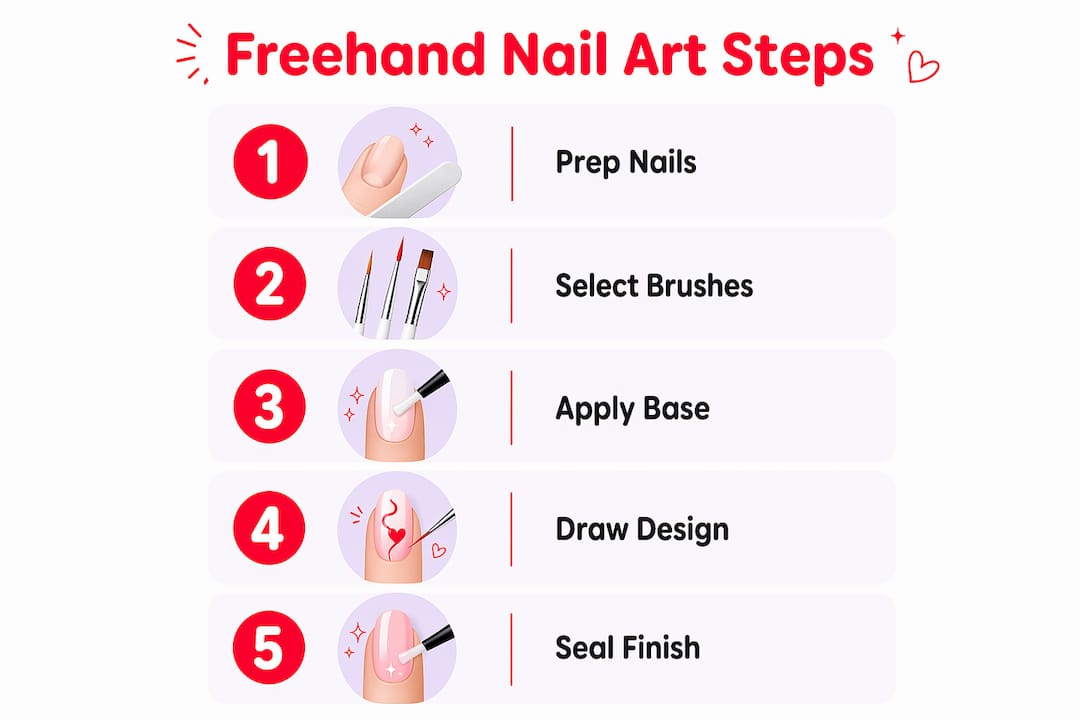
How to create nail designs step by step
Preparation is the step most beginners skip, and it is the one that determines how long the design lasts. Cuticle care, buffing, and a dehydrator all improve polish adhesion before a single drop of color touches the nail.
Follow this sequence for clean, lasting results:
Shape and prep the nail. File to your preferred shape, push back cuticles gently, and buff the surface lightly. Apply a dehydrator if you have one. Let it dry for 60 seconds.
Apply base coat. Brush on a thin, even base coat and let it dry for 3–5 minutes. Do not rush this step. A tacky base coat causes the design layer to drag.
Apply your background color. Two thin coats of your chosen polish work better than one thick coat. Let each coat dry fully before adding the next.
Load the brush correctly. Roll the brush gently on the bottle rim to remove excess polish before each stroke. The bristles should be coated but never dripping. Globs ruin fine lines instantly.
Paint your design. Hold the brush at a 15–30 degree angle to the nail surface. Use slow, deliberate strokes. Move from the base of the design upward or outward depending on the shape you are creating.
Clean up edges. Dip a thin brush in acetone and trace along the cuticle line and sidewalls to remove any stray marks. Do this before the top coat goes on.
Seal with top coat. Apply a generous top coat layer and cap the free edge by dragging the brush across the nail tip. Capping the free edge prevents chipping at the tip, which is where designs fail first. Allow at least 10 minutes before touching anything.
Pro Tip: Paint your dominant hand’s nails first while your coordination is freshest. Save the non-dominant hand for last, when you have already warmed up your strokes.
How do you improve brush control for nail art?
Brush control is a physical skill, not an artistic gift. It builds through repetition, and the fastest way to build it is to practice away from your nails first.
These methods work:
Dry run motions. Performing painting motions above the nail before touching it builds muscle memory and reduces hesitation. Do three slow air strokes for every stroke you paint.
Practice on paper. Paint lines, curves, and dots on printer paper or a nail practice wheel before working on your actual nails. Paper gives you instant feedback without the pressure of ruining a finished manicure.
Stabilize your wrist. Elevate your wrist about 1 inch using a folded towel or a dedicated wrist rest. This reduces tremor and gives your painting hand a stable base.
Use whole arm movement. Move your entire forearm, not just your fingers. Finger-only strokes are short and jerky. Arm-driven strokes are longer, smoother, and far more consistent.
Slow down on the non-dominant hand. Reducing brush speed to 50% on your weaker hand cuts down on dragged edges and uneven lines. Speed is the enemy of control when you are still learning.
Hold the brush closer to the ferrule. The ferrule is the metal band that connects bristles to handle. Gripping there shortens the lever and gives you more direct control over the tip.
Expert Elira Veymon puts it plainly: angle matters more than speed. Slow, deliberate strokes at a consistent angle produce better results than fast, confident ones at a random angle. That is the single most useful thing a beginner can internalize.
Pro Tip: Set a timer for five minutes each day and practice a single stroke type on paper. Straight lines one day, curves the next, then dots. Focused repetition over a week produces more improvement than one long practice session.
What freehand nail art designs work best in 2026?
The dominant trend in 2026 favors personal expression over technical perfection. That shift is genuinely good news for beginners.
Design Style | Difficulty | Best For |
Accent nails | Low | Beginners who want impact with minimal effort |
Abstract brushstrokes | Low to medium | Anyone comfortable with loose, expressive lines |
Negative space designs | Medium | Those who want a modern look without heavy coverage |
Minimalist line art | Medium | Beginners building precision with thin brushes |
Asymmetric patterns | Medium | Confident beginners ready to break symmetry rules |
The accent nail strategy is the smartest entry point for beginners. Paint one or two nails with intricate freehand art and keep the remaining nails a solid color. The contrast makes the art stand out more, not less. You also reduce the total number of nails that require detailed work, which lowers the chance of fatigue-related mistakes.
Abstract nail art is the other beginner-friendly category. Loose brushstrokes, color blocking, and organic shapes all fall under this umbrella. You can explore abstract nail art designs for inspiration before you start. The appeal of abstract work is that imperfection reads as style. A slightly wobbly line becomes a design feature rather than an error.
Negative space designs use the bare nail as part of the composition. You paint around an open area rather than filling the entire nail. This approach works well with gel and regular polish alike, and it suits people who prefer understated looks. For more ideas matched to specific nail lengths, the 2026 nail art styles guide covers what works best by shape and length.
Key Takeaways
Freehand nail art requires the right brush, proper nail preparation, and deliberate stroke technique to produce designs that last 5–7 days at home.
Point | Details |
Brush quality is the top priority | A size 0 or 00 kolinsky sable brush outperforms synthetic options for fine detail work. |
Prep determines longevity | Cuticle care, buffing, and capping the free edge prevent chipping and extend design life. |
Slow down for control | Reducing brush speed, especially on the non-dominant hand, eliminates dragged lines and uneven strokes. |
Practice before you paint | Dry run motions and paper practice build muscle memory faster than painting nails repeatedly. |
Accent nails lower the barrier | Focusing detailed art on one or two nails reduces difficulty and creates a polished, modern result. |
Why technique always beats speed in freehand nail art
The biggest mistake I see beginners make is rushing. They load too much polish on the brush, move too fast, and then blame their hands for shaking. The hands are not the problem. The process is.
When I started paying attention to brush angle and slowing down my strokes, the results changed immediately. Not gradually. Immediately. The lines got cleaner, the curves stopped dragging, and cleanup took half the time. Technique is not a soft skill here. It is the mechanism that makes everything else work.
The other thing I would tell any beginner is to stop trying to paint all ten nails perfectly on the first attempt. Pick two accent nails. Do those well. Let the rest be solid color. You will feel more satisfied with the result, and you will have actually practiced the skill rather than just survived the experience.
Freehand nail art is one of the few creative skills where the gap between beginner and intermediate closes fast. A week of focused daily practice on paper, combined with the right brush and proper prep, produces results that genuinely surprise people. The artistic freedom that comes with it is real. You are not following a template. You are making something that did not exist before.
— MinhHieu
Get professional nail art help at Bradentonnails
DIY freehand nail art is deeply satisfying, but sometimes you want a professional result without the learning curve. Bradentonnails at TJ Nails Spa in Bradenton, FL offers expert nail technicians who specialize in detailed nail art, gel manicures, and nail enhancements. Whether you want to see a design executed in person before trying it yourself, or you simply want a flawless finish for a special occasion, the team is ready to help. Book a professional manicure in Bradenton and walk out with nails that inspire your next DIY session.
FAQ
What brushes are best for freehand nail art?
Size 0 or 00 kolinsky sable brushes are the professional standard for freehand nail art. They hold their shape and provide the springiness needed for fine detail strokes that synthetic brushes cannot match.
How long does freehand nail art last?
Freehand nail art sealed with a quality top coat typically lasts 5–7 days with regular polish. Capping the free edge during top coat application prevents early chipping at the nail tip.
Can beginners do freehand nail art at home?
Yes. Starting with accent nails and simple abstract designs lowers the difficulty significantly. Practicing brush strokes on paper before painting nails builds the muscle memory needed for clean results.
What is the best way to steady your hand for nail art?
Rest your wrist on a folded towel to elevate it about 1 inch and use whole arm movements rather than finger-only strokes. This reduces tremor and produces smoother, more consistent lines.
Should I use acrylic paint or nail polish for freehand designs?
Acrylic paint works better for intricate designs because it stays workable longer on the nail surface. Nail polish dries faster, which suits simpler or bolder designs where open time is less critical.
Recommended
Comments