
3D Nail Art Design Examples to Inspire You Now
- Bradenton Salon Today
- 17 hours ago
- 9 min read
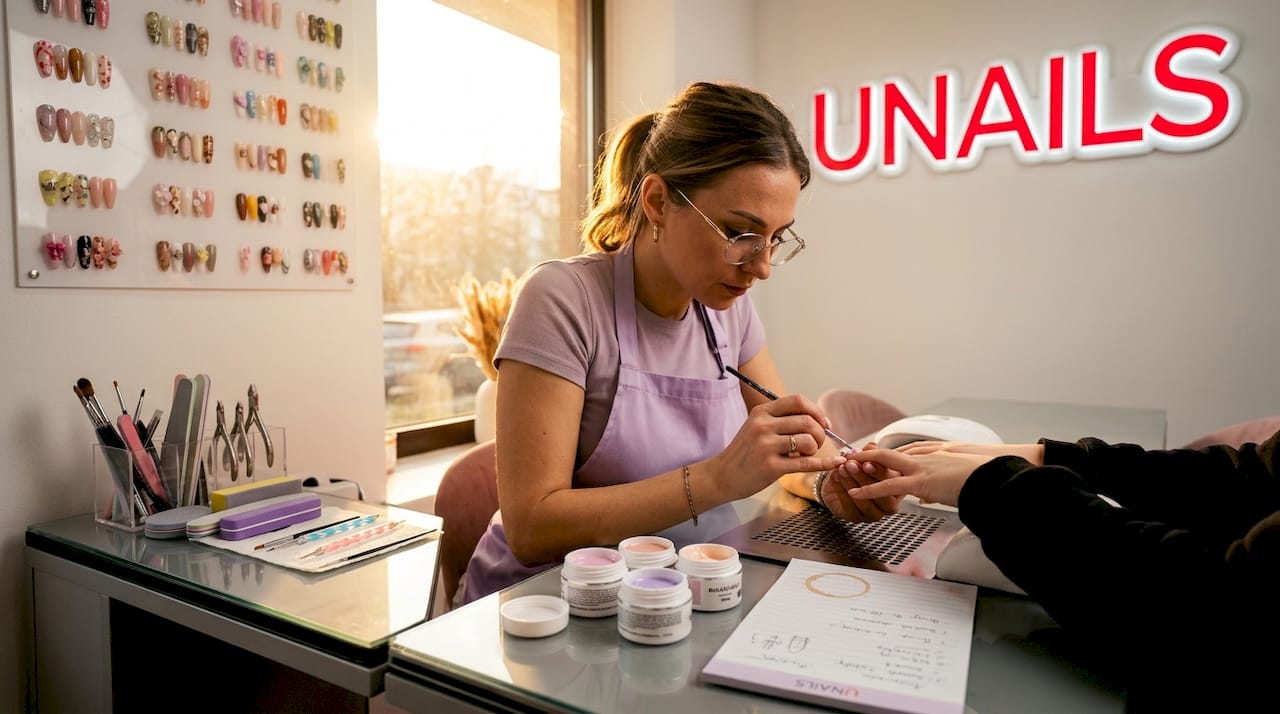
Three-dimensional nail art sits at the intersection of sculpture and beauty, and once you see a well-executed set, flat nail polish just never looks the same. These 3d nail art design examples range from delicate petal-by-petal flowers to architectural seashell ridges and chrome-dipped sculptural tips. 3D nail art is more craft-intensive than flat hand-painted designs because it requires layering miniature sculptures using gel or acrylic. Whether you are a DIY nail lover or a client looking for your next salon appointment, this guide gives you the inspiration and the technical context to make smart choices.
Table of Contents
Key takeaways
Point | Details |
Material matters most | Your gel or acrylic choice directly controls how well raised shapes hold their form over time. |
Cure each layer separately | Curing individual petals or gel layers prevents cracking and extends the life of any 3D design. |
Embed before curing | Placing decorations into uncured gel rather than on a cured surface keeps them attached far longer. |
Match design to skill level | Starting with single-element designs like one floral accent builds confidence before attempting full sculptural sets. |
Press-on sets are a real option | Hand-painted 3D press-on nails deliver salon-quality results for DIYers without any gel equipment. |
1. What to look for in 3D nail art designs
Before you fall in love with a design, it helps to know what actually makes one wearable versus impractical for your lifestyle. The best creative nail art choice blends your personal style with the realities of your daily routine and your skill level or budget.
Here is what to evaluate before committing:
Nail shape compatibility. Long coffin and stiletto shapes carry dramatic 3D sculptures well. Short rounded nails work better with low-profile floral accents or single raised elements.
Design complexity. Full sculptural sets with multiple raised elements require professional application. A single accent nail with a 3D flower is a great DIY starting point.
Occasion suitability. Intricate seashell or botanical designs suit special events. Subtle metallic textures or small gems work for everyday wear without snagging on fabric.
Material selection. The three main players are builder gel, sculpting gel, and acrylic. Builder gel cures in roughly 60 seconds per layer under LED and works best for structural support. Sculpting gel holds raised shapes with much higher viscosity. Acrylic air-dries and suits very detailed freehand sculpting.
Durability expectations. A 3D design on your dominant hand takes more abuse. Plan for touch-ups or choose simpler elements on high-contact nails.
Pro Tip: Layering and curing each section of your 3D structure separately, rather than building one large mass, prevents the interior from staying soft and eventually cracking. Think of it like baking in stages instead of one dense loaf.
Understanding why nail art uses gel as the preferred medium for dimensional work makes these material decisions much clearer.
2. Seashell nails: sculptural realism at its best
Seashell nails are one of the most stunning 3D nail designs available right now, and the technique behind them is genuinely architectural. The effect copies the natural ridges, curves, and iridescent depth of real shells sitting on your nail bed.
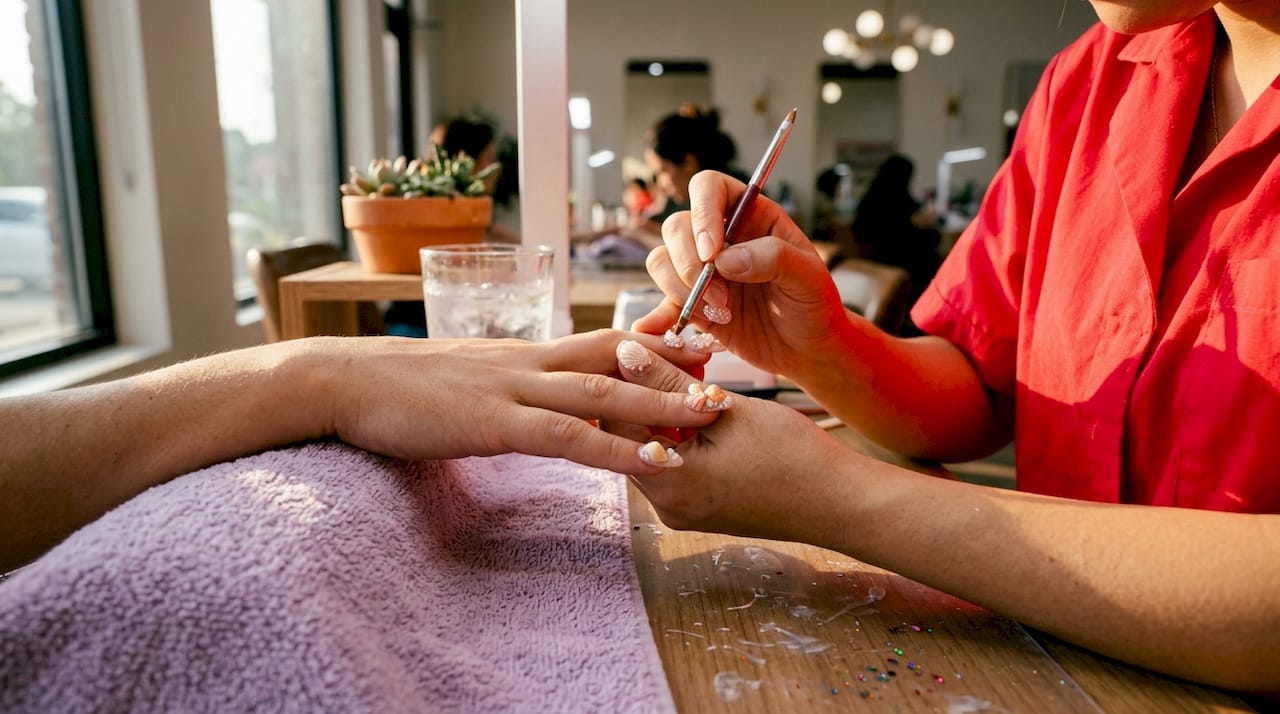
The process starts with a neutral or milky base. From there, blooming gel creates soft pigment dispersion that resembles underwater movement beneath the surface. Without this layer, the finished nail has raised ridges but lacks that liquid depth that makes the design so eye-catching. After the blooming layer cures, high-viscosity clear gel gets applied and sculpted into ridge shapes, with curing between each pass to lock in the form.
Key features of this style:
Layered high-viscosity clear gel for raised ridges
Blooming gel pigment layer for organic color dispersion
Pearl or iridescent topcoat to amplify the shell effect
Best on oval, almond, or coffin nail shapes
This is not a beginner DIY project. The ridge sculpting requires real control over gel viscosity and curing timing. For most people, this one belongs on the salon list.
3. 3D floral nails: the most searched design category
Floral 3D nail designs dominate searches and Instagram feeds for good reason. They are visually dramatic, deeply customizable, and the techniques scale from beginner to expert. 3D floral nail art generates over 3,700 monthly searches, making it the largest subcategory within all 3D nail styles.
Plastelin Gel is a favorite medium for this style because it holds shapes without slumping while you work. You roll out small amounts, form each petal individually, cure it in place, then layer the next petal over or alongside the first. The result is a dimensional rose or blossom that genuinely stands off the nail surface.
Design features worth noting:
Petals built one at a time using Plastelin Gel or sculpting gel
Color mixing within the gel for gradient petal effects
Caviar beads or micro-gems fill petal gaps and reinforce the structure
Works beautifully as an accent nail on a ring finger
Repeated curing and layering each petal improves durability and reduces cracking risk significantly. Rushing this step is the single biggest reason DIY 3D flowers fall apart within days.
4. Chrome and metallic sculptural nails
Not every unique nail art style needs organic shapes. Chrome and metallic 3D designs bring an industrial, futuristic edge that has exploded in popularity. Think Gel-X tips with swirling chrome powder pressed into raised gel swirls, or metallic foil trapped inside sculptural clear gel domes.
The approach here combines structure with finish. A clear or nude builder gel layer provides the raised form, whether that is a simple dome apex or a flowing wave sculpted on the nail surface. Chrome powder or metallic gel gets applied over or within the raised sections after partial curing, then sealed with a non-wipe top coat to protect the mirror finish.
What makes this style work so well is contrast. The flat metallic base reads as polished and clean while the raised sculptural element catches light differently at every angle. It photographs exceptionally well and holds up longer than organic floral designs because there are fewer thin petal edges to chip.
5. Hand-painted 3D press-on sets
Press-on nail art has shed its reputation as a cheap shortcut. Today’s artisan press-on sets are genuinely impressive, especially for DIYers who want dimensional nail art without the gel equipment or salon commitment.
Sets like Joyee Nails’ “Dragonfly Pond” feature real gel polish textures, 0.6mm thickness, glossy finish, and customizable lengths. They last up to two weeks and can be reused multiple times with proper removal and care. The 3D elements are hand-sculpted before you ever open the packaging, so the application process is genuinely simple.
This option is particularly smart for:
People with naturally weak or damaged nails who cannot handle gel overlays
Those who want a specific seasonal or event design without a standing salon appointment
DIYers building their nail art portfolio before investing in gel products
The only trade-off is customization. You work within the available designs rather than creating your own from scratch. But the quality ceiling on artisan press-on sets is much higher than most people expect.
6. Comparing gel types for 3D nail work
Choosing the right material is the difference between a design that lasts three weeks and one that chips by day five. Here is a direct comparison of the three main gel options used in popular nail art techniques:
Gel type | Viscosity | Shape retention | Curing method | Best for |
Sculpting gel | Very high | Excellent for raised forms | LED lamp, layer by layer | Flowers, seashells, detailed 3D sculpture |
Builder gel | Medium | Good for apex and structure | LED, 60 seconds per layer | Nail strength, dome shapes, base for 3D |
Acrylic | N/A (air-dry) | Excellent when dry | Air cure | Freehand sculpting, fine details |
Sculpting gel has better shape retention than builder gel for raised designs because it does not self-level. Builder gel is self-leveling by design, which is great for smooth apex shapes but works against you when you need a raised petal to stay put.
Pro Tip: Using the wrong gel type is one of the most common beginner mistakes. If your 3D shapes keep flattening out before you cure them, switch from builder gel to a dedicated sculpting gel with higher viscosity.
Removal matters too. Sculpting gel typically requires either soaking or filing down depending on the product. Knowing your removal method before you start helps you plan the full nail art cycle, not just the application.
7. Step-by-step process for lasting 3D floral nails
Getting a 3D flower to stay on your nail for two to three weeks takes more than good product. The sequence matters as much as the materials.
Here is the core process used by professional nail artists:
Prep the nail surface by buffing lightly and applying a dehydrator and primer. This step is non-negotiable for adhesion on any 3D work.
Apply a base gel layer and cure fully. This gives your sculpture a clean, bonded foundation rather than raw nail plate.
Roll out Plastelin Gel or your sculpting gel into a small ball, then flatten and shape each petal individually. Thin edges are more fragile, so keep petals slightly thicker than you think you need.
Cure each petal separately before placing the next one. Curing petals individually locks each element in position and prevents the entire structure from shifting during application.
Embed embellishments into uncured gel. Placing decorations in uncured gel dramatically extends wear versus applying them on top of a fully cured surface.
Fill gaps with caviar beads pressed gently around the base of the flower. This fills structural weak points and adds texture.
Seal with a thick top coat applied carefully around all raised edges. Make sure the top coat covers the base of each petal to bond it securely to the nail surface.
Pro Tip: After completing your 3D design, cap the free edge with top coat and cure. This simple step protects the entire structure from lifting at the nail tip, which is where most 3D designs fail first.
When you are ready to remove your design without damaging your nails, check out these gel nail removal tips before soaking anything off.
My honest take on 3D nail art after years of watching clients wear it
I have watched a lot of people chase the most elaborate 3D nail designs they found online, and I have seen a lot of those same nails walk back in within a week looking rough. Here is what I actually believe works.
The biggest mistake is skipping layers to save time. Incremental curing layer by layer is not just a suggestion. When you skip it, you get a soft interior that eventually collapses or cracks, no matter how good your gel is. This is true whether you are doing seashells or flowers.
My real recommendation for anyone starting out: pick one accent nail, build one simple flower, and cure it properly. Get that right before you attempt a full set of sculptural designs. The foundational skills transfer to every style after that. Complexity is earned, not skipped to.
— MinhHieu
Get stunning 3D nails done right in Bradenton
If browsing all these nail design inspiration ideas has you ready to book something real, Bradentonnails at TJ Nails in Bradenton, FL has skilled technicians who handle everything from delicate 3D florals to metallic sculptural sets. You get personalized design consultation, professional-grade products, and a clean, relaxed environment where the work actually gets done correctly. Visit the manicure services page to see current design options and book your appointment online. Sunday hours are available, so there is always a time that fits your schedule. Bring a reference photo of any design from this article and the team will tell you exactly what is possible for your nail shape and lifestyle.
FAQ
What materials are used for 3D nail art?
The three main materials are sculpting gel, builder gel, and acrylic. Sculpting gel is preferred for raised shapes because of its high viscosity and strong shape retention.
How long do 3D nail designs last?
With proper preparation and layered curing technique, most 3D gel nail designs last two to three weeks. Embedding decorations in uncured gel rather than applying them on top significantly extends wear.
Can beginners do 3D nail art at home?
Yes, starting with a single accent nail and a simple floral design using Plastelin Gel or a quality sculpting gel is manageable. Artisan press-on 3D nail sets are also a strong option for beginners without gel tools.
What is the difference between builder gel and sculpting gel?
Builder gel is self-leveling and ideal for creating strong, smooth apex shapes. Sculpting gel has higher viscosity and holds raised forms without flattening, making it the right choice for detailed 3D nail designs.
How do you make 3D nail flowers last longer?
Cure each petal individually, embed any embellishments into uncured gel before the final cure, and seal the entire design with a thick top coat that wraps around the base of every raised element.
Recommended
Comments