
Book Jelly Nails Without Guesswork: Exact Salon Phrases and 4 DIY Steps
- Bradenton Salon Today
- 2 hours ago
- 8 min read
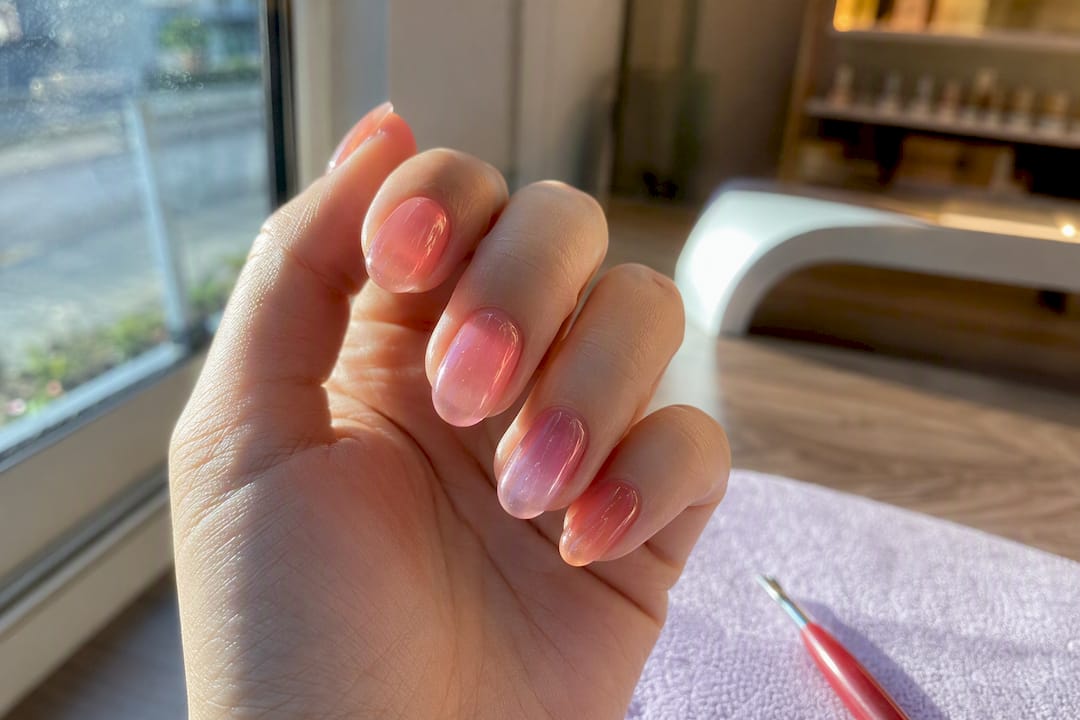
Jelly nails are a sheer, glossy manicure that builds translucent color into a candy-like, stained-glass finish. The main draw is simple: buildable color with real shine, forgiving on tip wear, and easy to get either in a salon chair or at your own kitchen table. You can go light with a quick DIY layer or ask a nail tech for the deeper, rounded gel version.
TL;DR:
Regular jelly polish lasts one to two weeks, while jelly gel stays durable for two to three weeks with a shinier finish.
Achieving the deep, rounded gel look requires professional tools like builder gels and LED lamps, which are difficult to replicate at home.
Applying thin layers gradually and checking color under different lighting enhances the jelly effect and prevents an opaque appearance.
Short nails are better suited for single-tone jelly or tips, whereas longer nails can handle ombré and chrome jelly designs more effectively.
Safe removal involves soaking gel jelly in acetone to avoid damaging the natural nail, with regular topcoat refreshes extending wear.
Table of Contents
What Are Jelly Nails, Exactly?
Jelly nails get their name from the texture they mimic: a wobbly, translucent look like fruit jelly, built by layering sheer, tinted polishes or gels until color pools with depth instead of sitting flat. Real Simple describes the effect as candy-like and stained-glass in appearance, which sets it apart from other glossy trends. Syrup nails lean amber and single-toned. Glazed nails chase a pearly shimmer. Jelly nails are about color you can see light pass through.
Two formulas produce different results. Regular jelly polish is thinner and dries with a flatter sheen, closer to tinted glass. Jelly gel is heavier, cures under a lamp, and rounds up into a plumper, more three-dimensional surface. That thicker gel technique traces back to Korea, where Vogue reports it became one of 2025’s biggest spring nail trends before spreading through nail-focused corners of social media.
What makes the look editable is layering itself, a technique also explained in detail in the lip gloss layering process for a polished look for cosmetics.
One thin coat gives a barely-there wash of color.
Two to three coats deepen the hue without losing translucency, a range Real Simple’s guide points to for controlling intensity.
A base of chrome or cat-eye gel underneath adds dimension before the jelly layer goes on top.
How to Ask for Jelly Nails at the Salon
Walking in with the right words saves everyone time. Tell your tech you want “jelly nails” or a “jelly manicure,” and specify whether you want the thinner polish version or the plumper gel version, since both go by the same name. Bring one or two reference photos on your phone. Jelly nails photograph differently under different lighting, so a photo shows your tech the exact depth of color and shine you’re after better than a description can.
A typical salon appointment for jelly nails follows a predictable sequence:
Nail prep: shaping, cuticle work, and a base coat to protect the natural nail.
Sheer color application in thin layers, checked between coats for opacity.
Gel curing under an LED lamp if you’ve chosen the gel version, usually 30 to 60 seconds per layer.
A glossy topcoat, sometimes a thicker “bulky” formula for extra plumpness.
Cleanup around the cuticle line and a final cure or air-dry.
Plan for 45 minutes to an hour for a standard jelly manicure, longer if you’re adding extensions or nail art on top. Price depends on whether you choose regular polish or gel, whether you want extensions, and any add-on art like chrome underlays or glitter placement.
Pro Tip: Ask your tech to build color gradually and check it under salon lighting and near a window. Jelly shades can look one shade in fluorescent light and shift noticeably in daylight.
How to Do Jelly Nails at Home
The fastest version of this look needs almost nothing you don’t already own. Mix a drop or two of a pigmented polish into a clear topcoat, right on the brush or in the bottle cap, then apply thin layers and let each one dry before adding the next. This dilution method, outlined by Vogue, is how most people get the sheer wash without buying a dedicated jelly polish.
What you’ll need:
A clear base or topcoat
A small amount of pigmented polish in your color of choice
A thin brush or dotting tool for mixing and control
Cotton pads and acetone for cleanup
Steps:
Apply a clean base coat and let it dry fully.
Mix your color into clear polish, starting with less pigment than you think you need.
Paint one thin coat, let it dry, then judge the translucency before adding more.
Repeat for two to three coats total, then seal with a glossy topcoat.
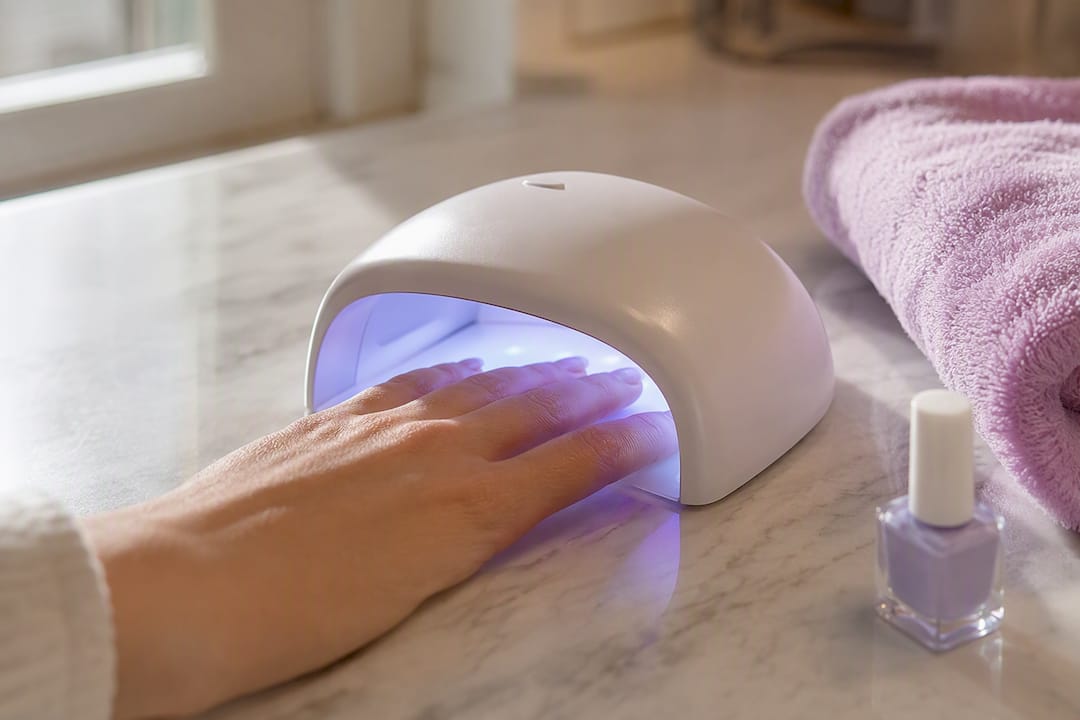
If you want the rounder, longer-lasting gel version, you’ll need a gel polish system and a small LED lamp, since gel jelly cures in 30 to 60 seconds per layer instead of air-drying. Removal for gel means soaking in acetone rather than peeling it off, which protects the nail plate from damage.
DIY works fine for a quick, low-commitment version you plan to wear a few days. If you want the deeper, rounded Korean-style gel finish, that thicker product and curing process is harder to replicate without professional tools, so a salon visit gets you closer to the look you’re picturing.
Jelly Nail Design Ideas Worth Trying
Jelly nails take well to themes because the translucency itself becomes part of the design. A few ideas worth showing your nail tech or trying solo:
Fruity jelly: orange, watermelon pink, or grape tones layered thin for a fresh, juicy look.
Neon jelly: a bright pigment diluted into clear polish for glow without full opacity.
Chrome-jelly: a chrome or cat-eye base under sheer color for shifting light and depth, a combination nail artist Pattie Yankee recommends for adding dimension.
Jelly tips: clear or barely tinted nail at the base with a stronger jelly color at the tip.
Jelly French: a classic French line done in translucent color instead of solid white.
Jelly extensions: longer nails built with jelly gel for a rounded, glassy look that holds shape.
Sparkly jelly: fine glitter suspended between layers of clear and tinted polish.
Layered ombré jelly: two or three jelly shades blended at the edges for a gradient.
Shorter nails tend to show off single-tone jelly and jelly tips best, since there’s less surface for a design to get lost. Longer nails and extensions handle ombré and chrome-jelly combinations with more visual payoff, similar to the styling choices covered in nail art for long nails. If you’re working with a shorter length, easy manicure styles for short nails offers more shape-specific guidance. For photos, natural daylight near a window shows jelly’s translucency far better than indoor lighting or flash.
Recommended Polishes and Tools
Look for the word “jelly” or “sheer” directly on the label. That’s the fastest way to know a formula is built for this finish rather than standard opaque coverage. Beyond labeling, a few product categories matter:
Dedicated jelly polishes from mainstream and indie brands, many released specifically to ride this trend.
Bulky or plumping topcoats, which add the rounded, glossy dome look without needing a full gel system.
Builder gels and a small LED lamp for anyone doing the gel version at home regularly.
Thin detail brushes for controlling how much pigment mixes into your clear base.
Cosmopolitan notes that both major and indie polish lines have released jelly-specific collections and bulky topcoats as the trend grew, giving shoppers more sheer formulas to choose from than a couple of years ago. Keep pure acetone and cotton pads on hand regardless of which formula you use. Removal is part of the buying decision, not an afterthought.
Care, Wear Time, and Safe Removal
Wear time depends entirely on which formula you chose. Regular jelly polish typically lasts about one to two weeks before chipping or fading, while jelly gel holds up for roughly two to three weeks with a sturdier shine throughout.
A few habits stretch either version further:
Refresh the topcoat every three to four days to keep shine from going flat.
Wear gloves for dishes or cleaning products, since translucent finishes show dulling faster than opaque ones.
Skip picking at lifted edges. Translucency already hides small imperfections better than solid color, so a little patience goes further here.
Pro Tip: Don’t peel gel jelly off, even when it starts lifting. Soak it in acetone instead. Peeling pulls layers off the natural nail plate and leaves it thin and weak underneath. For a full walkthrough, gel nail removal tips covers the soak times and aftercare that keep nails healthy between manicures.
A Nail Tech’s View on What Makes Jelly Nails Work
Jelly nails reward patience more than skill, which is the opposite of what most trends demand. The temptation is to load color fast and chase depth in one coat. That’s exactly backward. The finishes that actually look expensive come from thin, deliberate layers and a tech willing to stop building color before it turns opaque.
At TJ Nails, jelly-style finishes come up constantly in nail art consultations, especially paired with SNS or dip powder work for clients who want the sheer look with more durability than polish alone offers. Cleanliness standards and sanitized tools matter more with jelly application than with solid color, since every layering pass gets checked against the last one under salon lighting.
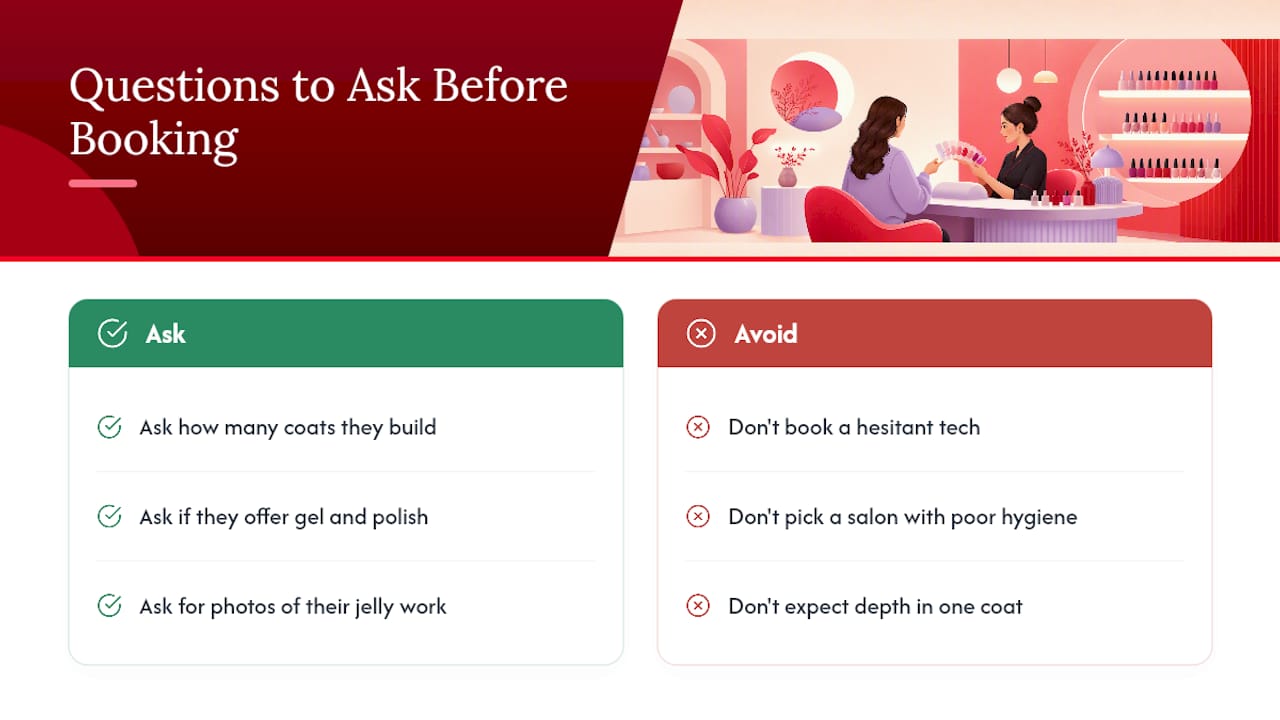
If you’re vetting a salon for jelly work, ask three things before booking: how many coats they typically build for this look, whether they offer both gel and regular polish versions, and if they can show a photo of jelly work they’ve actually done. A tech who hesitates on any of those three probably hasn’t done much of it.
— MinhHieu
Book Your Jelly Manicure at TJ Nails
TJ Nails gives Bradenton clients a direct path to the deeper, rounded jelly-gel finish that’s genuinely hard to nail on your own kitchen table. Where a DIY mix-in-clear-polish approach gets you close, our techs work with proper gel systems and LED curing to get the plump, three-dimensional look Korean jelly nails are known for, without the trial and error.

Bring one or two reference photos from this guide, whether that’s fruity jelly, chrome-jelly, or a jelly French line, so your tech can match the exact depth and finish you want. We also offer SNS and dip powder services if you want a jelly-inspired sheer look with extra durability between fills. Flexible hours including Sundays make it easy to fit in a fresh set around a busy week. Book your appointment online and tell us which jelly look you’re going for.
Sources
For more on the trend’s look and origin, Real Simple’s overview breaks down the layering technique in plain terms. Vogue’s coverage traces the Korean gel technique driving 2025’s spring surge. Cosmopolitan’s roundup lists polish and topcoat options worth checking out, and Mirellé Inspo’s guide covers wear time and removal in more detail.
Recommended
Comments