
Ombre Nails Salon Request Process in Bradenton
- Bradenton Salon Today
- 21 hours ago
- 8 min read

The ombre nails salon request process is defined as the series of steps you take before and during your appointment to communicate your design, book the right service, and set accurate expectations with your technician. Getting this process right is the difference between nails you love and a result that misses the mark. Bradentonnails and other Bradenton salons see this play out daily. Clear communication, the right booking channel, and a solid understanding of how ombre services are structured will get you exactly what you want. This guide walks you through every step.
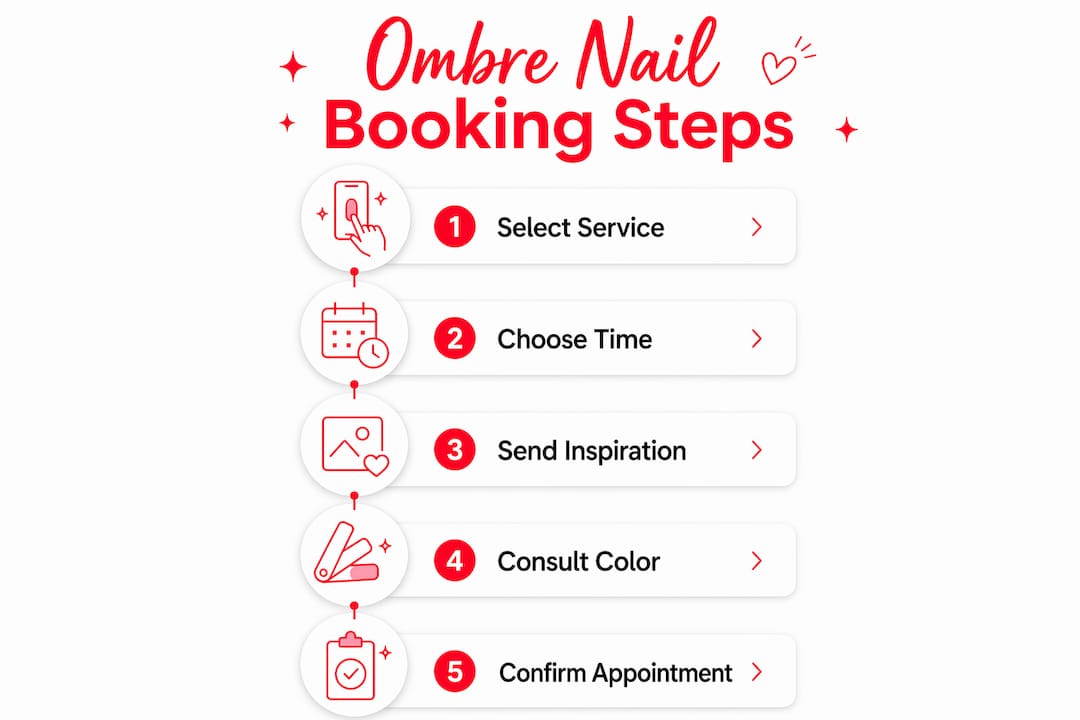
What are the best ways to book an ombre nails appointment in bradenton?
Three primary booking channels exist for nail appointments: instant online booking, social media messaging, and phone calls. Each one serves a different purpose, and picking the wrong channel for your request can create scheduling problems before you even sit down.
Online booking is the fastest option for standard appointments. You select your service, choose a time, and confirm. The limitation is that most online systems do not allow you to attach photos or describe design complexity in detail.
Social media messaging is the best channel for a detailed ombre nails design request. You can send a Pinterest photo, describe the color fade you want, and ask questions before committing to a time. Social media messaging gives the salon a chance to evaluate your design’s complexity and assign the right technician.
Phone calls are the right move for group bookings or last-minute requests. Phone booking lets staff manually adjust the schedule in ways that online systems simply cannot handle. If you are bringing three friends for matching ombre sets, call ahead.
Here is a quick breakdown of when to use each channel:
Online booking: Standard ombre add-on with a full set or fill, no unusual design requests
Social media message: Complex color combinations, glitter ombre, multi-tone fades, or first-time ombre requests
Phone call: Group appointments, same-day requests, or when you need to confirm technician availability
Pro Tip: Screenshot your inspiration photo before messaging the salon. A clear, well-lit image of the exact ombre style you want saves back-and-forth and helps the technician prepare the right materials.
How to communicate your ombre design request effectively
Preparation before your appointment is the single biggest factor in getting the ombre result you want. Showing up without a clear idea of what you want puts the entire creative burden on your technician, and that rarely ends well.
Start with a color consultation
A color consultation is recommended before any ombre service because professional ombre requires a specific technique, not just basic blending. The consultation lets your technician assess your nail condition, suggest colors that complement your skin tone, and flag any issues like thin or damaged nails that could affect the finish.
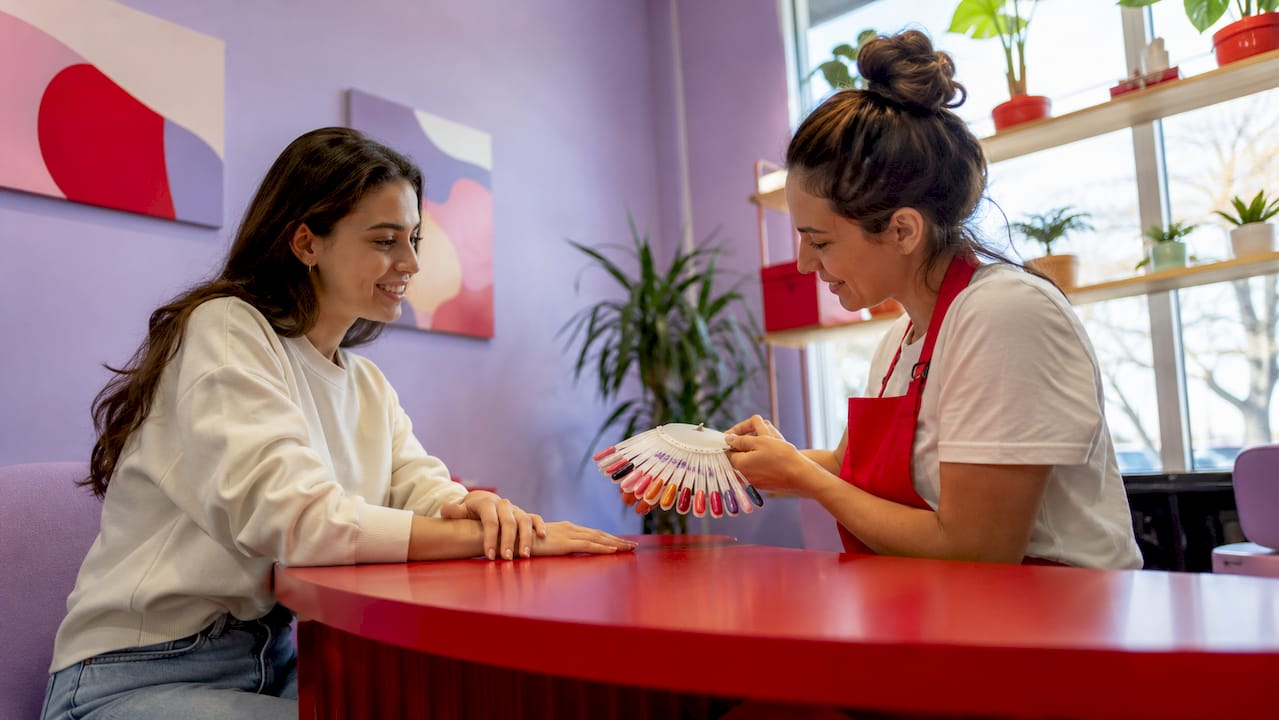
You can request a brief consultation when you book, or arrive a few minutes early to discuss your design. Either approach works. The goal is to walk in with a shared understanding of what the finished nails should look like.
Send an inspiration photo
Sending an inspiration photo during the booking process helps salons match the right technician and allocate sufficient time. A photo removes ambiguity. Instead of describing “a pink to white fade,” you show exactly the gradient depth, the nail shape, and the finish you expect.
Pinterest boards, Instagram saves, and screenshots from nail art accounts all work well. The more specific the photo, the better the result.
Discuss add-ons before you sit down
Ombre nail art process options vary widely. A simple two-color fade is very different from a glitter ombre or a multi-tone design with foil accents. Appointment time varies with ombre complexity. Simple fades are quicker, while glitter or multi-tone designs take longer and cost more. Tell your technician upfront if you want any extras so the salon can schedule enough time.
“Clients often underestimate the time required for intricate ombre designs. Salons appreciate honest upfront communication so they can deliver the best result without rushing.” — Insight from Sedalicious nail service guides
Pro Tip: Bring two or three photo options, not just one. If your first choice is not achievable with your current nail condition or the salon’s available colors, having a backup prevents disappointment.
Here is a checklist for pre-appointment preparation:
Choose your base service: full set or fill
Select your ombre style: white fade, colored fade, glitter, or multi-tone
Save an inspiration photo to your phone
Note any nail concerns: length, damage, or previous enhancements
Confirm add-on pricing when you book
What to expect during your ombre nails appointment
Understanding the nail salon ombre services structure prevents surprises on the day. Ombre is not a standalone service. Ombre nails cannot be booked standalone. They require bundling with foundational nail services to allow enough appointment time and proper technician assignment. Booking ombre alone often creates scheduling conflicts that leave you with less time than the design needs.
Pricing and timing at a glance
Ombre nail services typically add about 45 minutes to a basic nail appointment. Pricing depends on whether you choose white or colored ombre. Here is what you can generally expect:
Service | Approximate Price | Added Time |
Ombre full set (white) | $75 | ~45 minutes |
Ombre full set (color) | $85 | ~45 minutes |
Ombre fill (white) | $70 | ~45 minutes |
Ombre fill (color) | $80 | ~45 minutes |
Glitter or multi-tone ombre | $85+ | 60+ minutes |
These figures reflect typical pricing at professional salons. Bradentonnails recommends confirming exact prices when you book, since add-ons and nail condition can affect the final total.
The step-by-step ombre application process
Knowing what happens during your appointment helps you stay relaxed and ask the right questions. Here is the standard sequence:
Nail prep: Your technician cleans, shapes, and primes your nails or applies the acrylic or gel base.
Base color application: A foundation color is applied and cured.
Ombre blending: The technician applies the gradient using a sponge, brush, or specialized tool. Professional ombre requires a specific technique, not just sponge blending.
Layering and curing: Multiple thin layers build the fade effect. Each layer is cured under a UV or LED lamp.
Top coat and finish: A glossy or matte top coat seals the design and adds durability.
Industry experts caution that not all salons provide seamless blending without prior consultation. Asking your technician about their ombre technique before they start is completely appropriate. A confident technician will explain their process without hesitation.
What mistakes should you avoid when requesting ombre nails?
Most ombre nail service problems trace back to a few avoidable errors. Knowing them in advance saves you time and money.
Booking ombre as a standalone service. This is the most common mistake. Ombre is usually an add-on service bundled with full sets or fills. Booking it alone often results in insufficient appointment time and a rushed result.
Skipping the inspiration photo. Verbal descriptions of color fades are imprecise. “Nude to pink” means something different to every technician. A photo eliminates that gap.
Ignoring the consultation. Experts recommend prioritizing salons that offer consultations to avoid rushed or unsatisfactory ombre results. Skipping this step is the fastest way to end up with a design that does not match your vision.
Not confirming the add-on price upfront. Ombre customization options like glitter or multi-tone fades cost more than a standard fade. Confirm pricing before the technician starts.
Staying silent if something looks wrong mid-service. If the color is not matching your photo or the blend looks uneven halfway through, say something immediately. Corrections mid-service are far easier than fixes after the top coat is applied.
Pro Tip: If you are unhappy with the result after your appointment, contact the salon within 24–48 hours. Most reputable Bradenton salons will schedule a correction appointment at no additional charge for issues caused by technician error.
Choosing the right salon matters as much as the request itself. Look for salons that list ombre as a named service on their menu, offer consultations, and have technicians with visible portfolio photos of their ombre work. A nail care consultation before your first ombre appointment at any new salon is always worth the extra few minutes.
Key takeaways
A successful ombre nails appointment depends on booking the right service, communicating your design clearly, and understanding that ombre is always an add-on to a base nail service.
Point | Details |
Book ombre as an add-on | Always bundle ombre with a full set or fill to avoid scheduling and timing problems. |
Send an inspiration photo | A clear photo removes ambiguity and helps the salon assign the right technician. |
Use the right booking channel | Social media messaging works best for complex designs; phone calls work best for groups. |
Confirm pricing upfront | Colored and glitter ombre cost more than white fades; confirm totals before the service starts. |
Request a consultation | Salons that offer color consultations consistently deliver better ombre results. |
What i’ve learned after years of watching ombre requests go right and wrong
The clients who walk out happiest are almost never the ones who knew the most about nail art. They are the ones who came prepared with a photo and were willing to have a two-minute conversation with their technician before sitting down. That is it. That is the whole formula.
What surprises most people is how much a single photo changes the dynamic. A technician who sees your inspiration image can immediately tell you whether your nail length supports that design, whether the salon carries those specific gel colors, and roughly how long the service will take. Without that photo, the entire appointment is a guessing game on both sides.
The other thing I have seen trip people up is treating ombre like a simple add-on with no complexity. A white baby boomer fade on short nails is a 45-minute service. A three-color glitter ombre on long coffin nails is a different appointment entirely. Clients who do not communicate that upfront often end up with a rushed version of what they wanted because the technician did not have enough time blocked.
My honest advice: build a relationship with one technician who does ombre well. Show up with your photo, tip generously, and book in advance. You will get better results every single time because your technician already knows your nails, your preferences, and your standards. That kind of consistency is worth more than trying a new salon every month.
— MinhHieu
Book your ombre nails appointment at Bradentonnails
Bradentonnails at TJ Nails in Bradenton offers expert ombre nail services with skilled technicians who specialize in color fades, glitter ombre, and custom designs. The salon is open seven days a week, including Sundays, so you can book around your schedule without compromising on quality.
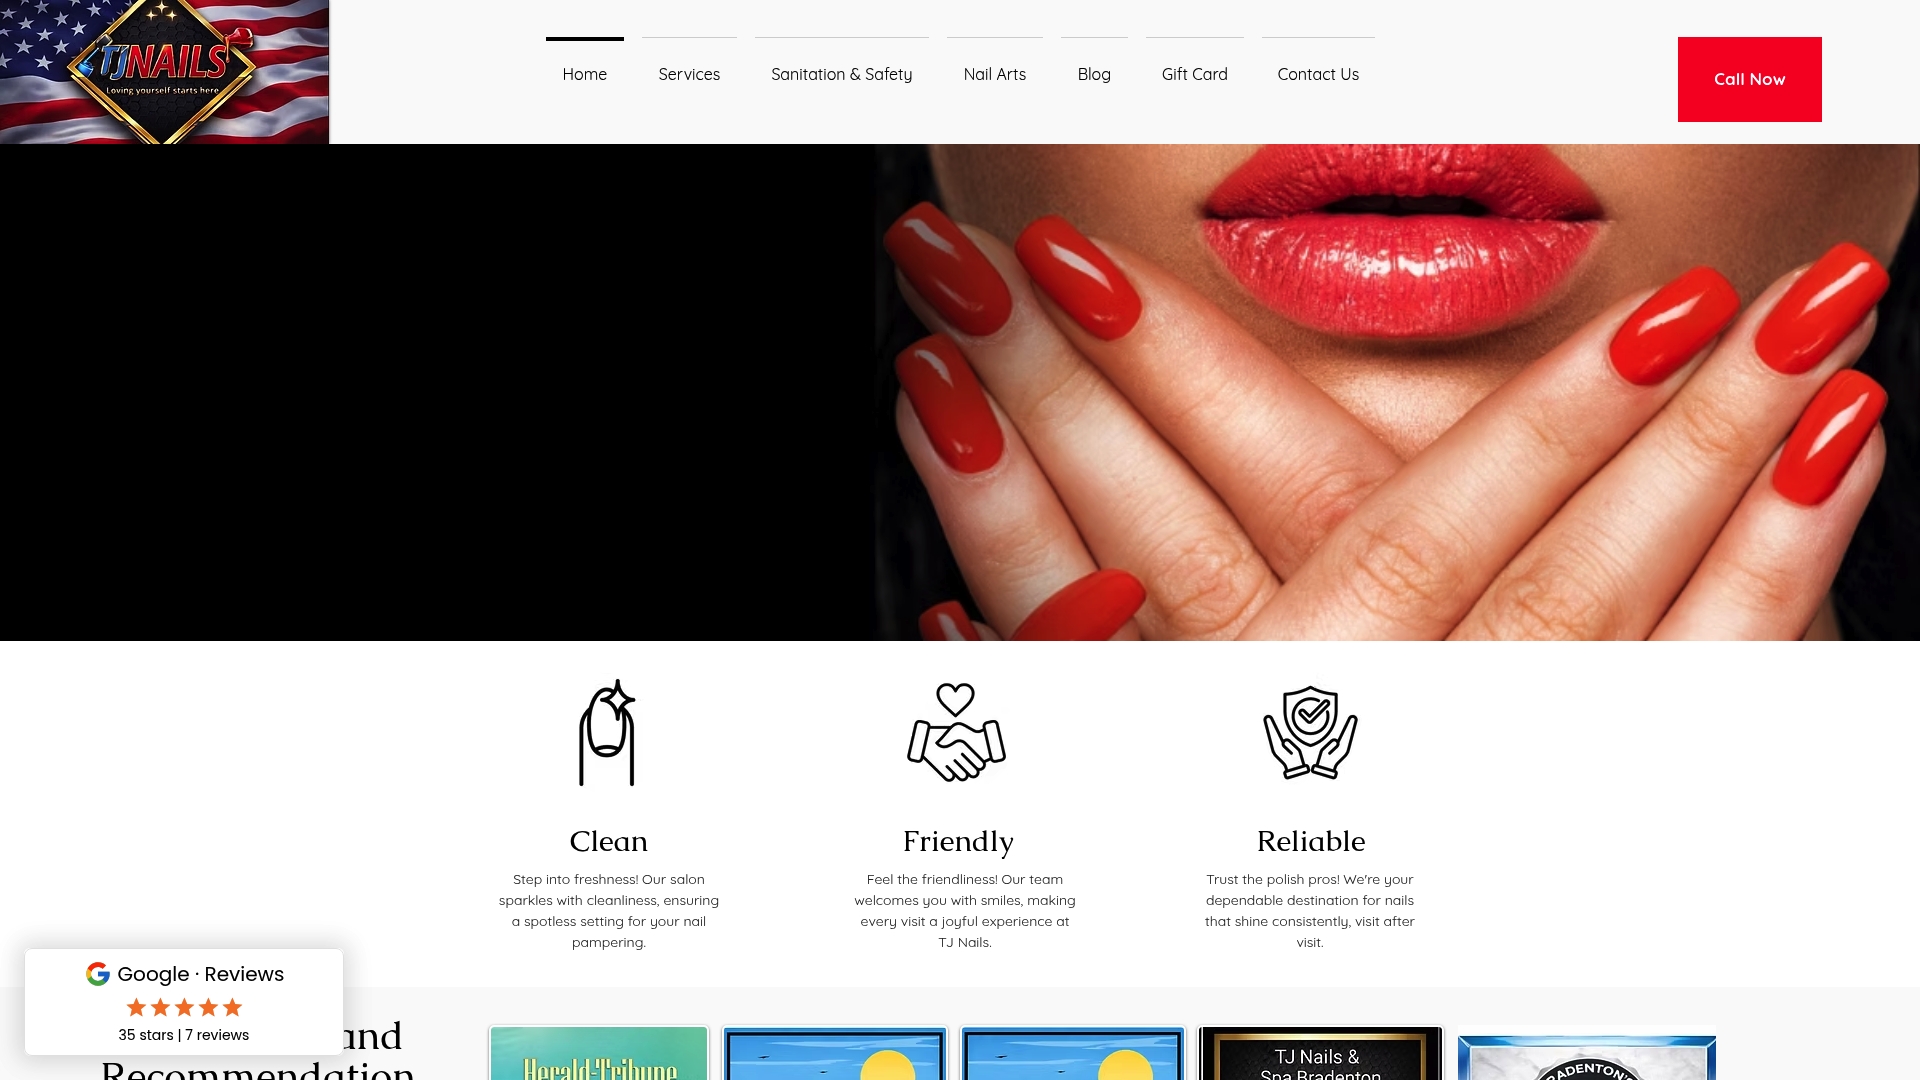
You can book your ombre appointment online in minutes, or reach out via social media to send your inspiration photo and discuss your design before you arrive. For group bookings or same-day requests, call the salon directly. TJ Nails serves clients across West Bradenton, Palmetto, and Ellenton, making it one of the most convenient options for Bradenton locals who want professional ombre nail art done right.
FAQ
What is the ombre nails salon request process?
The ombre nails salon request process covers how you book, communicate your design, and set service expectations before your appointment. It includes choosing the right booking channel, sending an inspiration photo, and confirming that ombre is added to a base nail service.
How long does an ombre nails appointment take?
Ombre nail services add about 45 minutes to a standard nail appointment. Complex designs like glitter or multi-tone ombre can extend that to 60 minutes or more.
Can i book ombre nails as a standalone service?
No. Ombre requires bundling with a full set or fill to allow enough time and proper technician assignment. Booking it alone typically causes scheduling problems and rushed results.
What should i bring to my ombre nails consultation?
Bring a clear inspiration photo saved to your phone, a note of your preferred nail shape and length, and any questions about color options or add-ons. This preparation helps your technician deliver exactly what you want.
How much does ombre nail service cost in bradenton?
Pricing typically ranges from $70 for a white ombre fill to $85 for a colored ombre full set. Glitter and multi-tone designs cost more. Always confirm pricing when you book to avoid surprises at checkout.
Recommended
Comments