
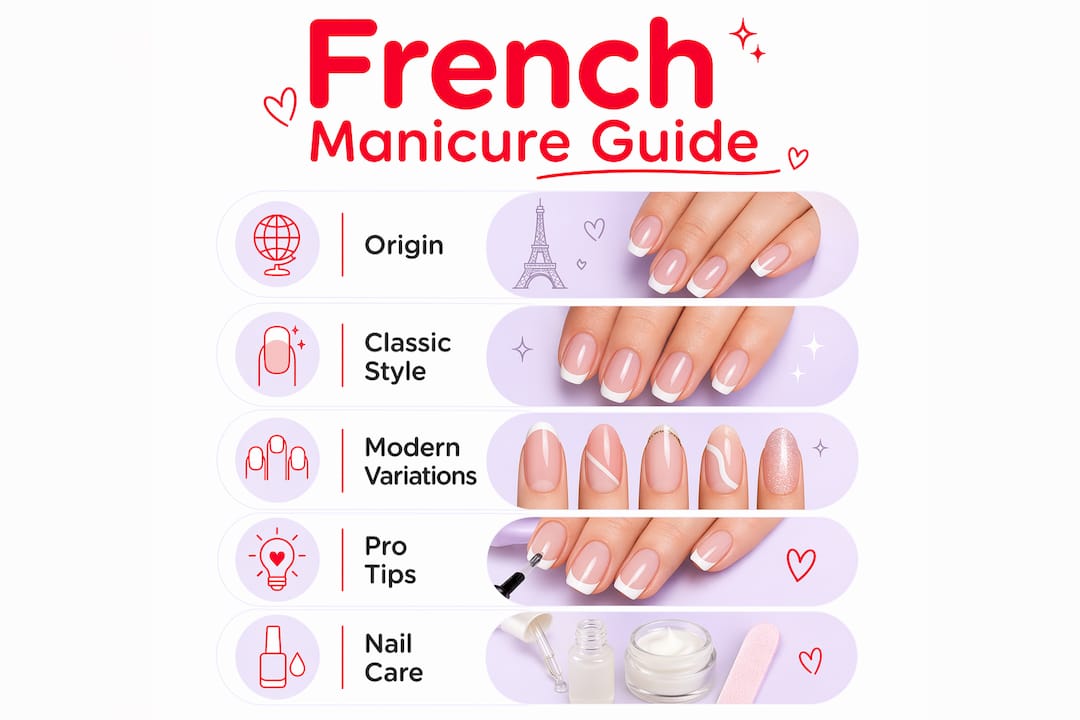
What Is a French Manicure? History, Styles, and Tips
- Bradenton Salon Today
- 23 hours ago
- 8 min read
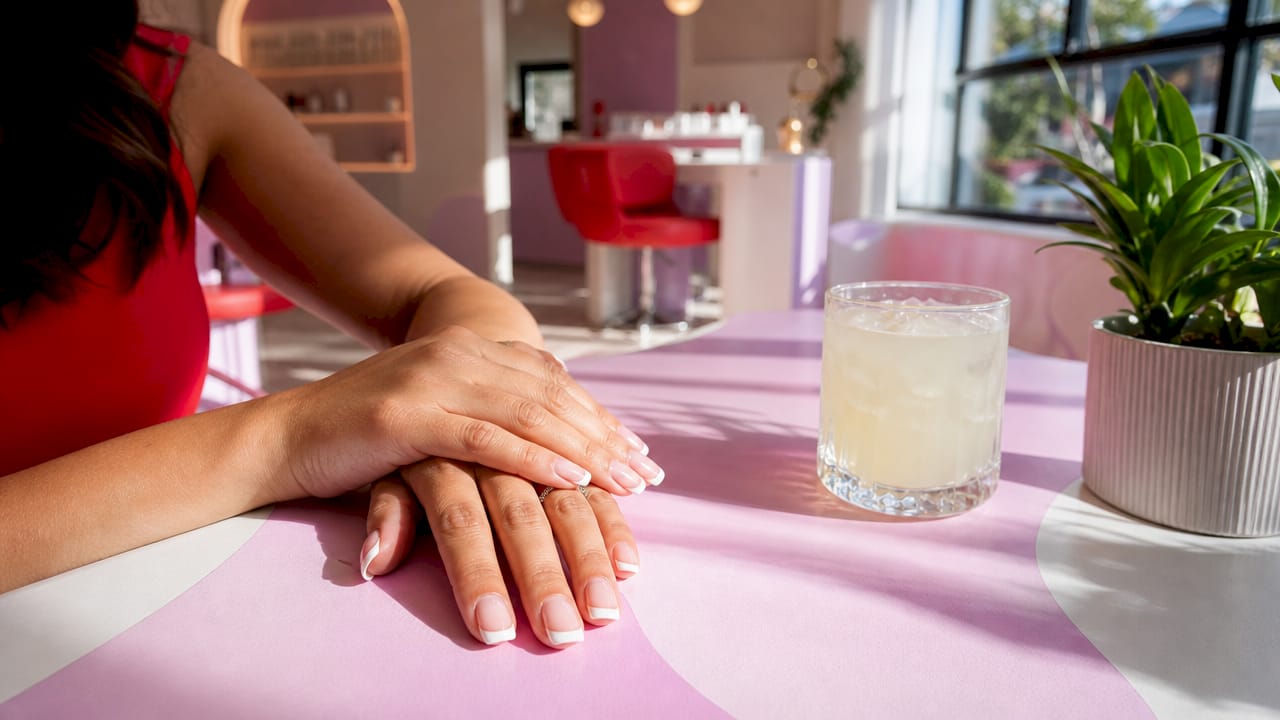
A French manicure is defined as a nail style featuring a sheer pink or nude base coat paired with a clean white tip that follows the nail’s natural smile line. The look enhances the nail’s natural shape without masking it, which is exactly why it has stayed relevant for decades. Jeff Pink created the French manicure in 1976–1977 in Los Angeles under the ORLY brand, designing it for Hollywood actresses who needed a nail style that worked across multiple costume changes. That origin story matters because it explains the style’s core strength: it goes with everything.
What is the origin of the French manicure?
The French manicure was created in Los Angeles by Jeff Pink, founder of the ORLY nail brand, between 1976 and 1977. Pink developed the look specifically for the movie industry, where actresses needed a single nail style that could transition between scenes without clashing with different costumes or lighting setups. The solution was a neutral, polished look that mimicked a healthy, well-groomed natural nail.
The name “French” came later. After Pink introduced the style at Paris fashion shows, European audiences associated the clean, refined aesthetic with French elegance. The name stuck, even though the style has no French roots whatsoever. This is one of beauty’s most persistent misconceptions.
Key facts about the French manicure’s origin:
Inventor: Jeff Pink, founder of ORLY
Year: 1976–1977
Location: Los Angeles, California
Industry: Hollywood film and television
Naming: Called “French” after Paris fashion show exposure, not French invention
Core purpose: A versatile nail look that required no color-matching to outfits
The Hollywood connection explains why the French nail style became a red carpet staple. It photographs cleanly, reads as polished without being distracting, and suits every skin tone.
What do classic and modern French manicure styles look like?
The classic French manicure features a sheer pink or nude base with a distinct white tip approximately 1–2 millimeters thick. The white tip follows the nail’s natural curve, creating what nail technicians call the “smile line.” That curved edge is the defining visual signature of the traditional style.
Modern variations have expanded the French nail style well beyond its original formula. The reverse French manicure, also called the inverted or half-moon manicure, places the accent color at the nail base near the cuticle rather than at the tip. It follows the lunula curve and is considered easier to execute at home than the classic version.
Feature | Classic French | Modern French |
Base color | Sheer pink or nude | Nude, clear, or bold color |
Tip color | White | Colored, glitter, or metallic |
Accent placement | Free edge (tip) | Tip or base (reverse style) |
Finish | Natural, matte-soft | Glossy, glitter, or matte |
Best nail length | Medium to long | All lengths, including short |
Other popular modern variations include:
Colored tips: Replacing white with pastels, neons, or deep jewel tones
Glitter French: A glitter gradient at the tip instead of solid white
Micro French: Ultra-thin white tips that work beautifully on short nails, elongating the finger without overwhelming the nail
Negative space French: Leaving part of the nail bare to create a graphic, modern effect
Pro Tip: If you want to try a modern take, the reverse French is the best starting point. The lunula curve is already visible on most nails, giving you a natural guide to follow.
You can explore the full range of modern French variations to find the version that fits your style and nail shape best.
What professional techniques improve French manicure results?
Nail preparation is the step most people skip, and it is the reason most at-home French manicures chip early. Light buffing and acetone wiping dehydrate the nail plate and remove surface oils, which dramatically improves polish adhesion. Skipping this step reduces manicure durability regardless of how well the polish is applied.
Applying the white tip correctly
The criss-cross brush method produces the most symmetrical freehand tips. Start a stroke from the left corner toward the center, then mirror it from the right corner. Let the two strokes meet and blend in the middle rather than forcing a single sweep across the entire nail. This technique reduces the uneven pressure that causes wobbly smile lines.
Apply white polish in two thin coats rather than one thick coat. Two thin layers cure more evenly, dry faster, and last longer. One thick coat stays soft longer, increases the risk of smearing, and often cures unevenly under UV light.
Sealing the free edge
Capping the free edge is the single most effective technique for extending manicure wear. Run the brush horizontally across the very tip of the nail at every layer: base coat, white tip, color coat, and top coat. This horizontal stroke seals the edge and prevents the polish from peeling away from the tip first, which is where chipping almost always starts.
Correcting smile line mistakes
Fix smile line errors while the polish is still slightly damp. Dip a thin brush in acetone and trace along the edge of the white tip to sharpen the curve. Waiting until the polish dries fully usually means restarting the entire tip. The correction window is roughly 30–60 seconds after application.
Pro Tip: Keep a thin nail art brush and a small dish of acetone beside you while applying white tips. Correcting a wobbly smile line takes five seconds when the polish is fresh. It takes five minutes when it’s dry.
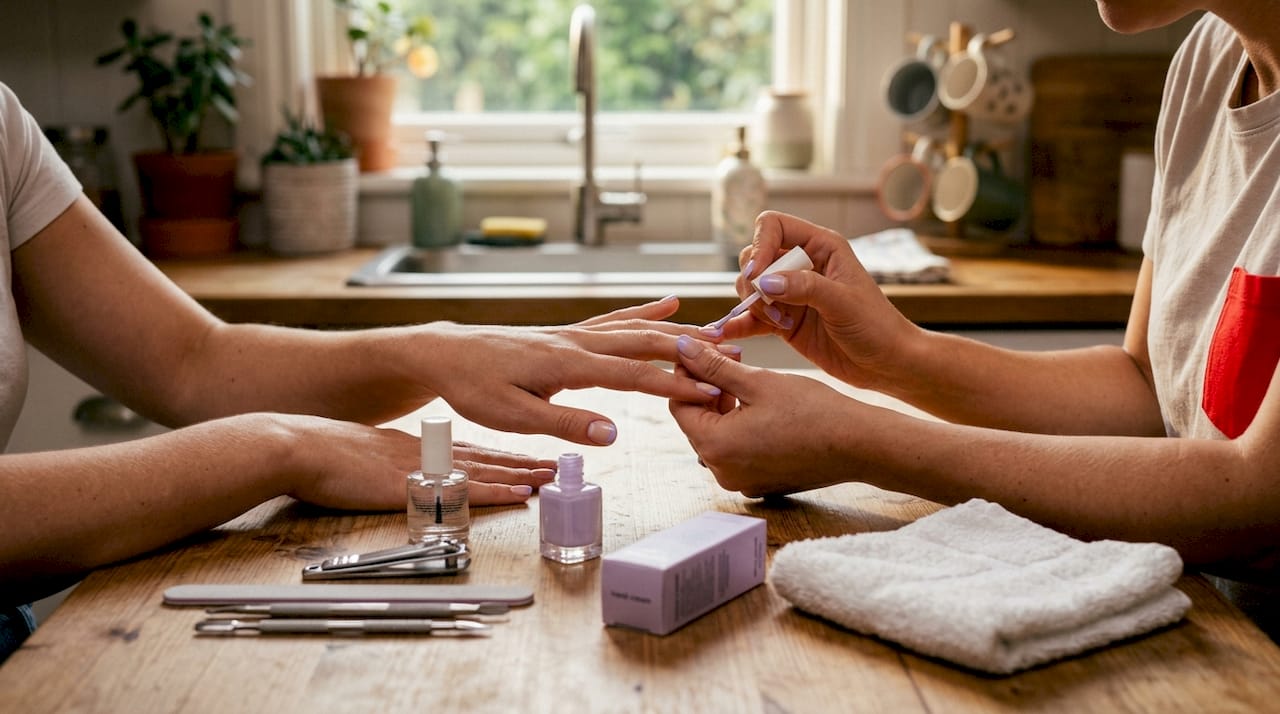
How to do a French manicure at home: step-by-step guide
The right tools make the difference between a clean result and a frustrating one. You need a base coat, a self-leveling white polish, a sheer nude or pink polish, a quality top coat, nail tape or guides (optional), and a thin acetone brush for cleanup.
Prep your nails. File to your preferred shape, then lightly buff the surface. Wipe each nail with an acetone-soaked cotton pad and let it dry completely.
Apply base coat. Use one thin layer. Cap the free edge. Let it dry for 60–90 seconds.
Apply white tips. Use the criss-cross method or nail tape guides. If using tape, peel it within 60 seconds while the polish is still tacky. Pulling tape after the polish dries lifts the edge and ruins the line.
Clean up the smile line. Use an acetone brush immediately to sharpen any uneven curves.
Apply the base color. Two thin coats of your sheer nude or pink polish. Cap the free edge on each coat.
Apply top coat. One generous layer over the entire nail. Cap the free edge one final time.
Maintain between visits. Reapply top coat every two to three days to refresh shine and extend wear.
Pro Tip: Self-leveling white polishes are worth the investment for at-home use. They smooth out brush strokes automatically, which is a major advantage when you’re working without a nail form to guide you.
Keeping your nails in good shape between appointments matters as much as the application itself. A solid nail care routine between salon visits will extend your French manicure’s life significantly.
What nail health factors should you consider before a French manicure?
A French manicure is one of the gentler nail styles because it uses regular polish rather than heavy acrylics or thick gel extensions. That said, nail health still determines how well the style holds and how good it looks.
Consider these factors before your appointment or at-home session:
Nail strength: Thin, peeling nails benefit from a strengthening base coat before any polish is applied.
Nail length: French manicures suit all lengths, but shorter nails look best with micro tips of 1 millimeter or less. Thicker tips on short nails can look disproportionate.
Damage or breakage: Nails with visible ridges, peeling, or breakage should be treated and strengthened before a French application.
Removal: Remove polish with a non-acetone remover when possible to reduce drying of the nail plate. If acetone is needed, follow up with a cuticle oil treatment.
Professional consultation: If your nails show persistent peeling, discoloration, or brittleness, consult a licensed nail technician before applying any product.
The micro French tip is particularly well suited to short or damaged nails because it elongates the nail visually without adding structural weight or stress.
Key Takeaways
The French manicure is a Hollywood-born nail style defined by its sheer base and white tip, and its longevity comes from proper preparation, thin coats, and sealing the free edge at every layer.
Point | Details |
Origin and naming | Jeff Pink created the style in Los Angeles in 1976–1977; “French” refers to Paris perception, not invention. |
Classic definition | A sheer pink or nude base with a 1–2 mm white tip following the nail’s natural smile line. |
Modern variations | Reverse French, colored tips, glitter, and micro tips expand the style to all nail lengths and occasions. |
Key application technique | Use the criss-cross brush method, apply two thin coats, and cap the free edge at every layer. |
Nail health first | Buff and wipe nails with acetone before any polish to improve adhesion and extend wear. |
Why the French manicure never actually goes out of style
I’ve watched nail trends cycle through every extreme over the years, from chrome powder to 3D nail art to negative space designs. The French manicure outlasts all of them. My honest take is that it survives because it solves a real problem: most people want nails that look polished without requiring constant outfit coordination.
What I find genuinely interesting is how the reverse French has changed the conversation. For years, the classic style was seen as conservative, even corporate. The reverse French brought the same clean structure to a more editorial look, and suddenly a new generation of clients started requesting it. The underlying logic is identical. Only the placement of the accent color changed.
At-home application is achievable, but the smile line is genuinely hard to master freehand. I always tell people to start with nail tape guides and graduate to freehand once they understand how their brush behaves. Rushing the freehand technique produces frustration, not clean lines. Patience with the process is what separates a good result from a great one.
The style also rewards nail health more than almost any other look. Because the base is sheer, any ridges, peeling, or discoloration show through. That transparency is actually a feature. It keeps you honest about your nail care habits in a way that opaque polish never does.
— MinhHieu
French manicure services at Bradentonnails in Bradenton, FL
Bradentonnails delivers both classic and modern French manicures at its Bradenton, FL location, with skilled technicians who understand the difference between a technically correct smile line and one that actually flatters your nail shape.
Whether you want the timeless white-tip look or a modern reverse French with a colored accent, the team at Bradentonnails tailors every application to your nail length, shape, and lifestyle. The salon serves clients across West Bradenton, Palmetto, and Ellenton with flexible hours including Sundays. Book your professional manicure appointment online and arrive knowing your nails are in experienced hands. For clients interested in longer-lasting finishes, SNS dipping powder options are also available to extend your French manicure’s wear time.
FAQ
What is a French manicure exactly?
A French manicure is a nail style with a sheer pink or nude base and a white tip that follows the nail’s natural curve. It is designed to enhance the natural nail without masking it.
What is a reverse French manicure?
The reverse French manicure places the accent color at the nail base near the cuticle rather than at the tip, following the lunula curve. It is also called the inverted or half-moon manicure.
Does a French manicure work on short nails?
Yes. Short nails look best with a micro French tip of 1 millimeter or less, which elongates the nail visually without overwhelming its proportions.
How long does a French manicure last?
A professionally applied French manicure typically lasts 7–10 days with regular polish. Reapplying top coat every two to three days extends the wear and refreshes the shine.
Is a French manicure hard to do at home?
The white tip smile line is the most challenging part. Using nail tape guides and the criss-cross brush method makes the process manageable, and correcting errors with an acetone brush while the polish is still damp prevents most common mistakes.
Recommended
Comments