
What Is Nail Art Explained: Techniques and Trends
- Bradenton Salon Today
- May 29
- 9 min read
Most people assume nail art means a quick coat of polish with maybe a stripe on top. That’s a bit like calling a mural “just painting a wall.” What is nail art explained properly? It’s a creative practice of painting, decorating, enhancing, and embellishing fingernails and toenails, typically applied after a manicure or pedicure. The range stretches from a single minimalist dot to sculptural 3D designs. This guide covers the definition of nail art, the techniques and tools behind it, current trends like micro nail art, practical application steps, and the health considerations every enthusiast should know.
Table of Contents
Key Takeaways
Point | Details |
Nail art goes beyond polish | It includes stamping, stenciling, hand painting, 3D elements, and gel or acrylic bases. |
Gel needs UV or LED curing | Gel polish stays tacky until cured under light; skipping this step ruins the finish. |
Micro nail art is beginner-friendly | Tiny motifs on one or two nails require minimal tools and reduce the chance of visible mistakes. |
Health risks are real but manageable | UV exposure and salon VOCs are legitimate concerns addressed through ventilation and smart habits. |
Manicure type affects removal | Knowing whether your nails are regular polish, gel, or acrylic prevents damage during removal. |
What is nail art, exactly
The Cambridge Dictionary definition of nail art covers both the activity and the result: making designs on people’s nails, and the designs themselves. That dual meaning matters. Nail art is not just an outcome you admire. It’s a hands-on craft with its own methods, materials, and skill levels.
The standard industry term you’ll hear professionals use is “nail artistry” when referring to the broader practice at a salon level. In everyday conversation, nail art works fine. What matters more is understanding that it sits at the intersection of beauty care and visual design.
The three main base types
Before any design goes on, the base material shapes everything else. Here’s how the main types differ:
Regular polish uses colored lacquer that air-dries in layers: base coat, two color coats, and topcoat. You can remove it at home with standard remover. It’s the most accessible starting point.
Gel polish is applied in thin layers and requires UV or LED curing to harden. Unlike regular polish, it stays slightly tacky between coats until light-cured. The result lasts two to three weeks without chipping.
Acrylic combines a liquid monomer with powder polymer to create a hard extension that dries naturally through a chemical reaction. No lamp needed, but removal requires soaking in acetone.
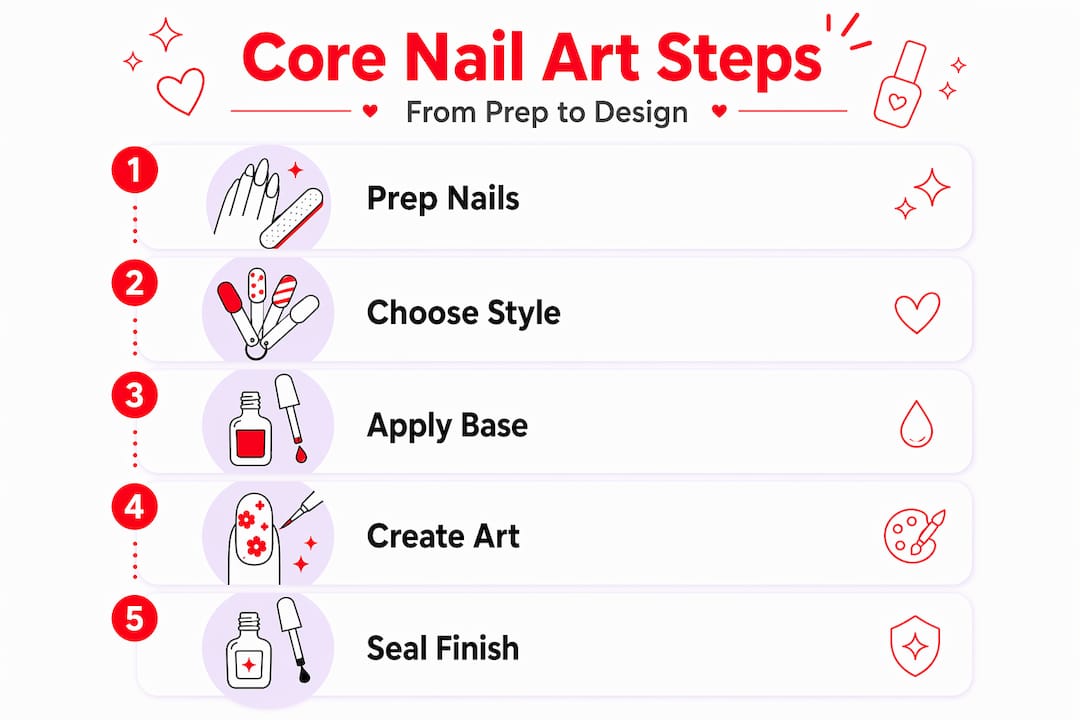
Core nail art techniques explained
Once the base is set, common nail art methods include stamping, stenciling, and hand painting. Each approach suits different skill levels and design goals.
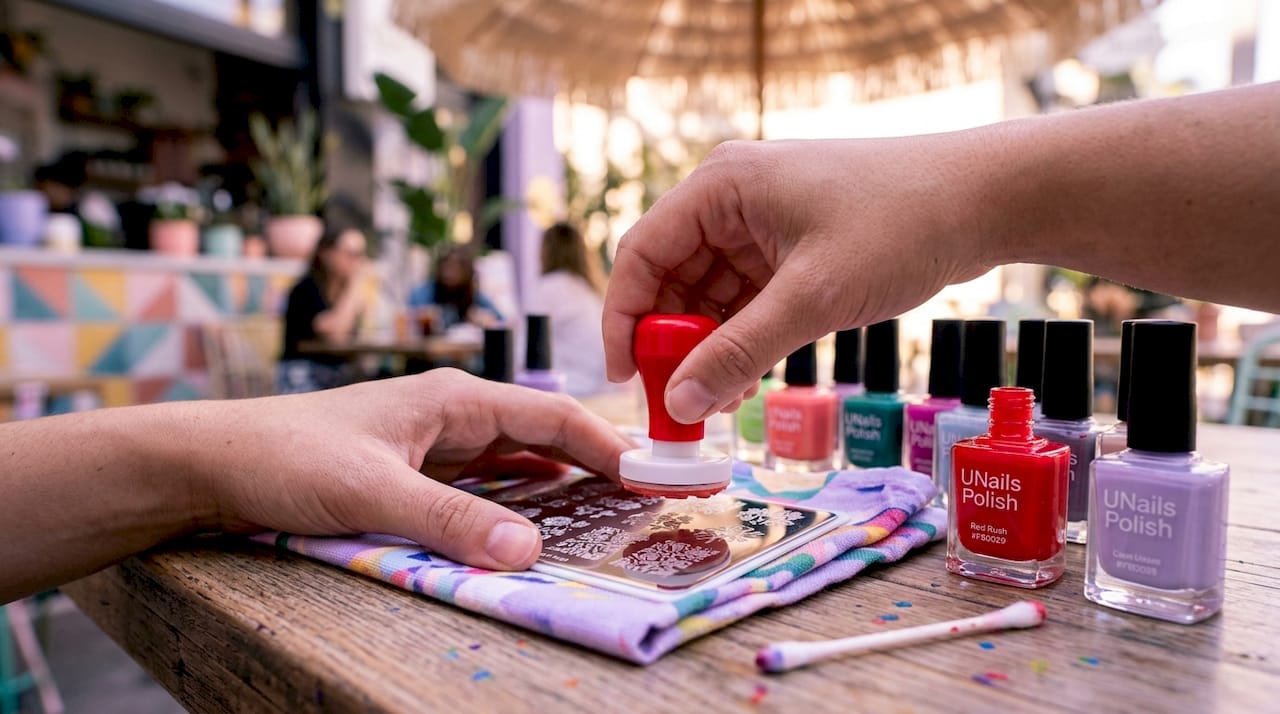
Stamping uses a metal plate etched with a design. You apply polish to the plate, scrape off the excess, pick up the image with a silicone stamper, and press it directly onto the nail. Precise and repeatable. Great for beginners who want clean results fast.
Stenciling places a pre-cut adhesive shape on the nail, letting you paint over it and lift to reveal a crisp edge. Think geometric cutouts or simple animal shapes.
Hand painting is the most expressive method. A fine-detail brush lets you create florals, landscapes, portraits, or abstract patterns. It demands the most practice but gives you total creative freedom.
Pro Tip: When learning nail art techniques, pick one method and practice it for two weeks before adding another. Mastery of stamping before moving to hand painting will build your confidence and eye for placement faster than trying everything at once.
Nail art tools explained simply: dotting tools for circles and dots, fine-tipped detail brushes for lines and florals, stamping kits for repeated patterns, striping tape for clean geometric edges. You do not need a full kit to start. A dotting tool and one detail brush cover most beginner designs.
Styles, trends, and what’s popular right now
Nail art styles shift every season, and 2026 has a clear direction. The micro nail art trend is leading the conversation with dainty accents, tiny motifs, and a minimalist sensibility that feels both modern and approachable. Think scattered micro-cherries on a nude base, a single delicate floral on the ring finger, or swirling micro-French tips that replace the traditional white line with a barely-there design.
What makes this trend so compelling is the accessibility. Micro nail art reduces error visibility because the motifs are so small that slight imperfections disappear. You’re not trying to paint a perfect rose. You’re placing a tiny dot cluster that suggests a flower. The bar for a satisfying result is genuinely lower.
For nail art ideas for beginners, the micro approach is an ideal entry point. Here are styles worth trying first:
Scattered dot florals: Five dots arranged in a circle using a dotting tool creates a small flower that looks intentional and polished.
Single accent nail: Apply a simple design to one nail only and leave the rest a solid color. Low commitment, high visual impact.
Micro-French tips: Swap the classic white tip for a pastel or metallic line using a thin striping brush.
Negative space designs: Use tape to block off sections of bare nail, creating geometric shapes without painting anything complex.
At the other end of the spectrum, 3D nail art designs push the craft into sculptural territory. Tiny gems, textured gel peaks, and raised floral elements applied in layers create designs that extend off the nail surface. These are advanced techniques typically done by professionals, but knowing they exist shows you the full range of what nail artistry covers.
For seasonal inspiration tailored to the Bradenton area, the 2026 style guide breaks down what works best by season and skin tone, which is a detail most generic nail art guides skip entirely.
How nail art is actually applied
Understanding how to do nail art starts with understanding what type of manicure you’re working with. The process differs meaningfully between regular polish, gel, and acrylic, and mixing up removal methods for different types causes real nail damage.
Here’s the step-by-step process for a gel nail art application, which is the most technical of the three:
Prep the nail. Push back the cuticle, lightly buff the nail surface to remove shine, and wipe clean with a dehydrating prep solution. Adhesion depends on this step.
Apply a base coat. Cure under an LED lamp for about 30 seconds per layer, or 2 to 3 minutes under a UV lamp.
Apply the first color coat thinly. Thin layers cure more evenly. Thick layers stay soft in the center even under the lamp.
Cure each color coat. Don’t rush this. Undercured gel peels, lifts, and chips within days.
Apply your nail art design. Whether you stamp, hand paint, or add stencil work, this layer goes over the cured color.
Seal with a top coat and cure again. The top coat locks in the design and adds the glossy or matte finish.
Common mistakes at this stage include applying color too thick, skipping full cure time, and touching the tacky surface between coats. Each one shortens how long your design lasts.
For regular polish, the process is simpler: base coat, two color coats, topcoat, and air dry. No lamp required, and you can remove it at home without special tools. The trade-off is longevity. Regular polish typically lasts five to seven days before chipping starts.
Pro Tip: If you’re new to gel and doing it at home, invest in an LED lamp over a UV lamp. The 30-second cure time versus 2 to 3 minutes adds up across a full set, and LED lamps don’t require bulb replacements.
Always clarify which manicure type you’re getting at a salon before you start. Misidentifying your manicure type leads to using the wrong removal method, which can strip layers off the nail plate. A simple question upfront saves real damage later. For safe at-home removal, the gel removal guide at Bradentonnails covers what to do and what to avoid.
Health and safety you should know
Nail art is generally safe, but a few risks deserve honest attention. Knowing them doesn’t mean avoiding nail art. It means making smarter decisions about where you go and what you ask for.
UV lamp exposure: Curing lamps emit UV radiation. Regular use without protection adds up. Wearing fingerless UV-blocking gloves during gel application is a simple and effective precaution.
Acetone exposure: Prolonged skin contact during removal dries and damages the surrounding tissue. Use foil wraps instead of soaking open bowls, and moisturize immediately after.
VOC exposure in salons: Salon VOCs include benzene, toluene, and xylene, with reported levels similar to industrial environments. Clients experience far shorter exposure than workers, but ventilation still matters for everyone in the room.
Acrylic removal: Pulling off acrylics without proper soaking rips the top layers of the nail plate. Always use safe acrylic removal techniques to prevent long-term thinning.
“Awareness of health risks should lead to practical safety actions like professional removal, good ventilation, and smarter exposure control.” This is the standard every reputable salon should be held to.
Effective salon ventilation directly controls VOC levels and protects both clients and technicians. When you walk into a salon and the chemical smell is overwhelming, that’s a sign ventilation is inadequate. A clean-smelling room is more than comfort. It’s a health signal.
The health risks of nail art also include nail plate thinning from over-filing and irritation from improper removal. Choosing a reputable salon with trained technicians reduces nearly all of these risks to negligible levels.
My perspective on nail art as creative practice
I’ve spent years watching people approach nail art with either too much intimidation or too little patience. Both work against you. What I’ve learned is that nail art rewards the people who treat it like any other craft: start with one technique, repeat it until it feels boring, then add complexity.
The micro nail art trend appeals to me precisely because it removes the perfectionism trap. When the motif is tiny, a slightly uneven petal just looks like character. It encourages people to actually try instead of waiting until they feel “ready.”
The curing discipline issue is where I’ve seen the most frustration. People rush the lamp step, end up with lifting gel within a week, and conclude they did something wrong. They did. But it’s fixable. Thin layers and full cure time solve most gel longevity problems before they start.
My honest take on home nail art versus professional: home nail art is a fantastic creative outlet, and you should do it. But for gel and acrylic application and especially removal, a skilled technician protects your nail health in ways that are genuinely hard to replicate alone. The artistry is learnable at home. The safe removal technique has a steeper learning curve than most guides admit.
— MinhHieu
Get professional nail art in Bradenton
If you’re ready to move from inspiration to an actual appointment, Bradentonnails at TJ Nails Salon in Bradenton, FL brings real nail artistry to every service.
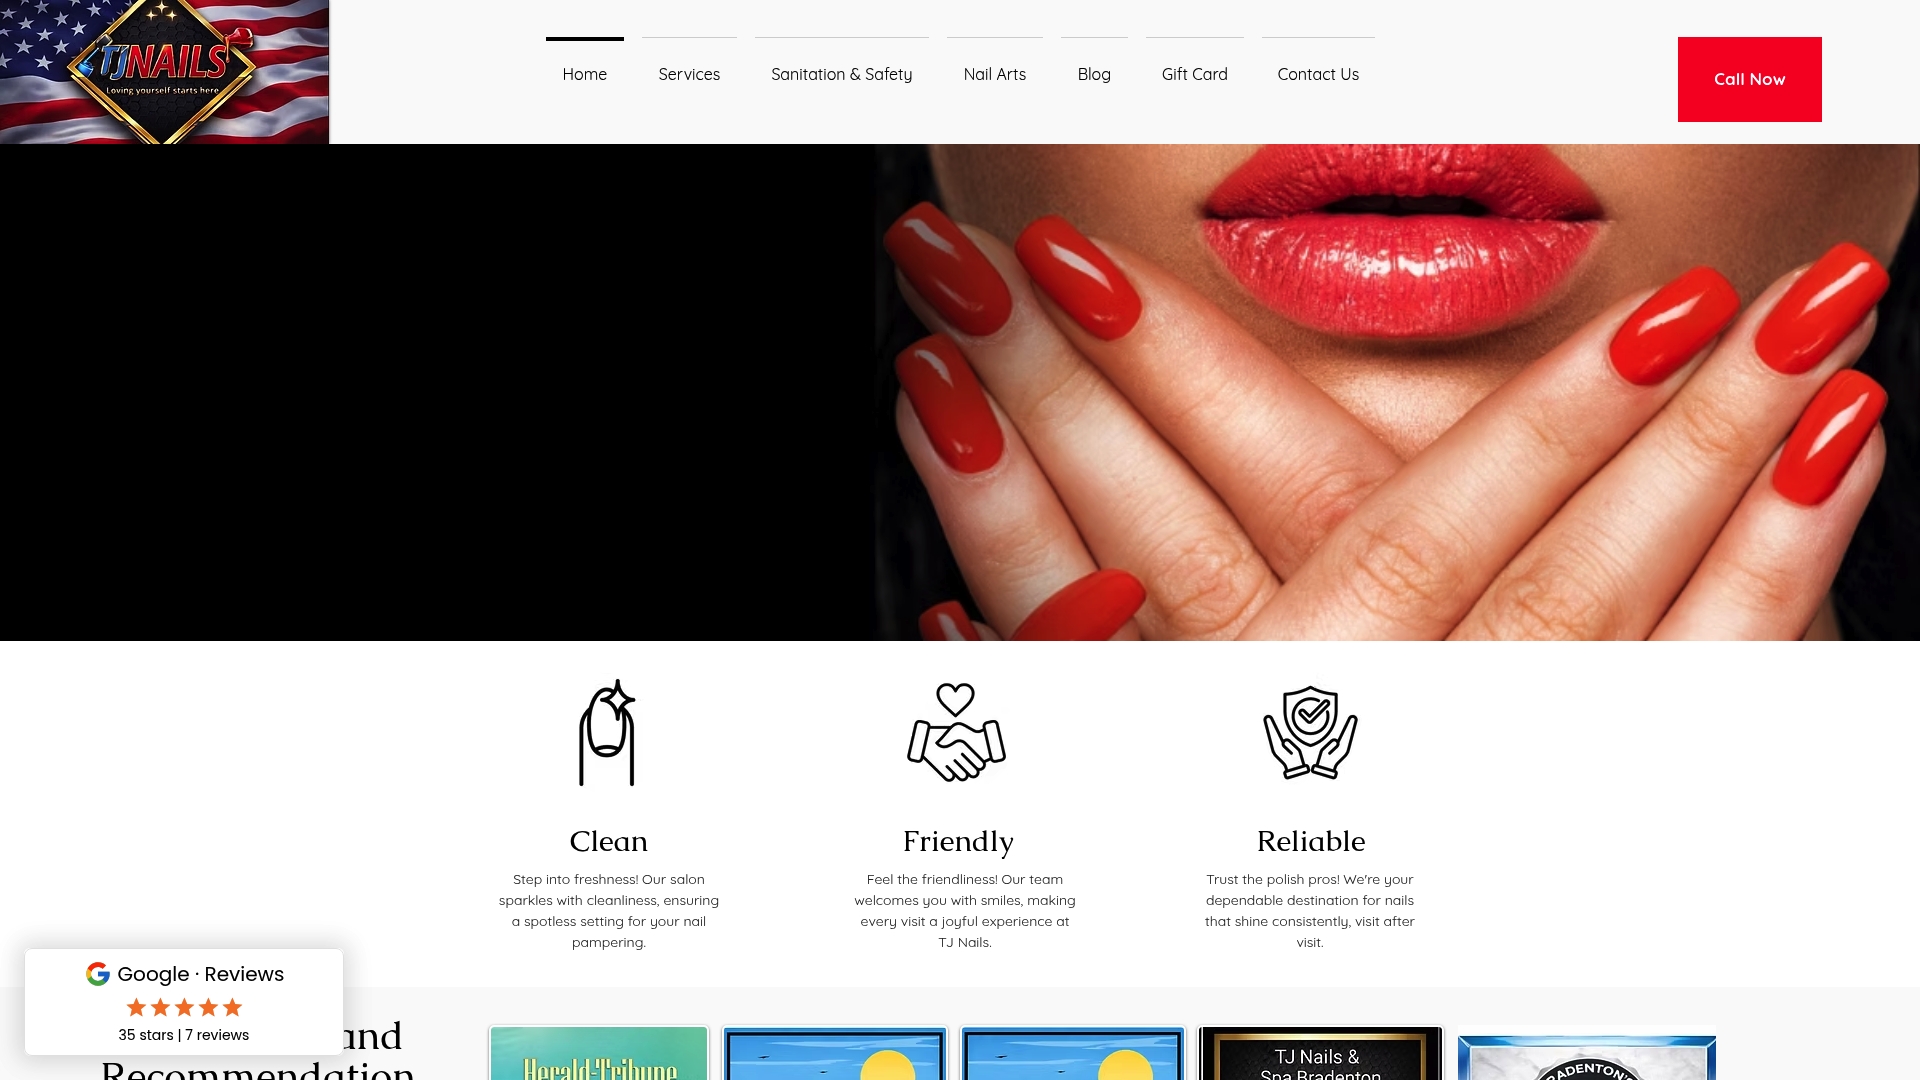
The team serves clients across West Bradenton, Palmetto, and Ellenton with professional manicure services that cover everything from classic polish to detailed gel nail art and SNS dipping powder treatments that add durability without the bulk of acrylics. Every appointment includes expert application and, when the time comes, safe removal that protects your nail plate. The salon is open Sundays, keeps clean workstations, and has technicians who actually talk you through your options. Book online and arrive knowing what you want.
FAQ
What is the definition of nail art?
Nail art is the creative practice of painting, decorating, and enhancing nails, typically performed after a manicure or pedicure. It covers everything from simple polish designs to sculptural 3D elements.
What nail art techniques work best for beginners?
Stamping and dotting tools are the most beginner-friendly nail art techniques because they require minimal freehand skill and produce consistent results. Starting with one accent nail reduces pressure and builds confidence quickly.
How long does gel nail art last compared to regular polish?
Gel nail art typically lasts two to three weeks without chipping, while regular polish manicures last approximately five to seven days. The difference comes down to the UV or LED curing process that hardens gel into a durable finish.
Is UV curing safe for nail art at home?
UV lamp exposure during gel curing is low-risk for most people, but UV exposure from curing lamps does accumulate over time. Wearing fingerless UV-protective gloves is a simple precaution that significantly reduces that exposure.
What tools do I need to start nail art at home?
A dotting tool, a fine-detail brush, and nail stamping kit cover most beginner nail art designs. For gel work, an LED lamp and thin-layer application technique make the biggest difference in results.
Recommended
Comments